This is a sponsored post written by me on behalf of Cricut. All opinions are 100% mine.
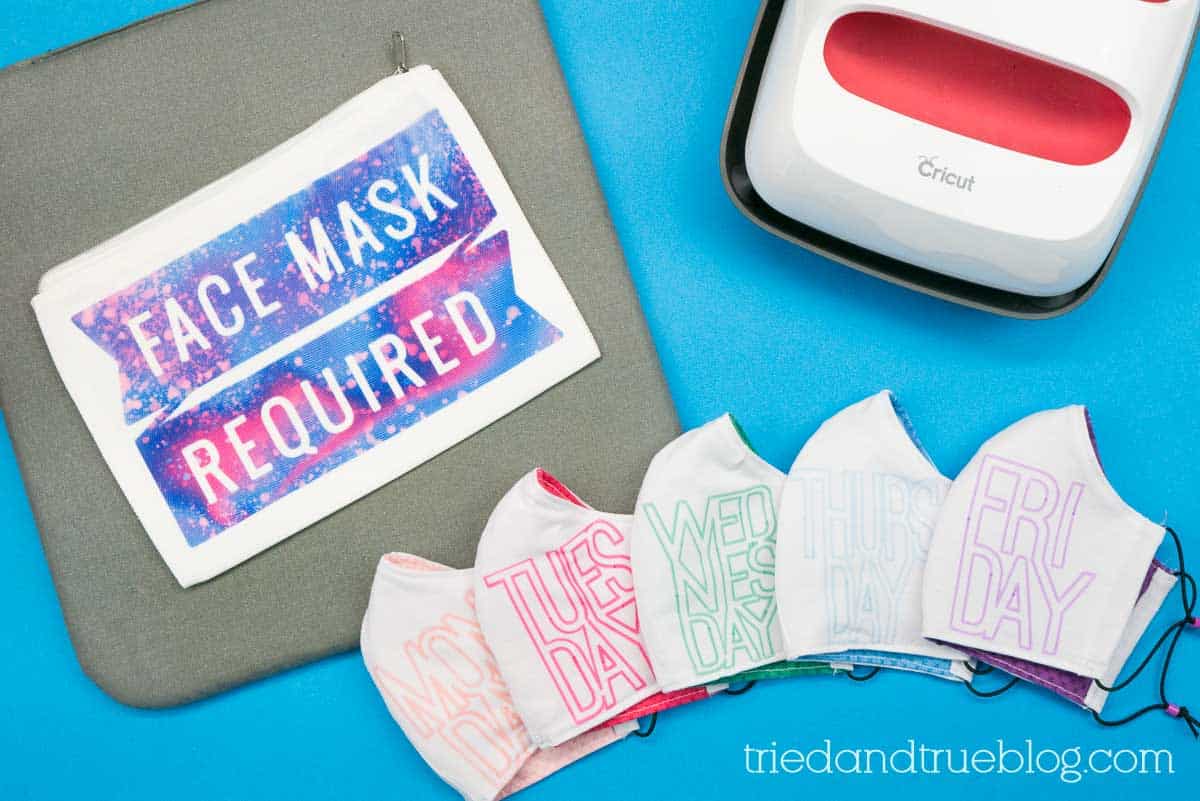
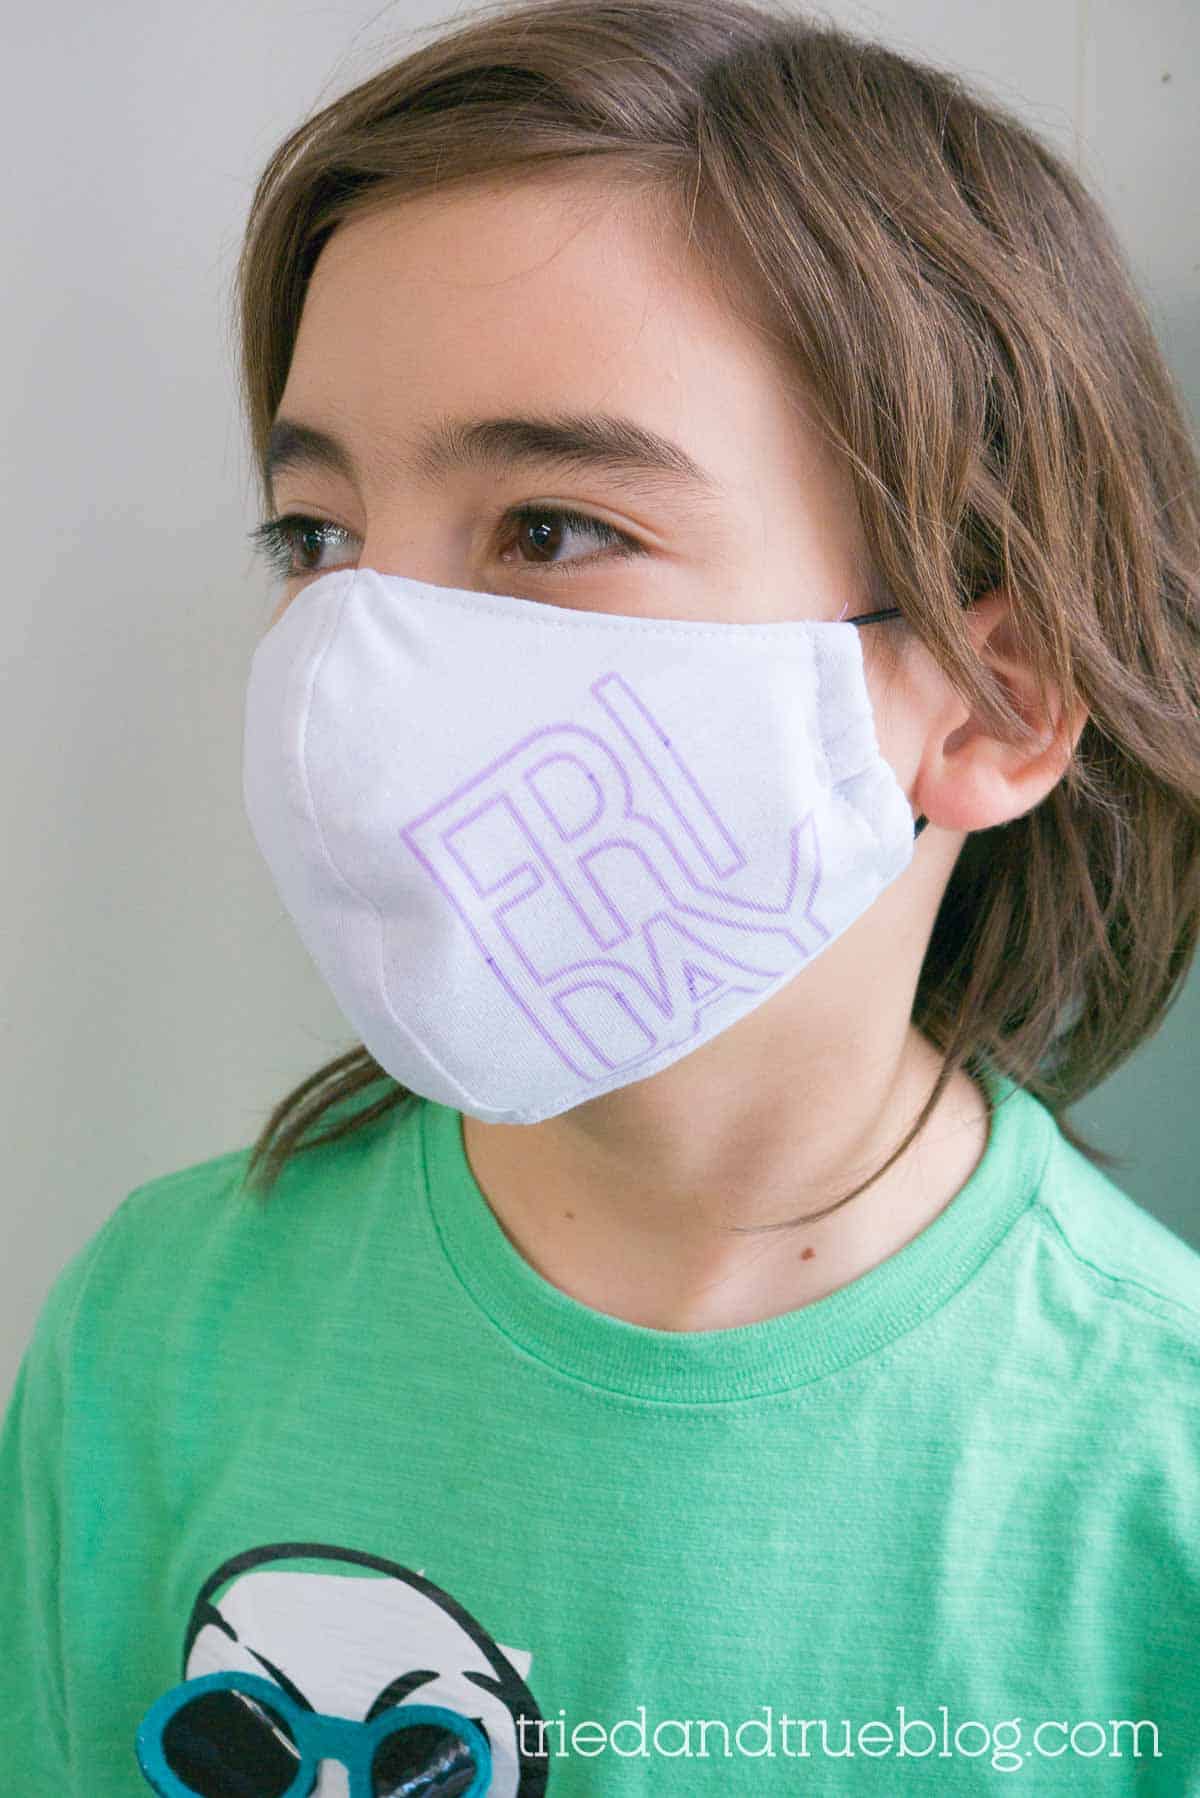
Keep your kid’s back-to-school routine organized with these personalized day-of-the-week masks. They’re made with Cricut Infusible Ink so they’re sure to last!
This is a school year like no other. Whether your child is doing virtual learning or planning on going back to the classroom, know that I support your decision 100%. We are all just trying to make the best choices for our families!
If you’re planning on your kids doing face-to-face learning, they’re probably going to have to wear face masks every day. Since they should be washed after each use, I highly suggest keeping at least five on hand. That way you don’t have to do daily wash!
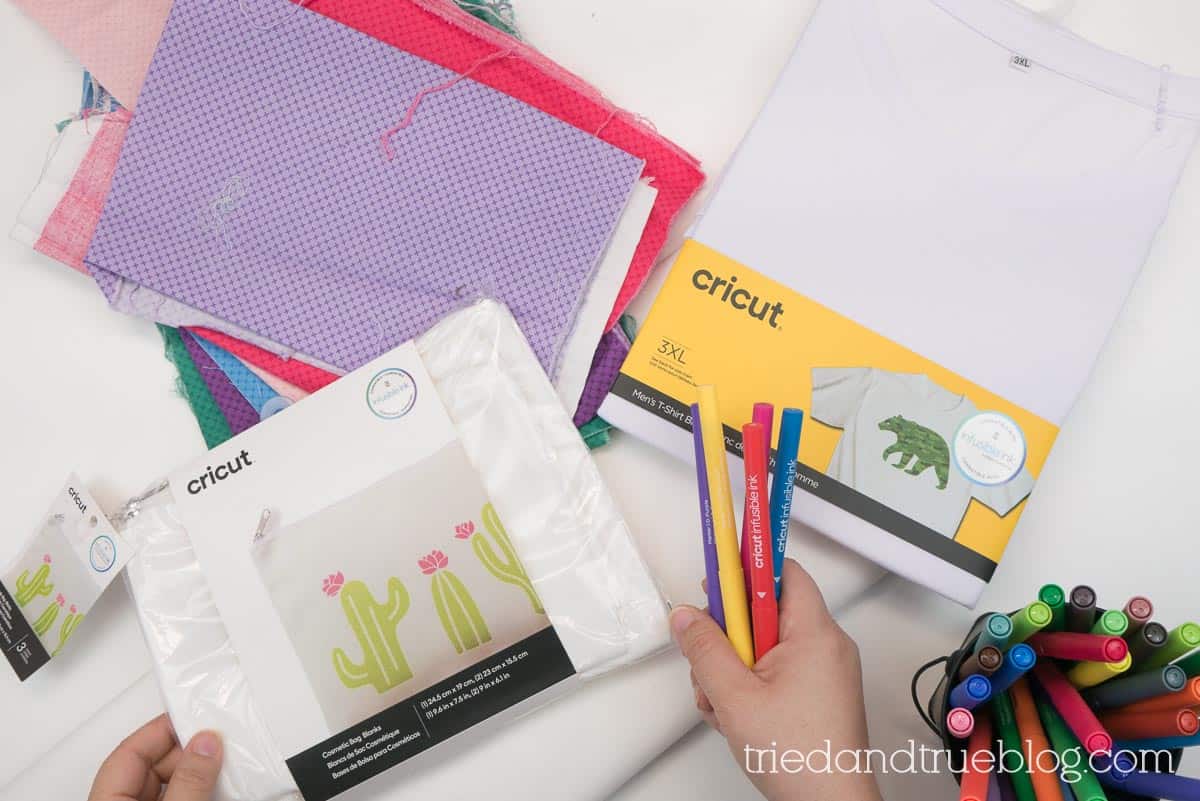
Cricut Mask Supplies
Making these back to school masks is easy with a few Cricut supplies! Using Infusible Ink allowed for maximum breathability and durability in a way that vinyl wouldn’t.
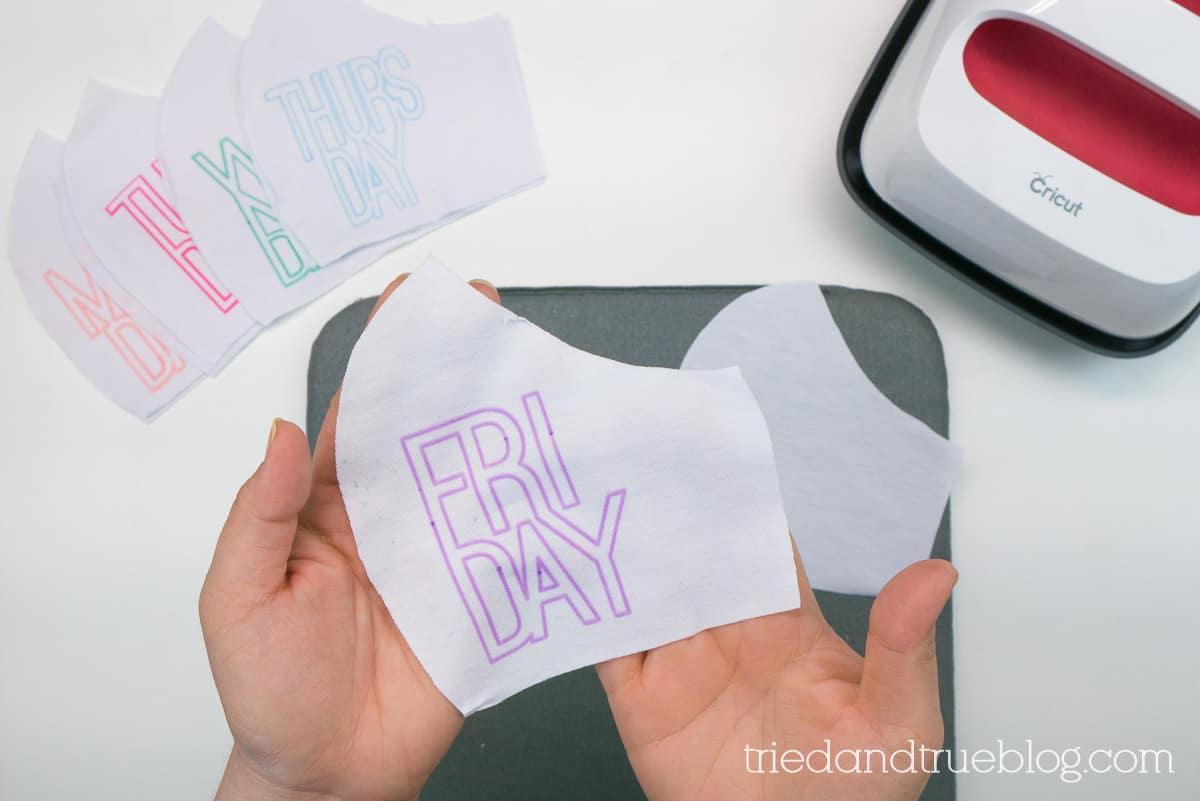
I used Infusible Ink markers in my Cricut Maker to quickly draw up the days of the week on laser printer paper. HINT: marking the designs twice for optimum color.
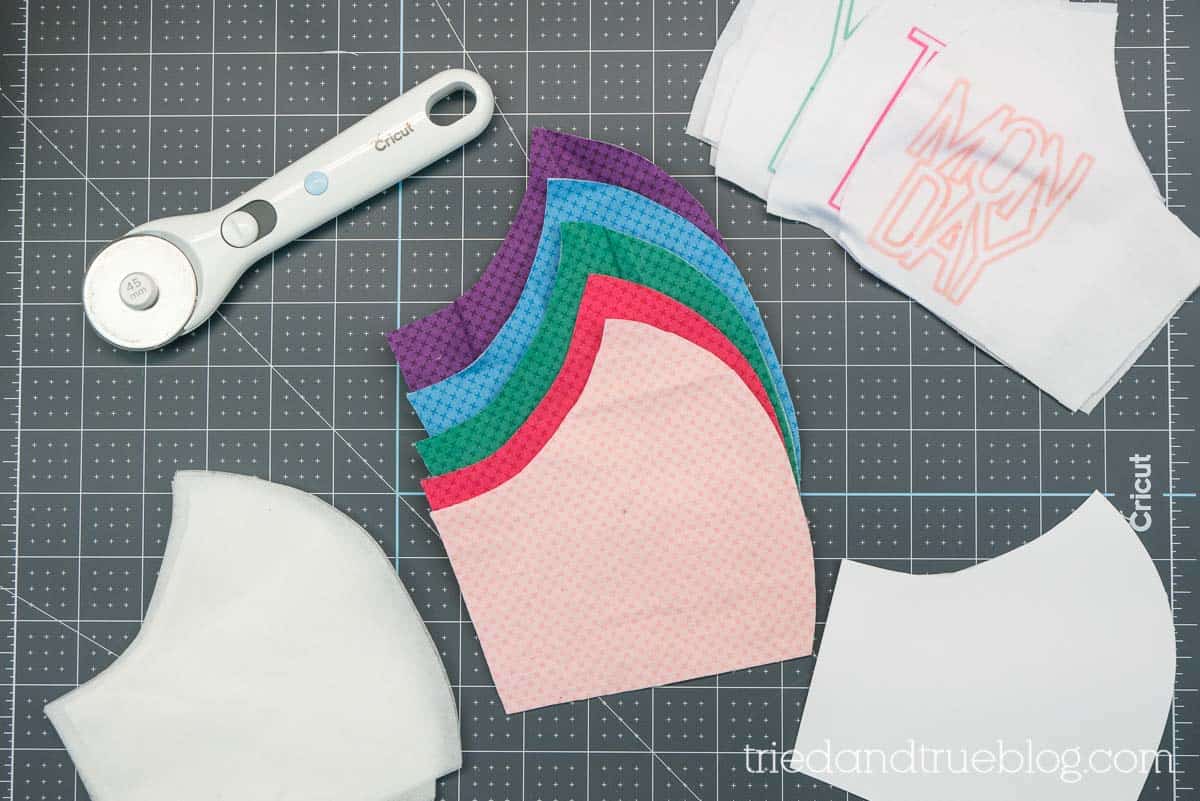
Since Infusible Ink works best on Cricut materials, I cut up a 3XL t-shirt to use the fabric to make these masks. Jersey fabric isn’t recommended for masks because it’s too thin so I added an additional poly layer (Pellon interfacing or Oly*fun works). I finished the masks with a matching cotton lining.
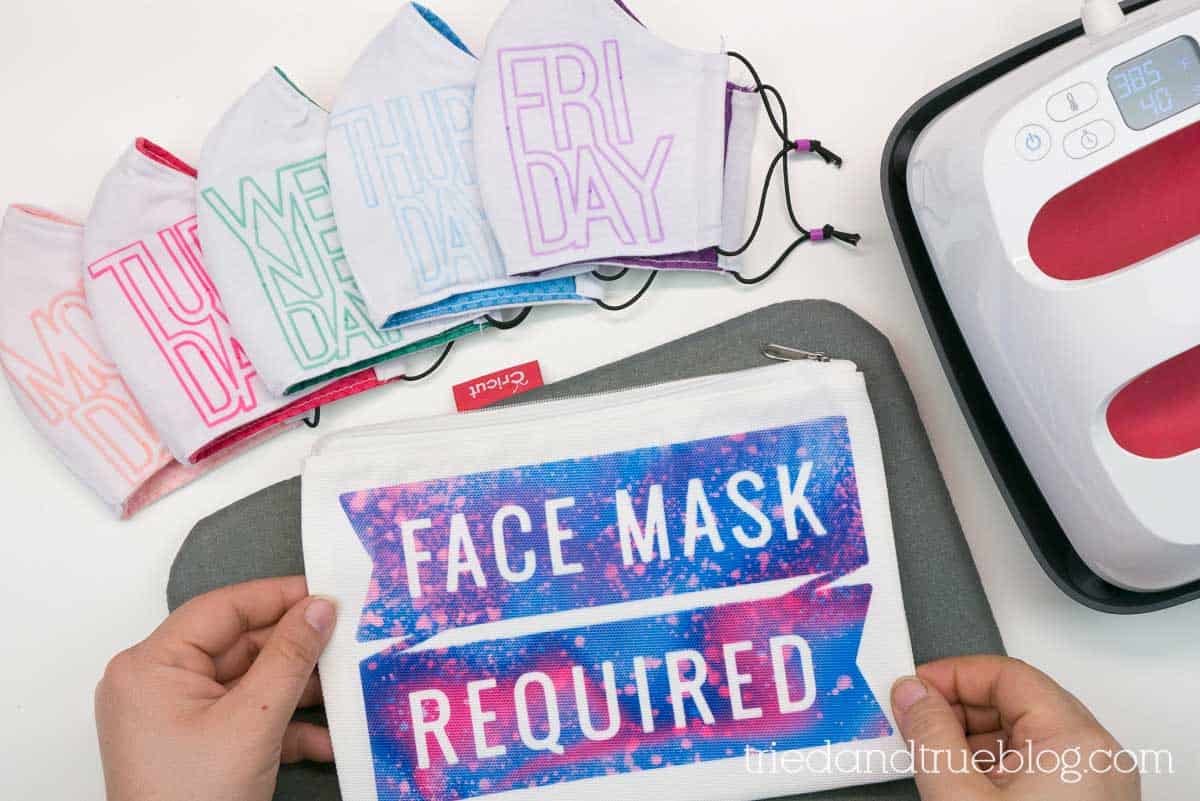
You can even make a personalized bag to keep your kid’s face mask in when not in use. I added this “Face Mask Required” cutout I found in Design space to their small Cricut Cosmetic Bag. Perfect way to keep their mask clean!
Personalized Infusible Ink School Week Masks
Supplies:
- 1 XXL Infusible Ink T-shirt
- Infusible Ink Markers desired colors
- Cricut Face Mask Pattern
- Pellon Interfacing or Oly*fun
- Cotton lining fabric
- Elastic Cording
- Perler beads optional but totally helpful!
Equipment
Instructions
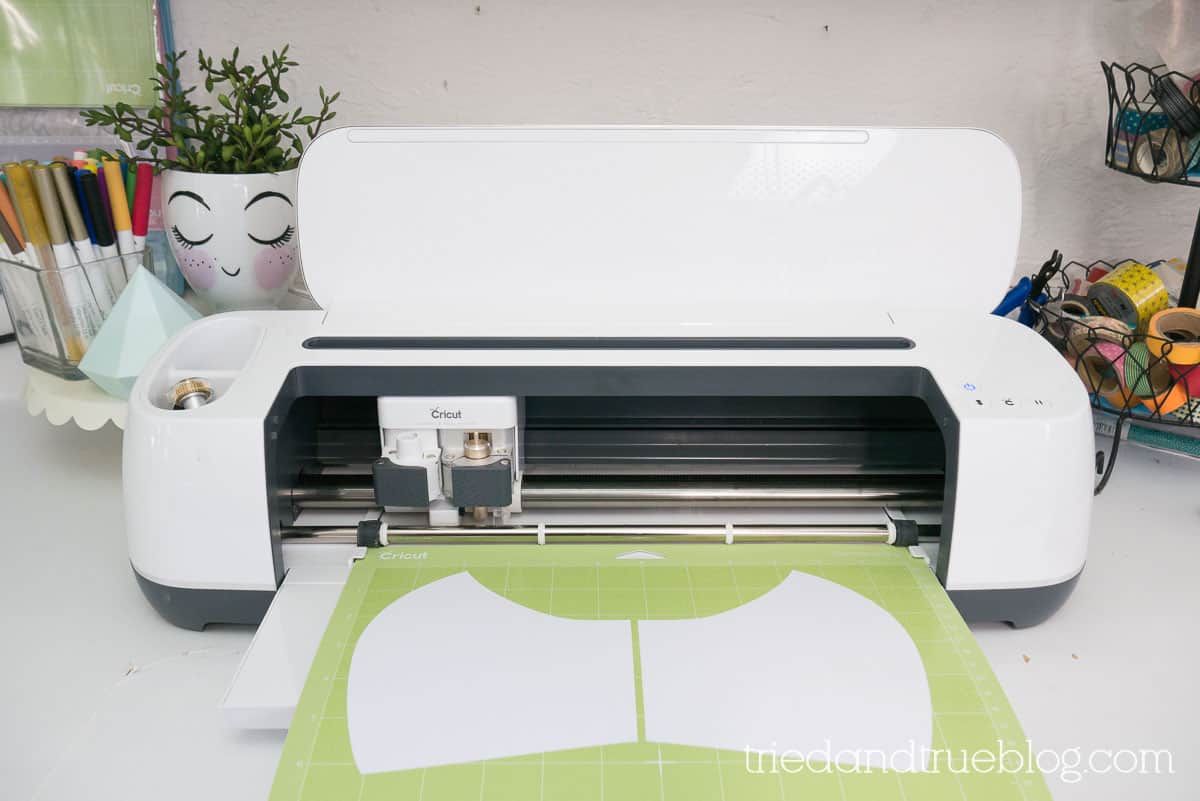
- Use your Cricut machine to cut the mask pattern from Design Space. They also offer a printed version if you'd rather cut by hand.

- Cut pattern shapes from Infusible Ink t-shirt, poly interfacing, and fabric lining. You'll be needing five pairs of each material for each day of the school week.
- Load laser printer paper into your Cricut Maker and draw designs with Infusible Ink markers. To get darker, thicker images, have the machine repeat all the lines by pressing the Cricut logo button again once the first drawing is complete. Remove paper from machine, trim out each day, and apply to one side of mask blank according to the Infusible Ink instructions.
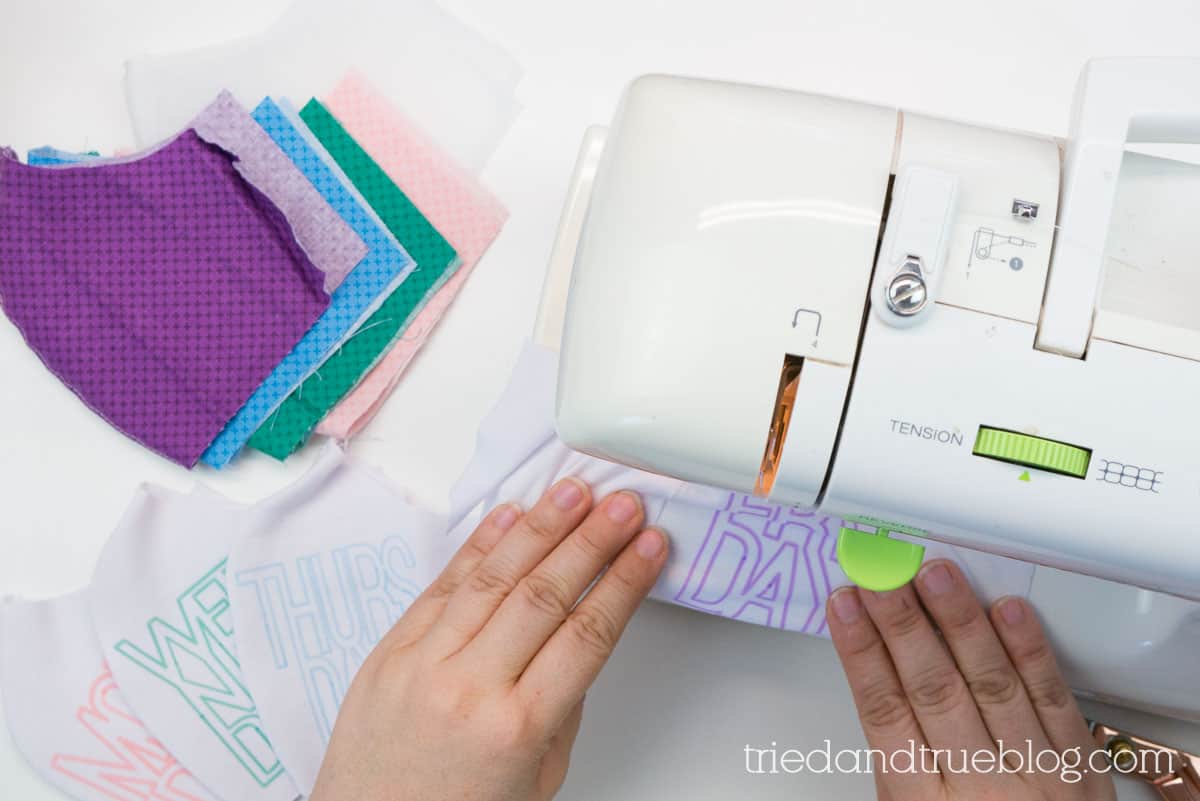
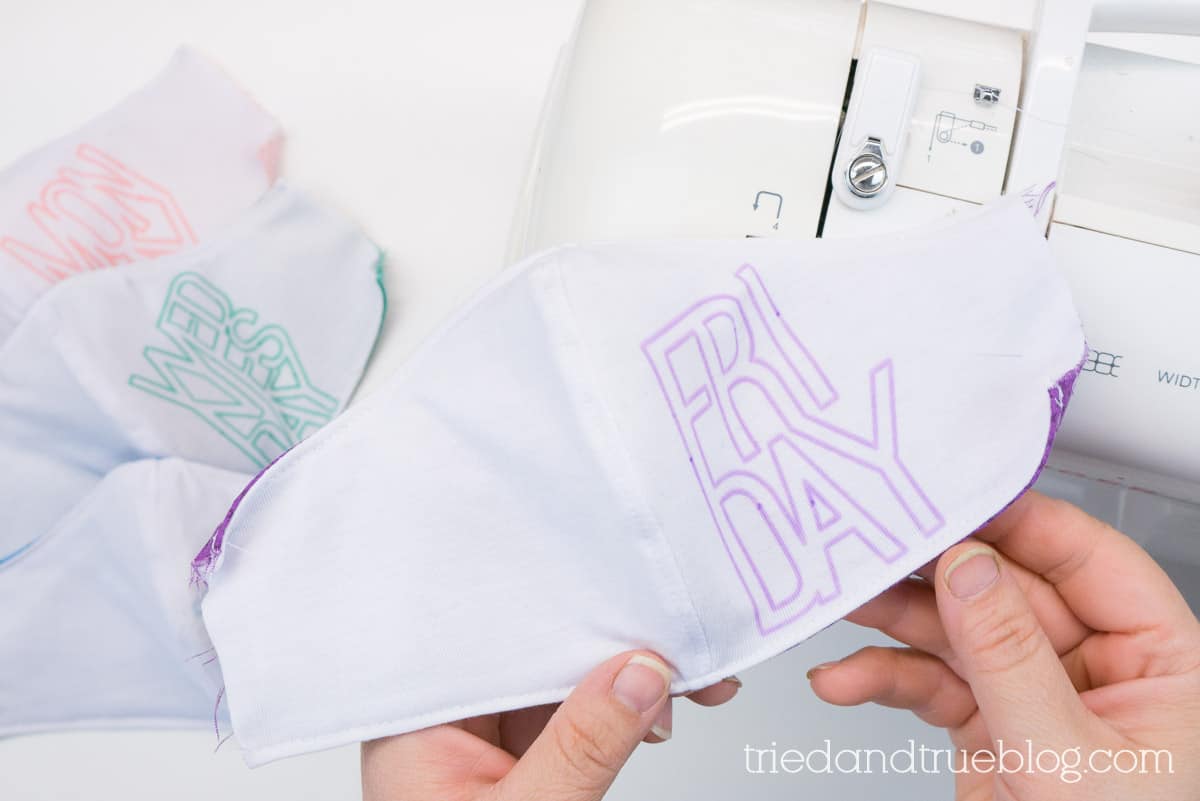
- Sew the center section of all the mask materials together. Make sure the right sides of the fabric are facing each other. Press the seam open and sew flap to one side.
- Layer the poly fabric with the lining fabric and then the t-shirt fabric (right side facing down). Sew outer edges. Flip mask right side out and sew a finishing seam along both edges.
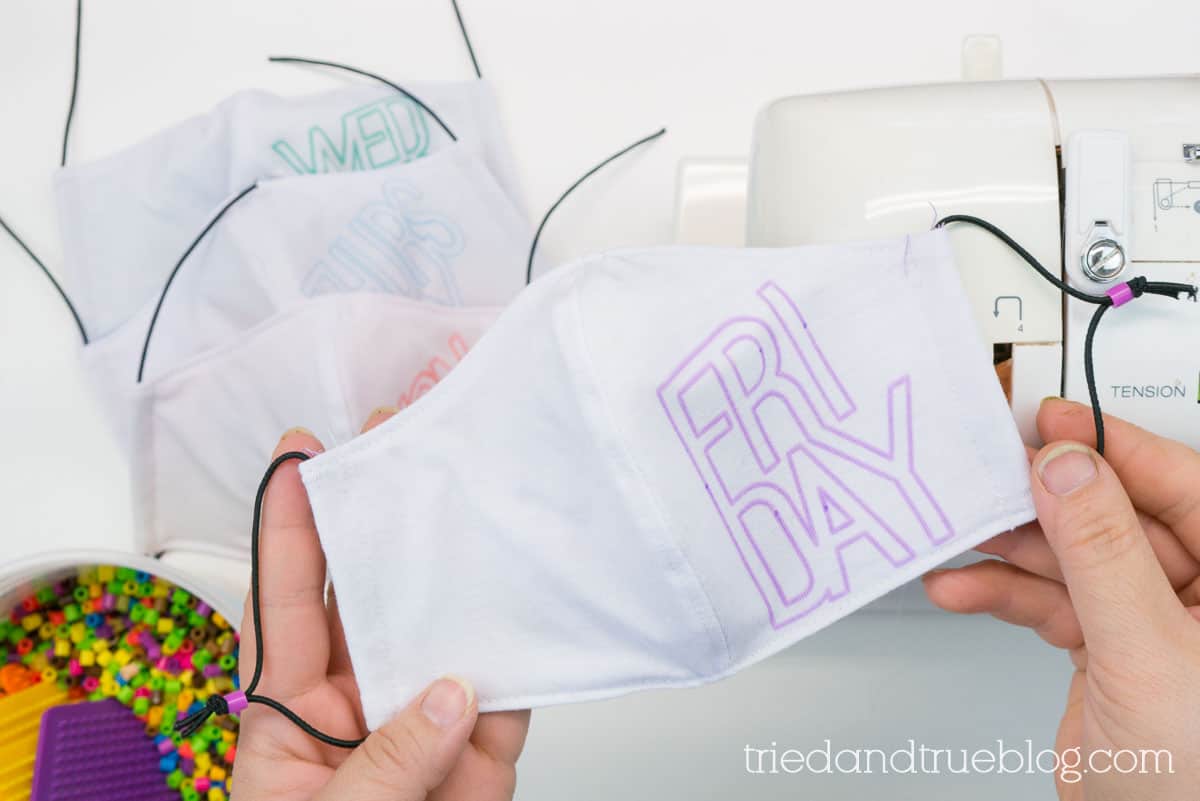
- Fold outer edges in twice with a 10" strip of elastic cording inside. Sew along the folded edge. String the elastic edges through a perler bead and tie off. The perler bead will allow your child to tighten and loosen the elastic for the perfect fit.
- Optional: cut out this "Face Masks Required" image from Design Space on Infusible Ink transfer paper. Apply to a small cosmetic bag Cricut blank for the perfect place to store your new mask!
New School Year Masks
Not only are these masks fun to wear with each day of the week but because the ink is infused into the fabric, you know they’ll last through all the washings. You could even customize these further and let your kids draw what ever they want on their masks!
I hope having these fun back-to-school masks helps you and your child get excited about the new school year. I know it’ll be a year of challenges and unknowns but at least you won’t have to wash their face mask everyday!


Leave A Reply!