This is a sponsored post written by me on behalf of Cricut. All opinions are 100% mine.
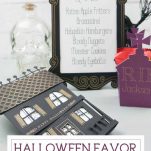
Add a bit of glam to your life with this Halloween Party with Cricut Foil Kit! I’ve got instructions on how to make an invite, menu frame, and favor but the sky’s the limit with what you can do!
When Cricut shared with me that they were releasing an easy way to add foil to their projects, I immediately thought of Halloween. Foil and Halloween were just meant to be together!
In the paragraphs below, I’ll show you how I added foil to a different variety of papers to make a menu holder (can also be a picture frame!), a fold-out invitation, and a table placeholder/favor. You’ll be amazed just how easy it is to make such glam pieces!
You can just scroll down to read the entire project or use the table of contents below to just go directly to the info you need:
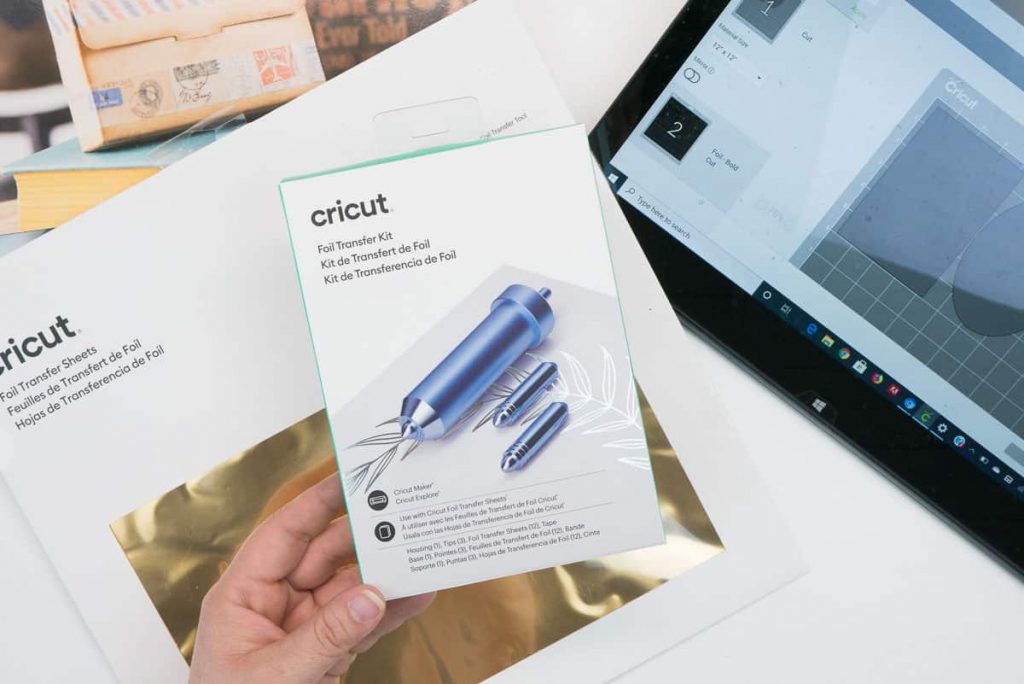
Cricut Foil Transfer Kit
The Cricut Foil Transfer Kit is super easy to use! I’ve got a full tutorial in my Beginner’s Guide to Cricut Foil Transfer Kit but I’ll go over the basics here too.
When you buy the Cricut Foil Transfer Kit, you’ll get all three line weight tips (fine, medium, and bold), 12 4″ x 6″ gold/metallic transfer sheets, and adhesive strips. You can purchase additional colors and sizes of foil transfer sheets.
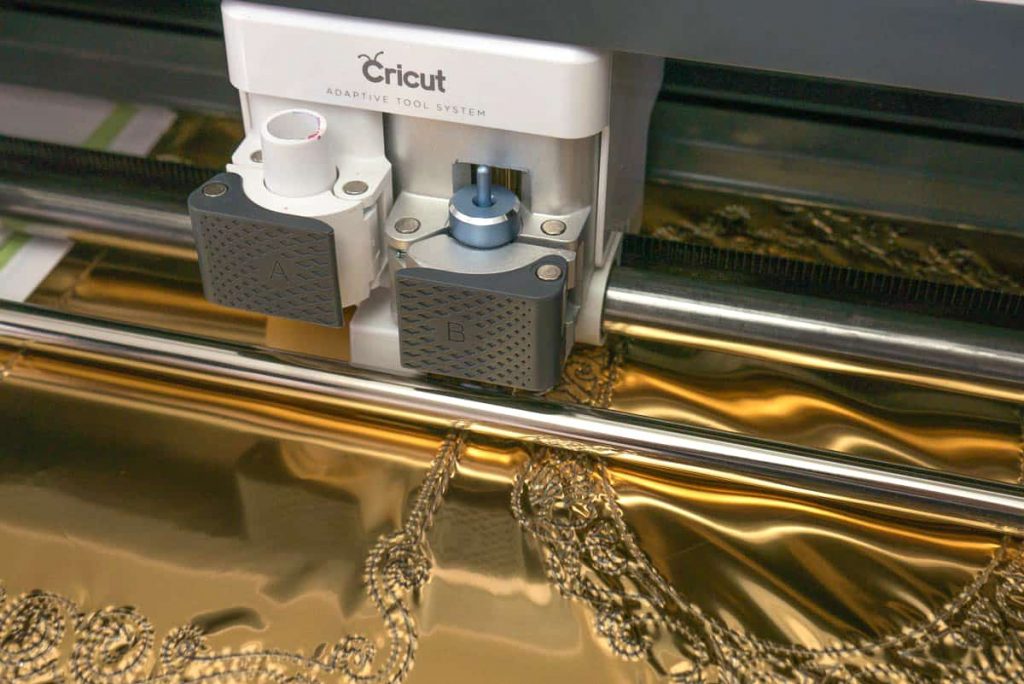
Design Space makes it super easy to add foil to your project. Just select “Foil” from the Linetype pull down menu. You’ll have the option to select the line weight in a secondary menu that will pop up.
Now, just send your project to your Cricut Maker or Cricut Explore Machine (either works with the Cricut Foil Transfer Kit!) and follow the prompts to know when to switch out the different tips.
Confused? No worries! Read my Beginner’s Guide to Cricut Foil Transfer Kit for more detailed steps and pictures.
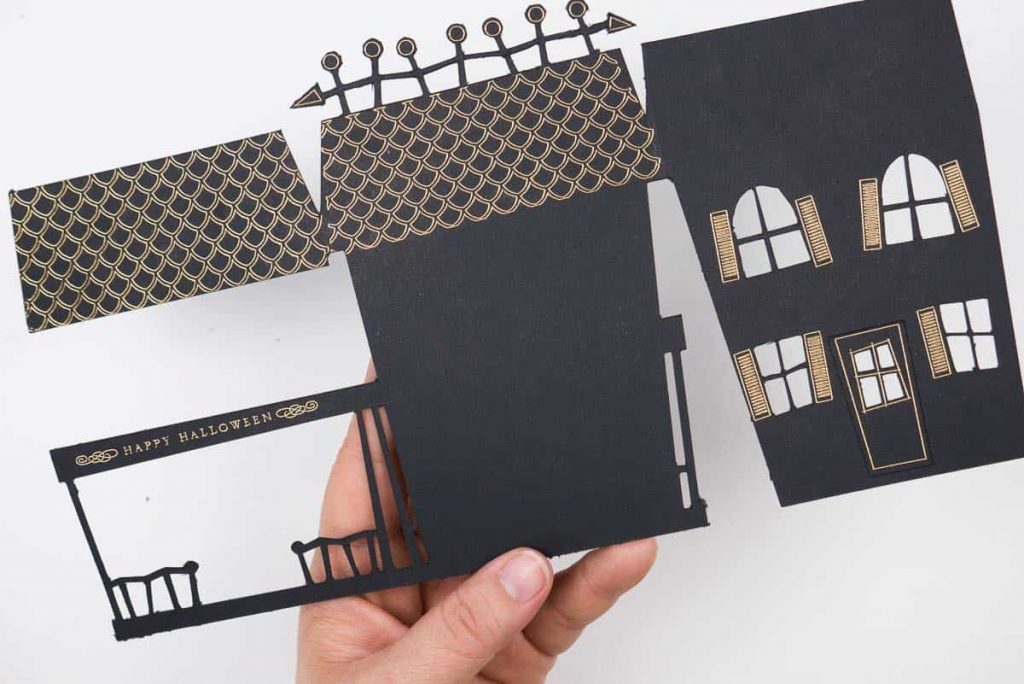
Halloween Party Invitation
The foil outline totally makes this fun Halloween Party Invitation! It looks super complicated but the machine, seriously, does all the work. I used Cricut Black Cardstock and a 12″ x 12″ sheet of gold foil (trimmed to fit project.)
You can find the Design Space file I used to make it here!
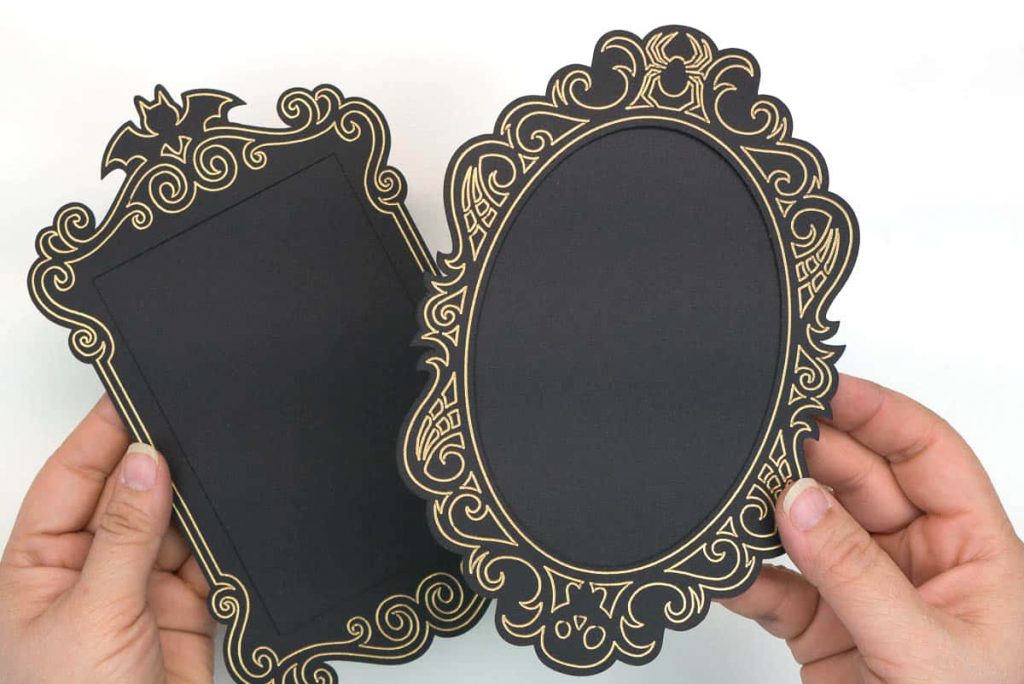
Gold Foil Menu Holder
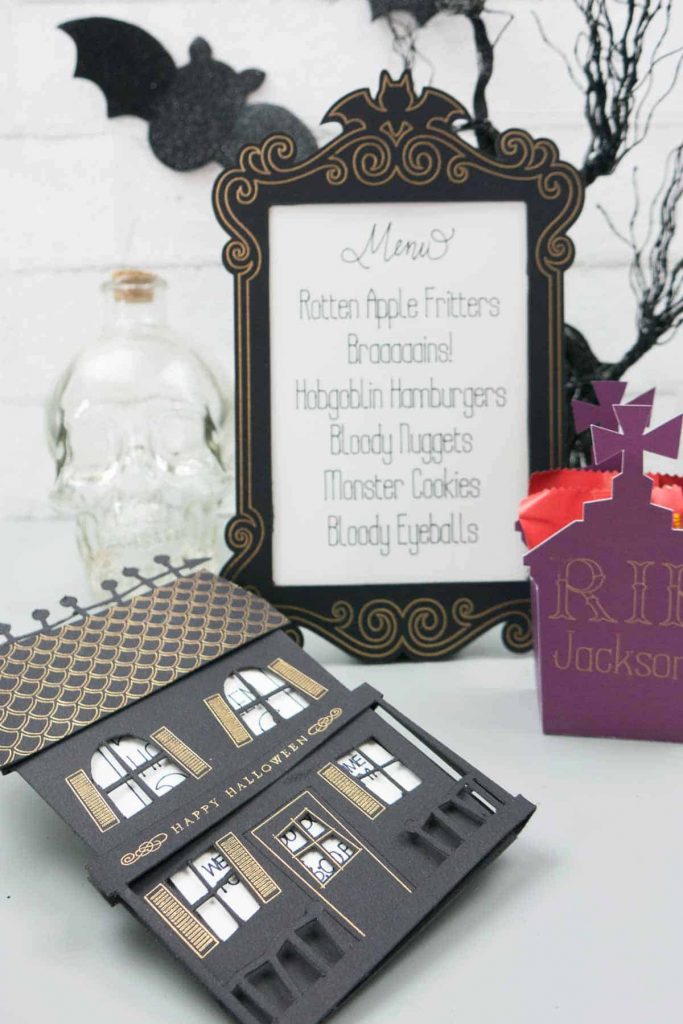
I absolutely love this menu holder because it’ll bring such a fun, glamorous element to any Halloween table but also because it can be used as a picture frame when the festivities are done!
I used Cricut’s Black Kraftboard and a full 12″ Gold Foil Transfer Sheet to make two ornate frames.
You can find the Design Space file I used to make it here!
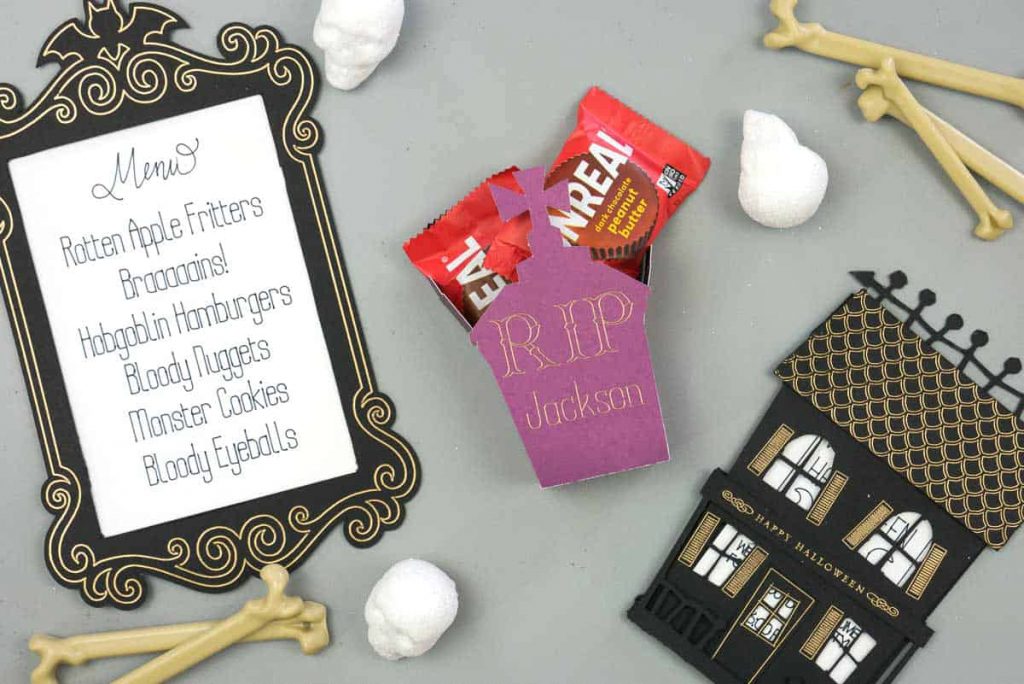
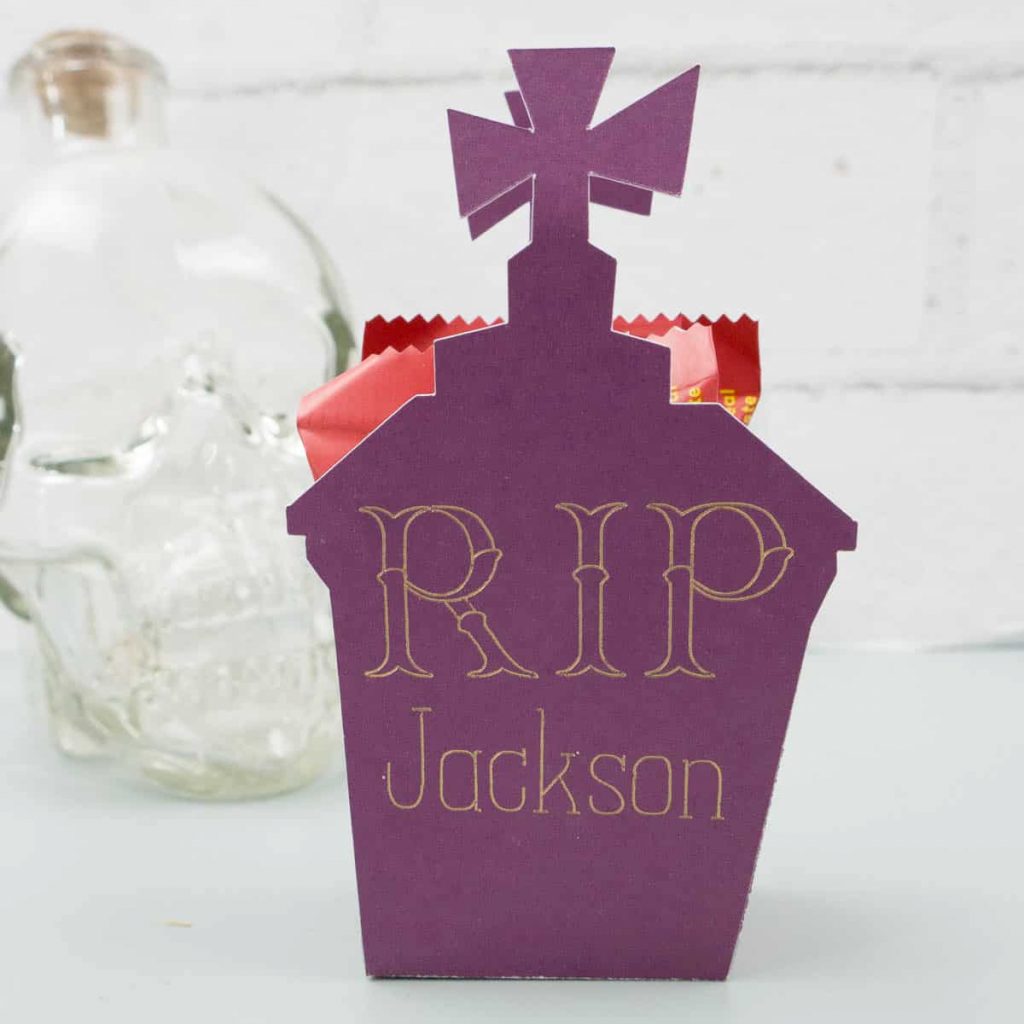
Foil Tombstone Placeholder/Favor
I absolutely love projects that are multi-use and these foil tombstone boxes are one of my favorites! They’re perfect for making sure everyone has a seat at the table as well as a little parting gift filled with treats.
I cut out two boxes per 12″ sheet of purple cardstock with a 12″ Gold Foil Transfer Sheet. Can be filled with small toys or candy!
You can find the Design Space file I used to make it here!
Ready to Party!
I hope you enjoyed seeing these three ways to have a super glamorous Halloween party with the Cricut Foil Kit! There are so many ways to customize each and every one of these projects. Can’t wait to see what you make!


Leave A Reply!