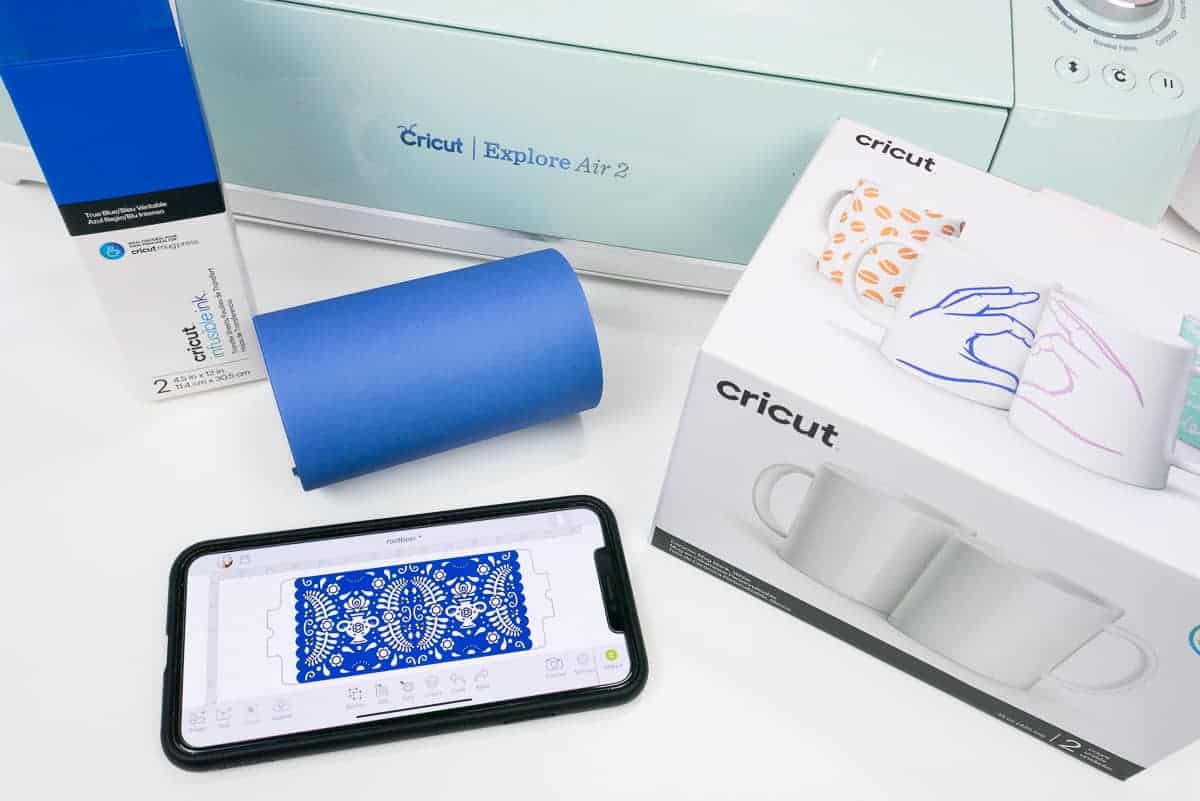
Super excited to be sharing a brand new craft product…the Cricut Mug Press! This awesome machine makes customizing mugs an absolute breeze.

This post is sponsored by Cricut and contains affiliate links. I receive a small percentage of your purchase (at no cost to you!) through these links which helps me continue to offer original tutorials and free printables!
About a month ago, Cricut reached out to ask if I was interested in helping them release a brand new product. Are you serious? Of course I was interested!
I was excited to eventually learn that they had created a super easy way to customize mugs with Infusible Ink…the Cricut Mug Press! Finally, no more shrink wrapping plastic around your design or having to turn on your oven. The new Cricut Mug Press makes it so easy to create the perfect personalized gifts!
This entire post will be a detailed introduction to the Cricut Mug Press. It’ll cover all the basics: price, accessories, set-up, instruction, and FAQ. I’ll also run you through a quick tutorial on how to make your first mug!
I love to gift mugs to friends, family, teachers, co-workers, and more. Being able to customize these mugs makes them an even more perfect gift! I’ve got so many mugs planned that are totally customized for the people I love in my life.
What is Infusible Ink?
Before we talk about the actual Mug Press, let’s go over really quickly what Infusible Ink is and why it’s so awesome on mugs!
When you use Infusible Ink products, the design is absorbed completely into the blank. Unlike vinyl, there’s no raised lip and the design will never crack or peel. As you can imagine, this makes the design extremely resilient and long lasting.
Because of the special process Infusible Ink uses, you have to use specifically designed blanks when using the transfer paper or markers.
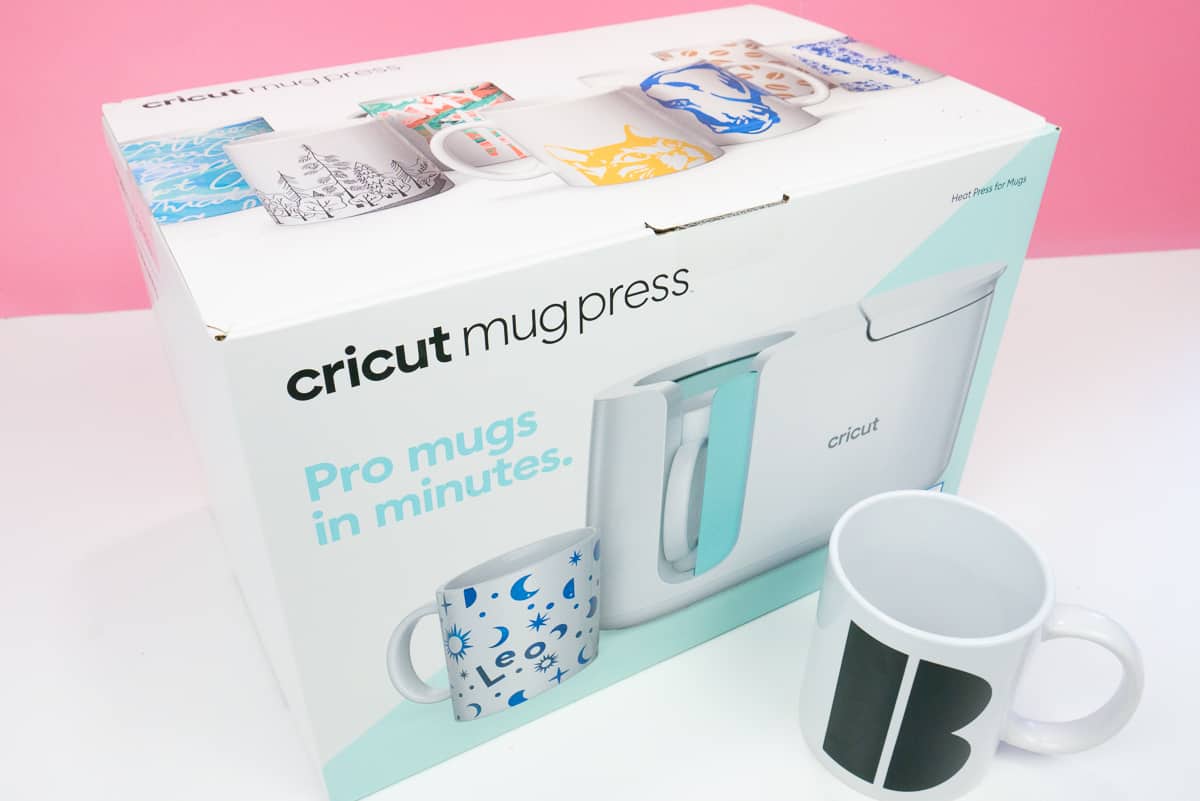
Cricut Mug Press & Accessories Price
The Cricut Mug Press will be released to the public on March 11, 2021. You can visit the Cricut shop to see the products that will be available. The Mug Press will retail for $199.99 and the Cricut ceramic mug blanks range from $6.99-$8.99. There will also be bulk packages of the mug blanks as well.
Cricut will also be releasing Infusible Ink Transfer Sheets that are perfectly sized to use with the Mug Press. Those will cost $6.99 and will work with all the Cricut Maker, Explore, and Joy.

Setting up the Cricut Mug Press
When you receive your Cricut Mug Press, it’ll have everything you need to get the machine ready for your first mug. In addition to the actual press and power cord, there will also be a USB cord provided in the box. This is very important since you will have to activate the Mug Press by connecting to a computer.
This step ensures that your press is up-to-date with the latest firmware and will only be required once. After you’ve activated it, you won’t have to connect again when using the Mug Press.
How to use the Cricut Mug Press
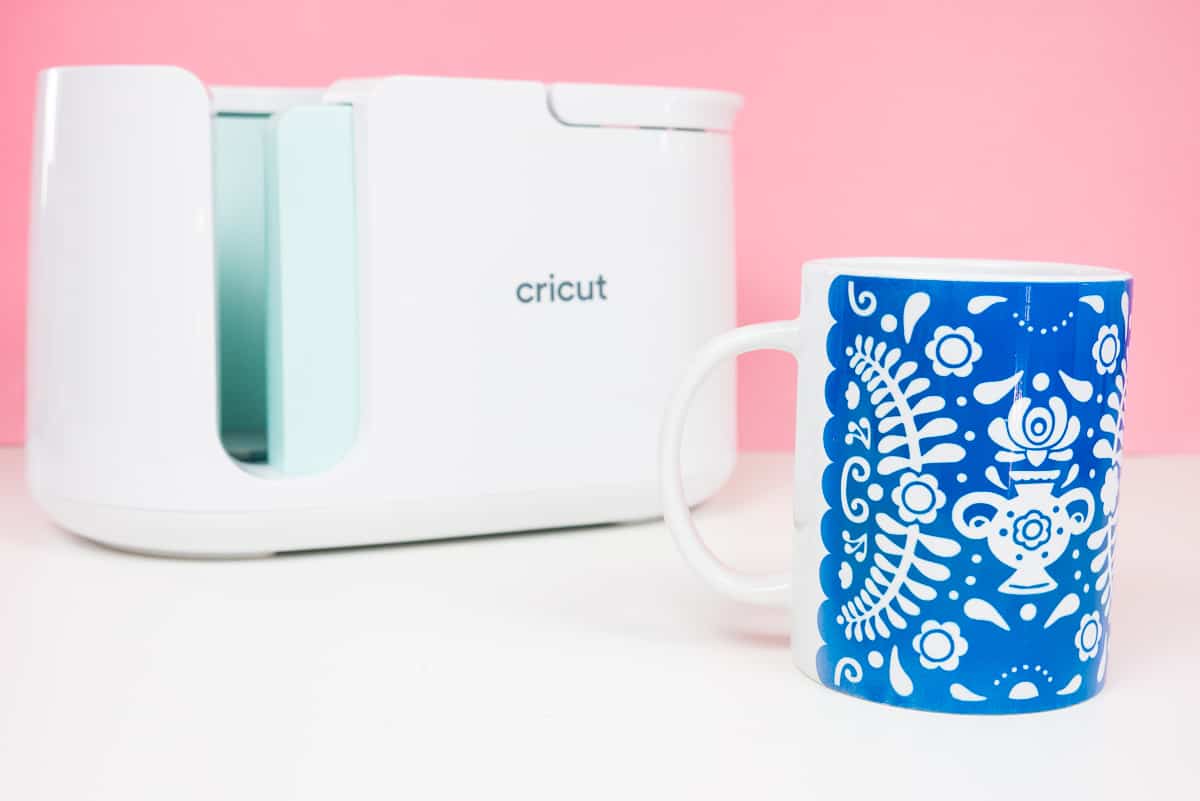
Using the Cricut Mug Press really is so easy! The following tutorial will show you how to design, cut, set-up, and press your first mug. I went with a gorgeous flower design that I found in Design Space because it reminded me of traditional Mexican pottery that I love.
I promise that you’ll be able to find tons of designs that will help you customize a mug for any of your friends and family!
Custom Mugs with Cricut Mug Press
Equipment

Instructions
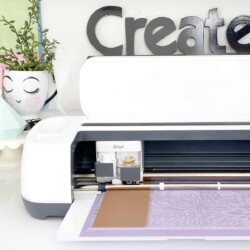
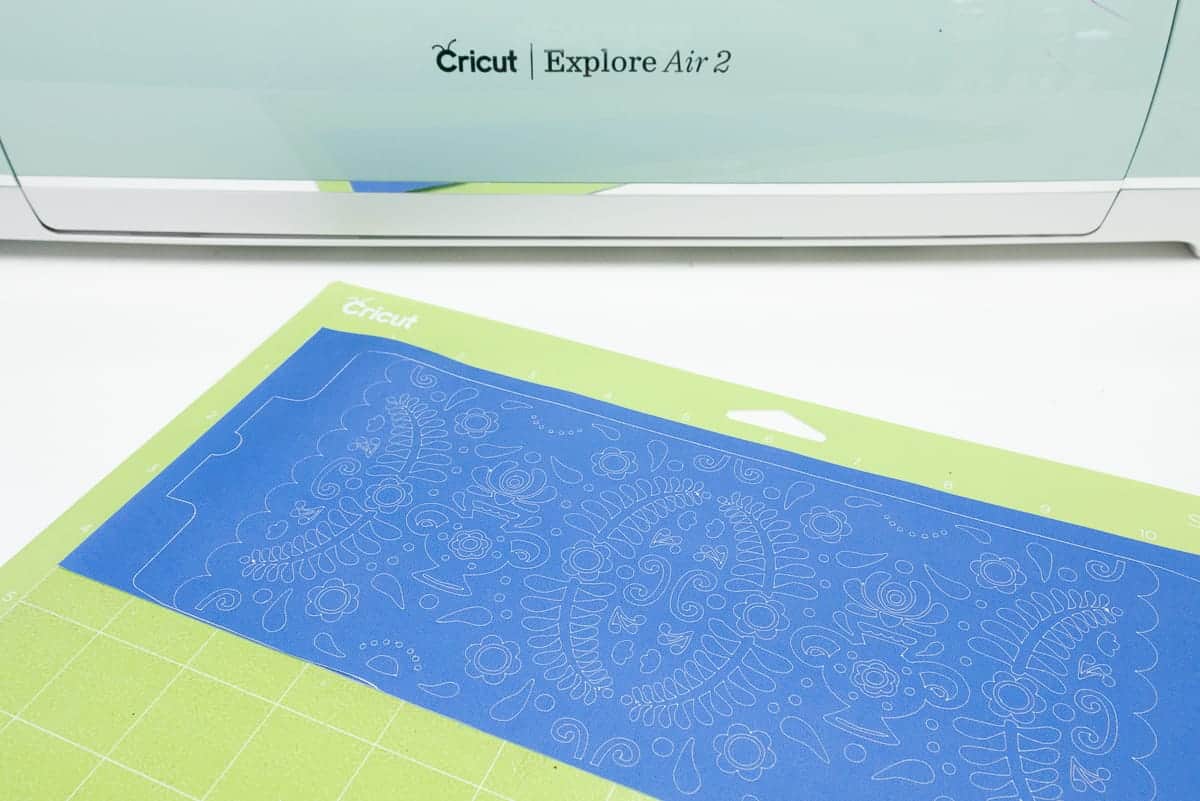
- First things first, you're going to have to create the mug design you want. There are tons of premade mug patterns in Design Space that are ready to go. If you want something more custom, just use the correctly sized layout to create your own design.

- You can use any of the Cricut digital cutting machines to cut out your design. Make sure to select "Infusible Ink Transfer Paper" as the material you're cutting.
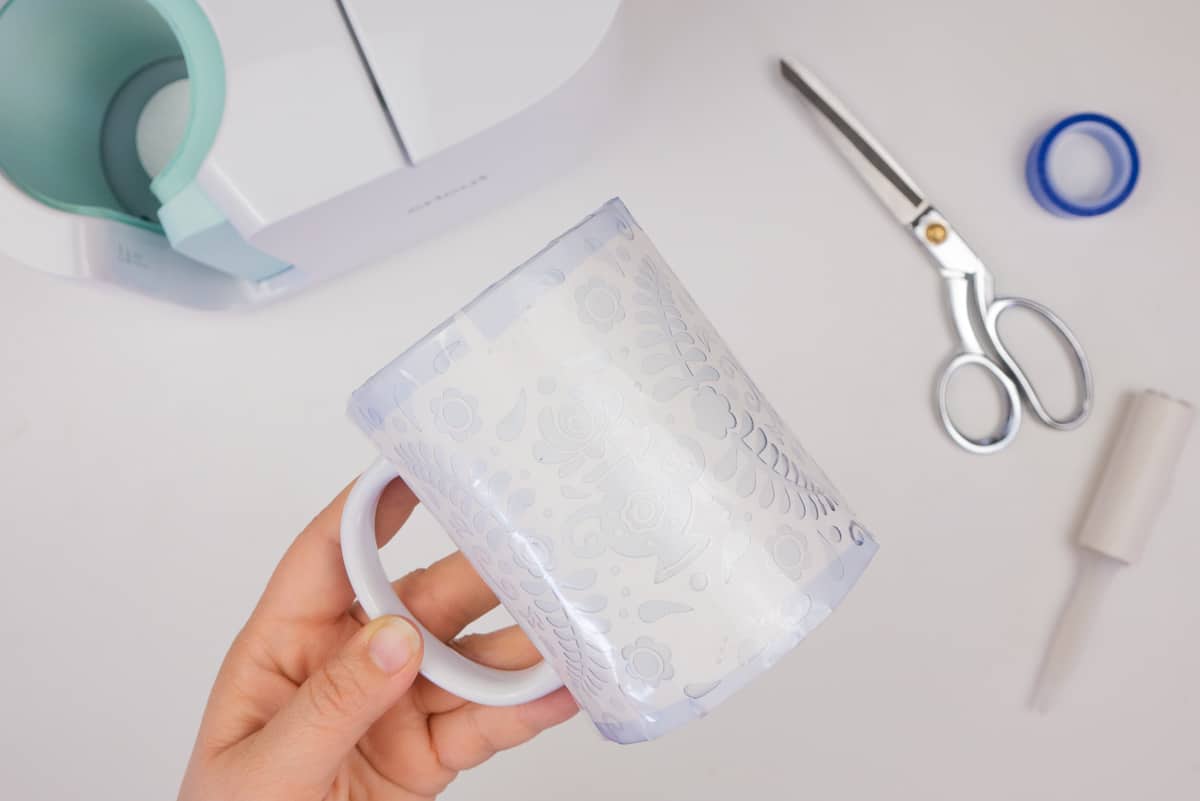
- Remove the cut transfer paper and weed out all the excess pieces.
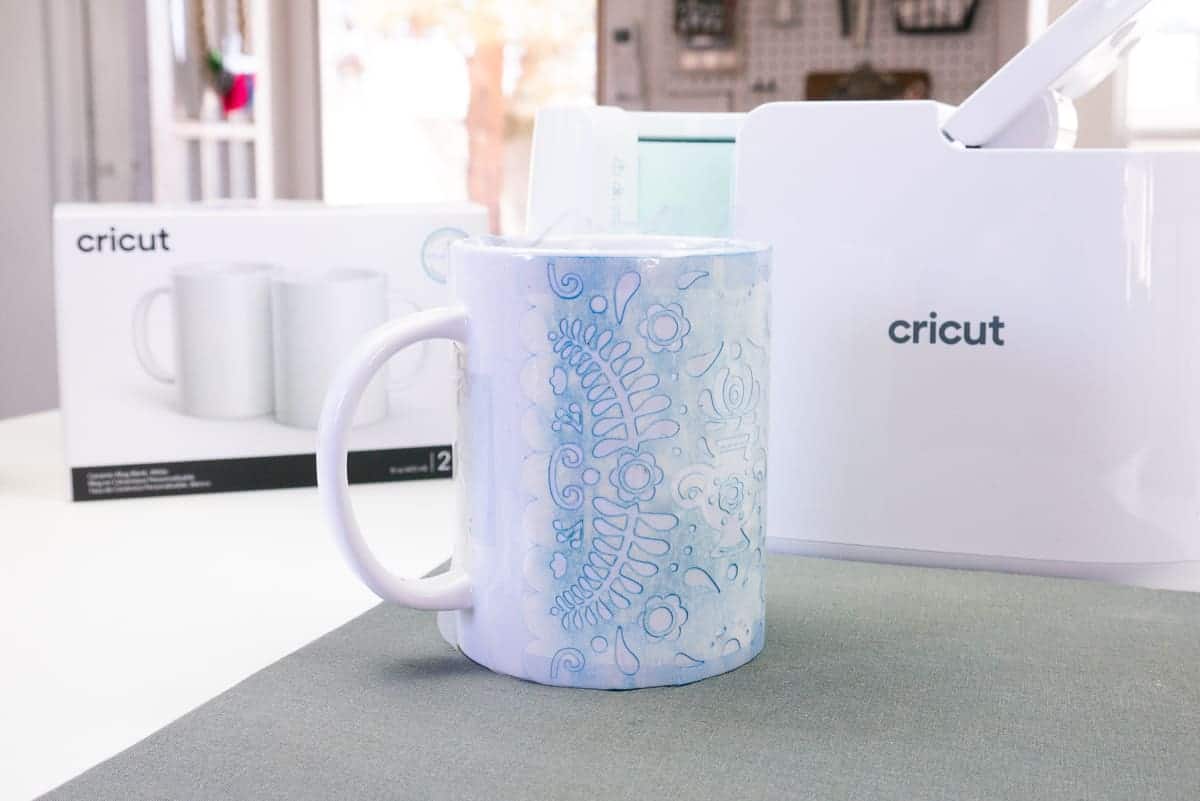
- Wrap the design around a lint-free mug, matching up the transfer tape end tabs inside of handle. You may need to reposition a few times until the pattern is perfectly lined up. If you want to really secure the transfer paper to the mug, use a few strips of the heat resistant tape along the top, side, and bottom.
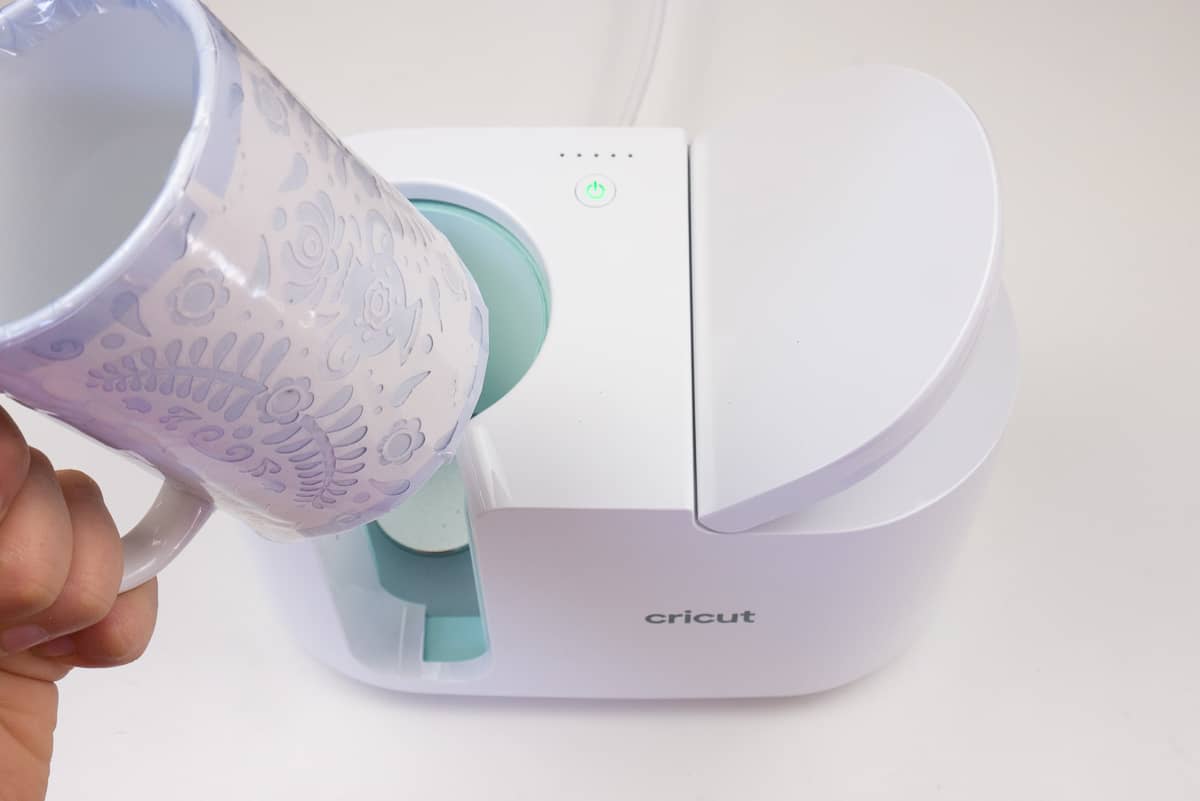
- Pre-heat the Cricut Mug Press by pressing the power button and waiting until it beeps. Insert the mug into the opening. Make sure the design is completely covered inside of the press. You may need to readjust the handle as you're pressing down on the lever.
- Once the machine cycles through all the flashing lights above the power button, it'll beep to let you know your mug is done. Lift the lever to release the mug and carefully pull it out by touching only the handle. The body of the mug will be extremely hot so make sure you only touch the handle and it's placed on a heat-safe surface.
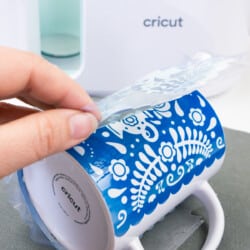
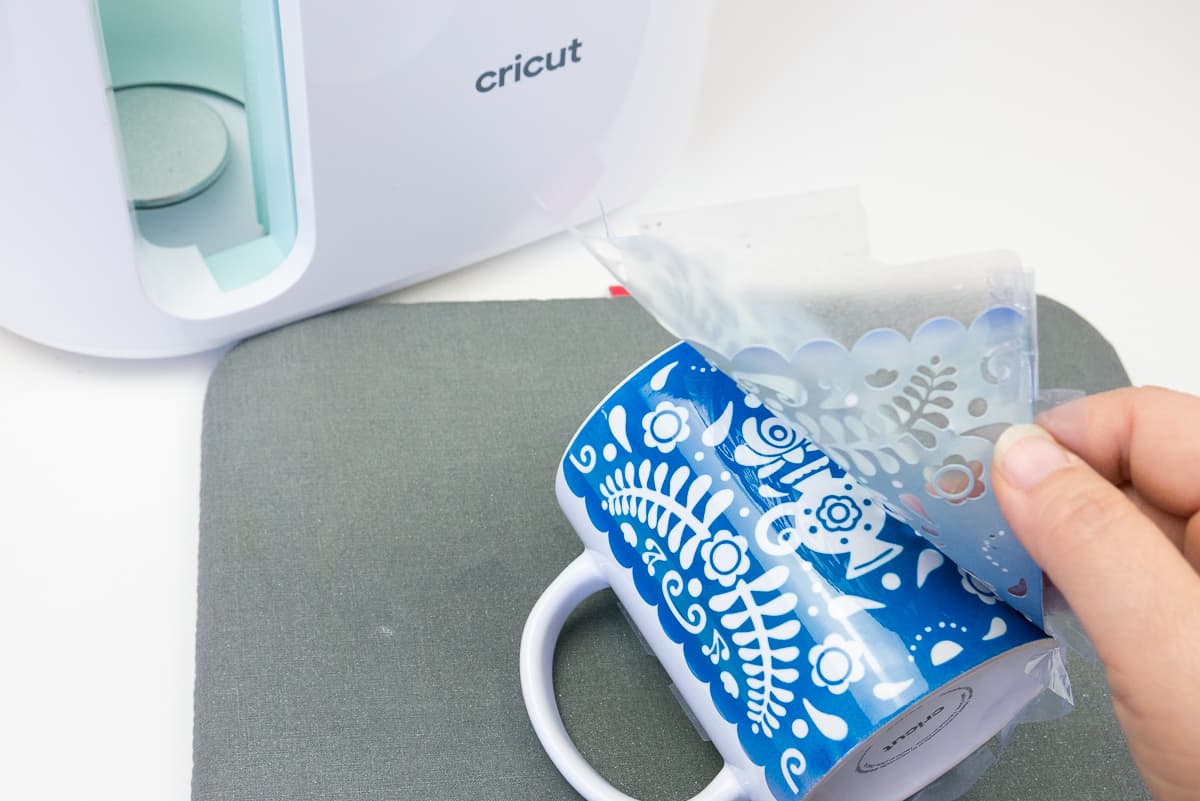
- Allow the mug to cool completely before removing the heat resistant tape and the Infusible Ink Transfer Paper design. Revealing the finished look is my absolute favorite part!
- Now you've got a awesome custom-made mug to enjoy for a really long time!


Frequently Asked Questions
Yes, other blanks will work with the Mug Press as long as they are meant for sublimation, straight-walled, between 11 – 16 oz., and within 3.2″ – 3.4″ wide. Highly suggest just sticking with Cricut Mug Blanks since they’re specifically formatted to work with the Mug Press and rigorously tested.
The initial activation is necessary to update the firmware. Once you’ve completed that step, you won’t have to connect to a computer again.
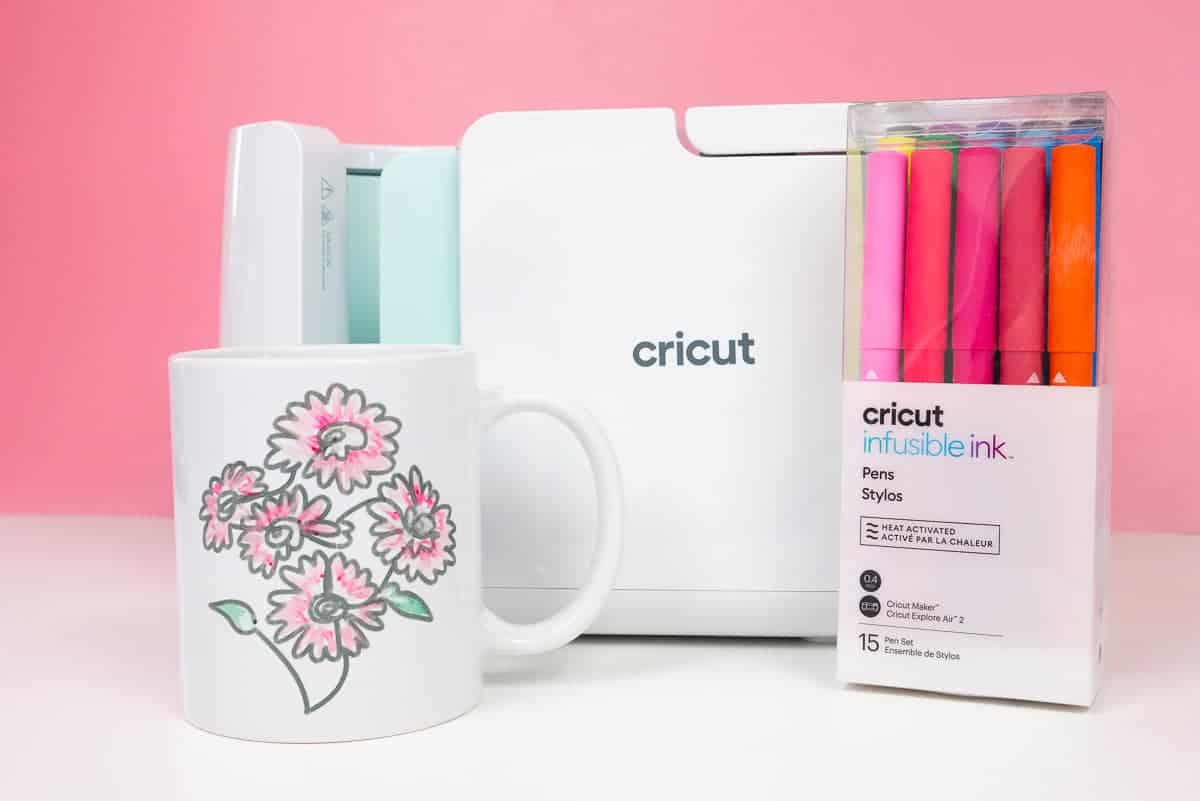
No, you could use the Infusible Ink markers or pens to make custom designs on laser paper and then transfer that to mugs. One thing to keep in mind, though, is that the drawing will have to be mirrored. A light table makes this process much easier!
The Mug Press takes about 6 minutes to finish.
The Cricut Mug Press applies Infusible Ink directly into the mug blank by a process of sublimation. Because of this, blanks have to have a specific poly-coating.
Absolutely! Just make sure to use the Transfer Paper first and then apply the markers. I’ll be sharing a more detailed tutorial of this process next week!
Mug Press Conclusion
I am so beyond impressed with the quality that the Cricut Mug Press produces. Each mug I made was so easy to create in Design Space and then cut with my Maker. Seriously, the process couldn’t be any easier!
I’m planning on mugs for my kids’ grandparents and teachers with their custom artwork on it. They’re going to love it!
Comment below if you’ve got any questions about the Mug Press and I’ll make sure to answer them!


Leave A Reply!