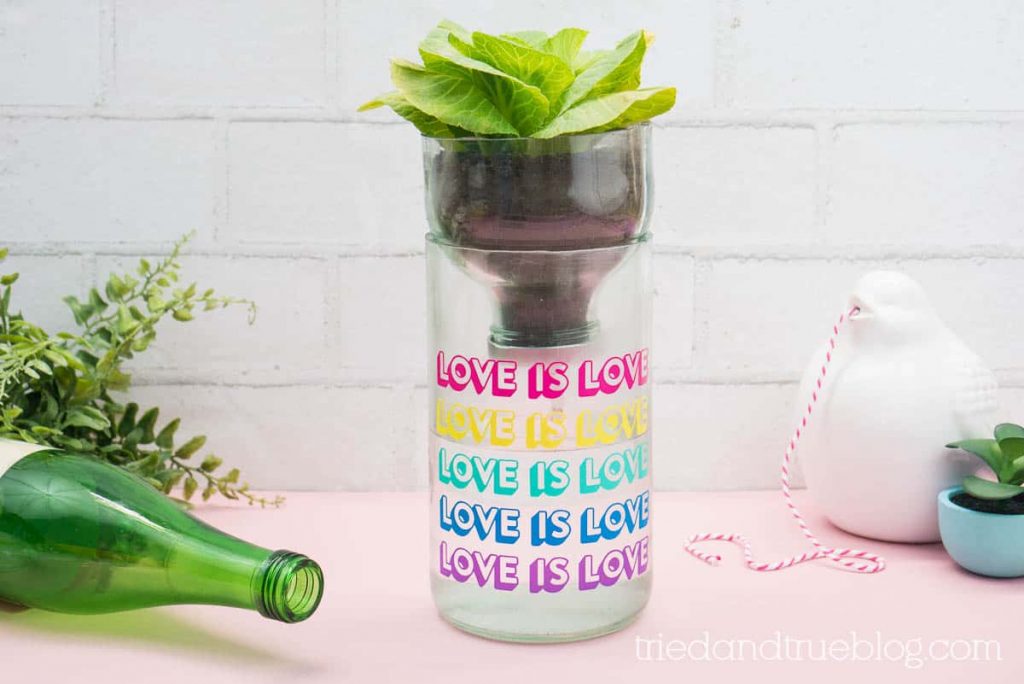
I have a horrible track record with plants but I’m hoping this Recycled Self Watering Planter DIY will help! It’s easy to make once you’ve got the right supplies. Looks great when customized with vinyl!
I’ve got to admit that I’ve been kind of scared of cutting glass. The image of glass shards flying everywhere has freaked me out for years.
But not anymore!
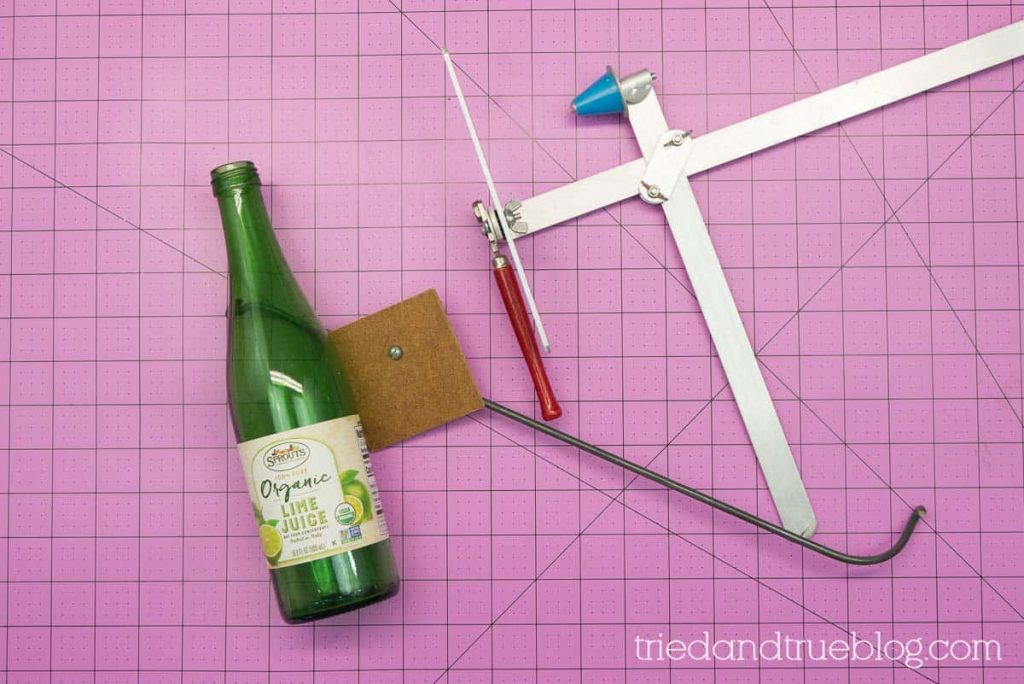
I used a crazy old glass cutting tool from the 60’s (Seriously. I’ll share pics of the box on my IG. It’s hilarious!) so I’m sure improvements have been made to make this Recycled Self Watering Planter DIY even easier! (Kinda crushing on this one I found!)
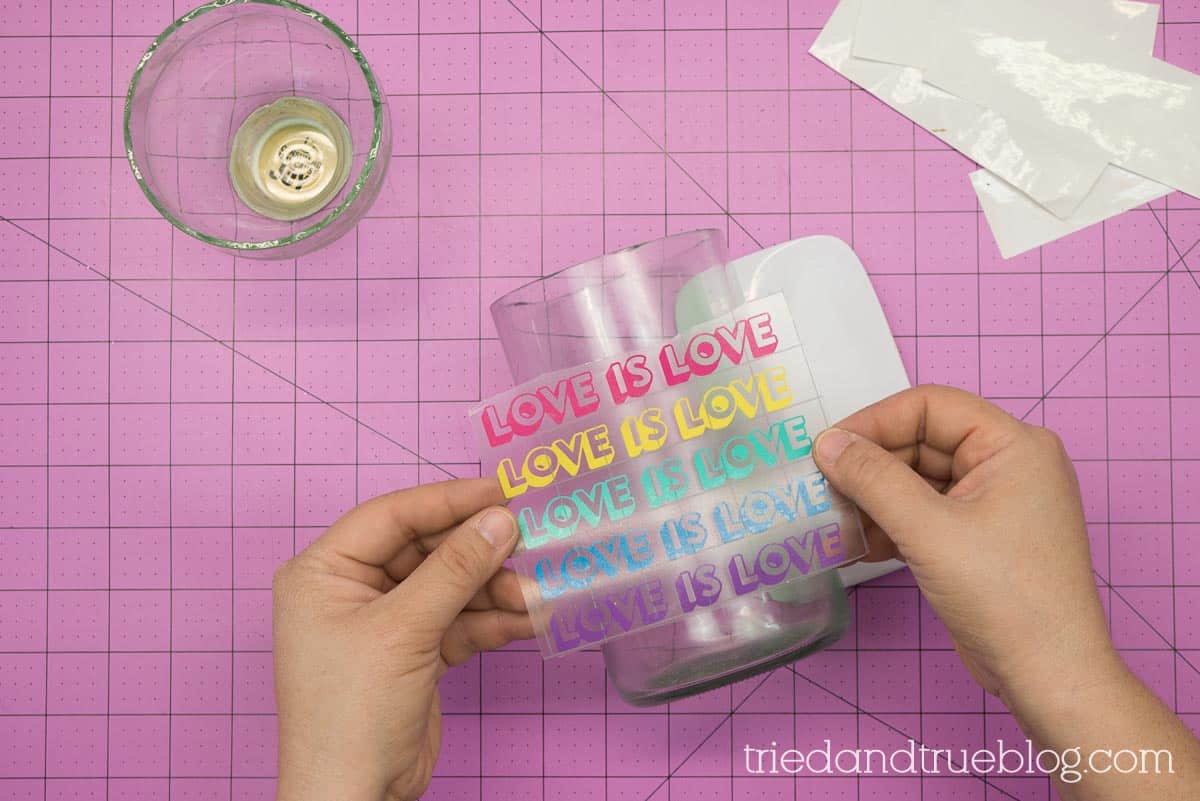
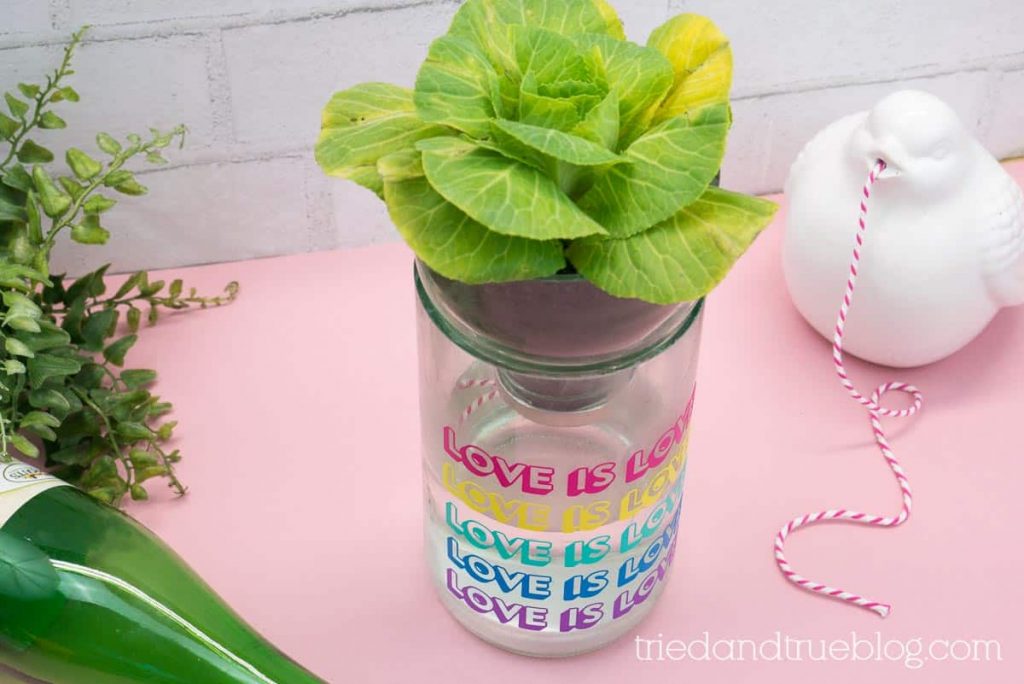
Once you get past the fear of glass cutting, this cute little planter is a breeze to make. I added a bit of colorful vinyl from Cricut to celebrate Pride during the month of June and always. You can find this “Love is Love” cut in Design Space.
I’m even planning on picking up a couple more of these large Hubert’s Lemonade bottles at Target so that I can have more social action planters everywhere. How amazing would “Black Lives Matter” and “Families Belong Together” planters look?!
Recycled Self Watering Planter DIY Tutorial
Recycled Self Watering Planter DIY
Supplies:
- Clean Glass Bottle (I used a 40 oz. bottle of Hubert's Lemonade)
- Glass Cutting Kit
- Cricut Digital Cutting Machine
- Colorful Vinyl
- Cotton String
- Dremel
Instructions
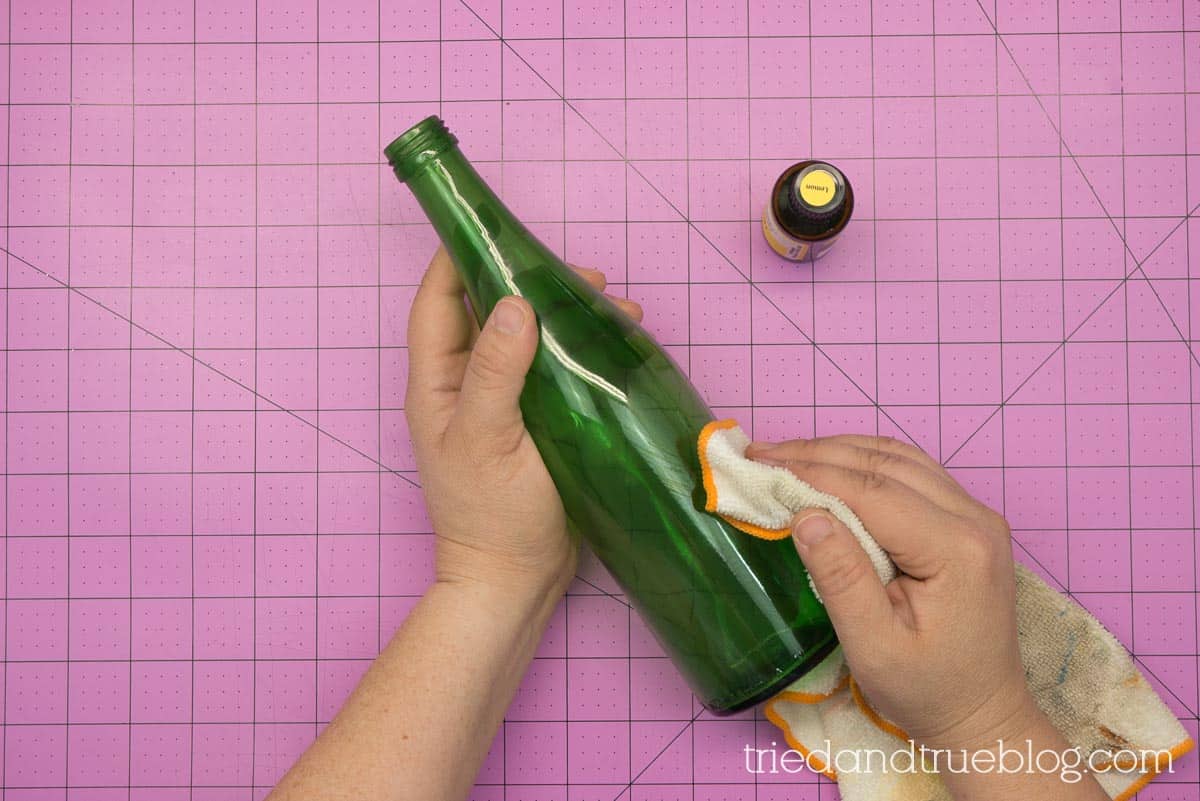
- Begin by removing the label of your bottle. Hint: Use lemon essential oil!

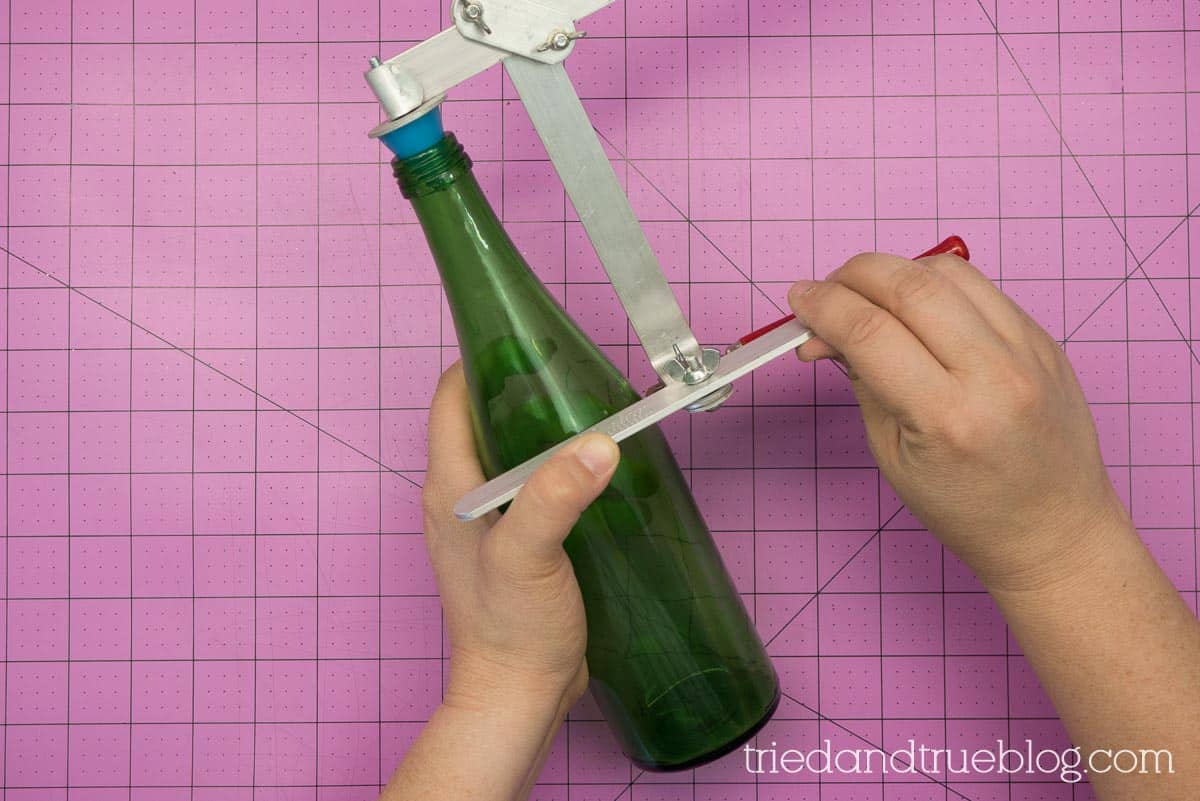
- Follow the instructions included in your bottle cutting kit to cut the top section of the bottle. If you're using a Hubert's Lemonade bottle, I went down approx. 4".
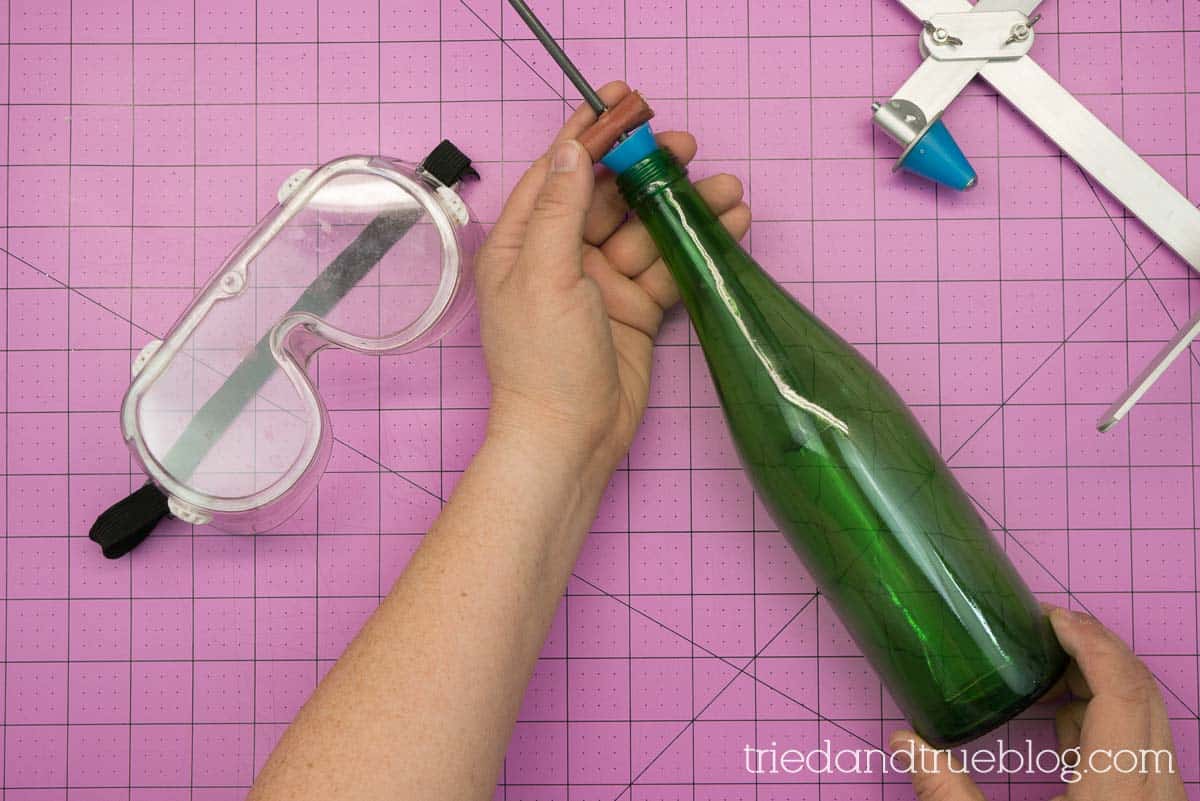
- Making sure you're using the correct eye protection, tap the inside of the glass until the bottle separates along the carved line.
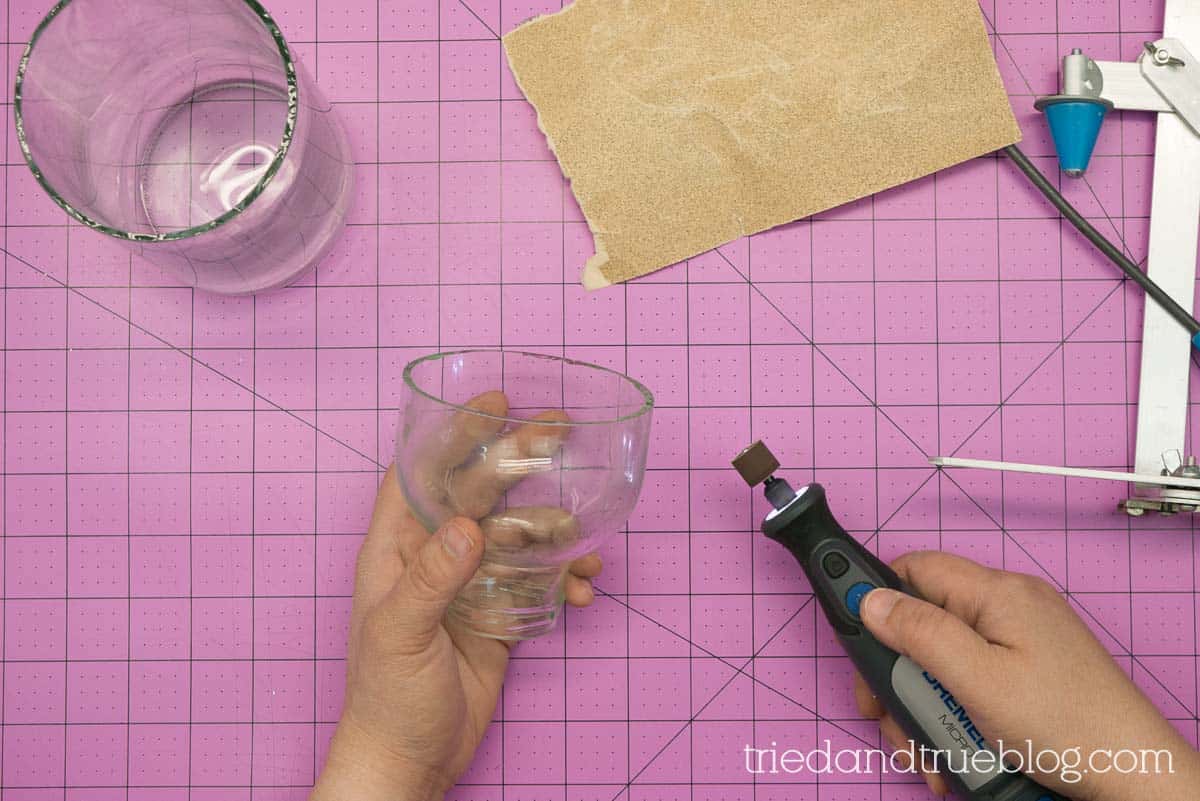
- Use sandpaper to smooth the edges. Or better yet: use a Dremel to get the edges super smooth!
- Use your Cricut to cut out the "Love Is Love" file found on Design Space.
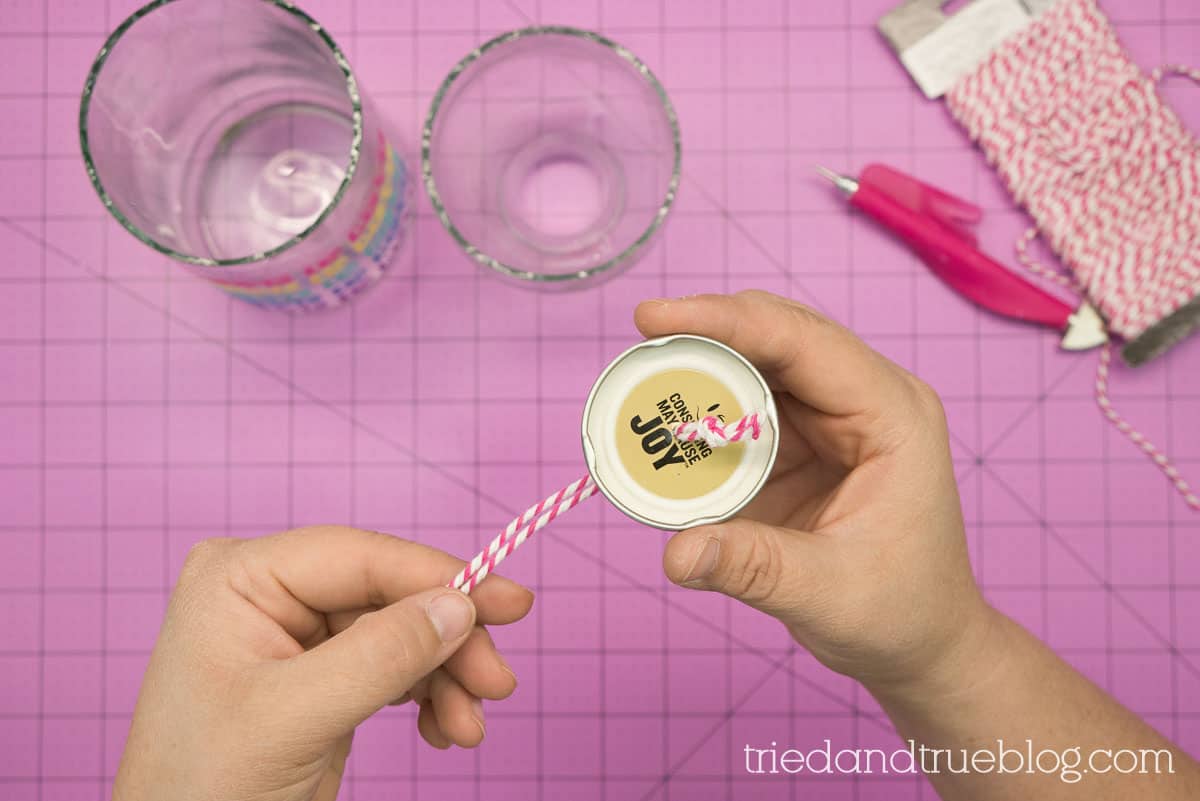
- Punch a hole in the top of the lid with an awl or sharp tool. Fold an 10" piece of cotton string in half and push through hole. Tie a knot to prevent it from slipping out. Pull string upward so that half of it is above the lid.
- Fill the top portion with soil and place on the lower section filled halfway with water. Enjoy!

Alternative Uses
Of course, there are so many ways to customize this tutorial! I loved the size of this large lemonade glass but you could also use the smaller version for a more compact planter.
This seriously is the perfect way to put some of those glass bottles you haven’t recycled yet to good use!
Don’t forget to tag me if you share on IG. Love seeing your creations!
Want more fun recycling-themed projects?
- Earth Day Recycled Tin Can Planters
- Recycled Houses
- Mother’s Day Song Scarf
- Father’s Day T-Shirt Free Cutting File


Leave A Reply!