This post on Cricut Design Space is sponsored by Cricut and contains affiliate links.
I’m often asked what is my favorite craft tool and, hands down, my immediate answer is Cricut. Your Cricut can create amazing projects when paired with Cricut Design Space. If you’re asking “What is Design Space and what does it do?” then this is the perfect article for you!
We’ll go through the fundamentals of Cricut Design Space in this post, including what it is, why you need it, how to get it, an introduction to using Design Space, and some helpful hints and tricks.
Whether you’re a seasoned pro or brand new novice, I promise you’ll learn something new, so let’s get started!
What Is Cricut Design Space?
Cricut Design Space is a free web-based program for all Cricut users. The Cricut Design Space offers an array of tools to make your Cricut dreams come true from powerful layout and design capabilities to built-in templates, fonts, images, and more.
You’ll be able to access both complete projects as well as the individual elements to create your own ideas. For example, you can select one of the Ready-To-Make Projects that will show you how to create that project from start to finish. Or, if you want more control over your project, start from scratch and pull in images or fonts you like.
Regardless of your level of expertise, Cricut Design Space is easy to use and offers many user-friendly features.
Why Do You Need Cricut Design Space?
If you own a Cricut machine, then you need Cricut design space. The Cricut machine can only create projects that have been sent to the machine via Design Space. So, if you want to make an original creation with your Cricut machine, you’ll need Cricut Design Space.
There are many reasons why you need to use Cricut Design Space as part of your crafting process – so let’s explore a few:
1. You can create personalized projects with text and fonts. Want to add the name of a bride and groom to a banner, or the birthday boy’s age on a party hat? You can do that.
2. Use pre-made scrapbook images, Cricut images, or upload your own artwork to use in projects. It’s up to you!
3. Work on the go with Cricut Design Space mobile apps for iOS and Android devices.
4. It’s the only program that allows you to save your Cricut projects, so you’ll get more use out of your Cricut Machine!
There are tons of free images, fonts, and files that you get access to immediately after signing up for Design Space but I highly recommend getting a subscription to Cricut Access! There are two different levels with different benefits but both of them come with unlimited use of 200,000+ images, 500+ fonts, and thousands of projects. The images I’m using in the project below are available to Cricut Access members.
How To Get Cricut Design Space?
Cricut Design Space is free and easy to use. Once you have your Cricut machine , all you need to do is:
- If you have the Getting Started flyer included in your Cricut cutting machine box, just follow the instructions to start downloading Cricut Design Space.
- If not, open a browser on your computer and go to design.cricut.com. From here you’ll be able to download Design Space for either Windows or Mac.
- Click on the Design Space file after it has been downloaded to install.
- When prompted, enter your Cricut ID and password.
- (Optional) Download the Design Space app to your phone or tablet for mobile ease of use.
- Ready to create? Keep reading for a super easy first project that will introduce all the basics of Design Space!
How To Use Design Space?
Cricut Design Space is extremely easy to use for beginners and Cricut veterans alike. As mentioned before, you can create personalized projects with text and fonts or download pre-made scrapbook images or even upload your own artwork.
Since it’s cloud-based software, you can share your files across multiple devices including your laptop, phone, and tablets.
When you first open it up, you’ll be greeted by the Home page. Here you’ll see a section for your projects, video tutorials, and a few different rows of ready-to-make projects in different categories.
You can, of course, start with any project you’d like, but for the purposes of this tutorial, we’re going to select “New Project” in either the “My Projects” section or by tapping the green button in the top right-hand corner. Either one works!
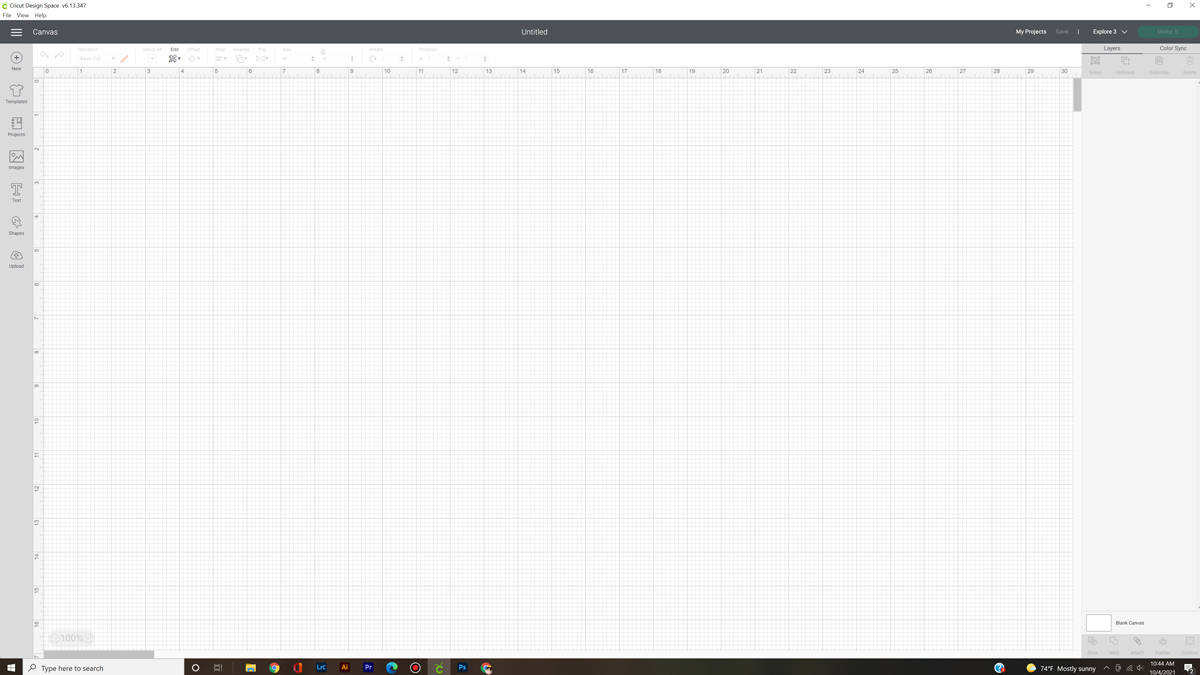
This is what the blank canvas looks like in Design Space. Along the left-hand side is a menu that will insert different items onto the canvas. This is where you’ll add images and fonts to start creating your project. (You’ll notice that you can also add templates or one of those ready-to-make projects we talked about earlier.)
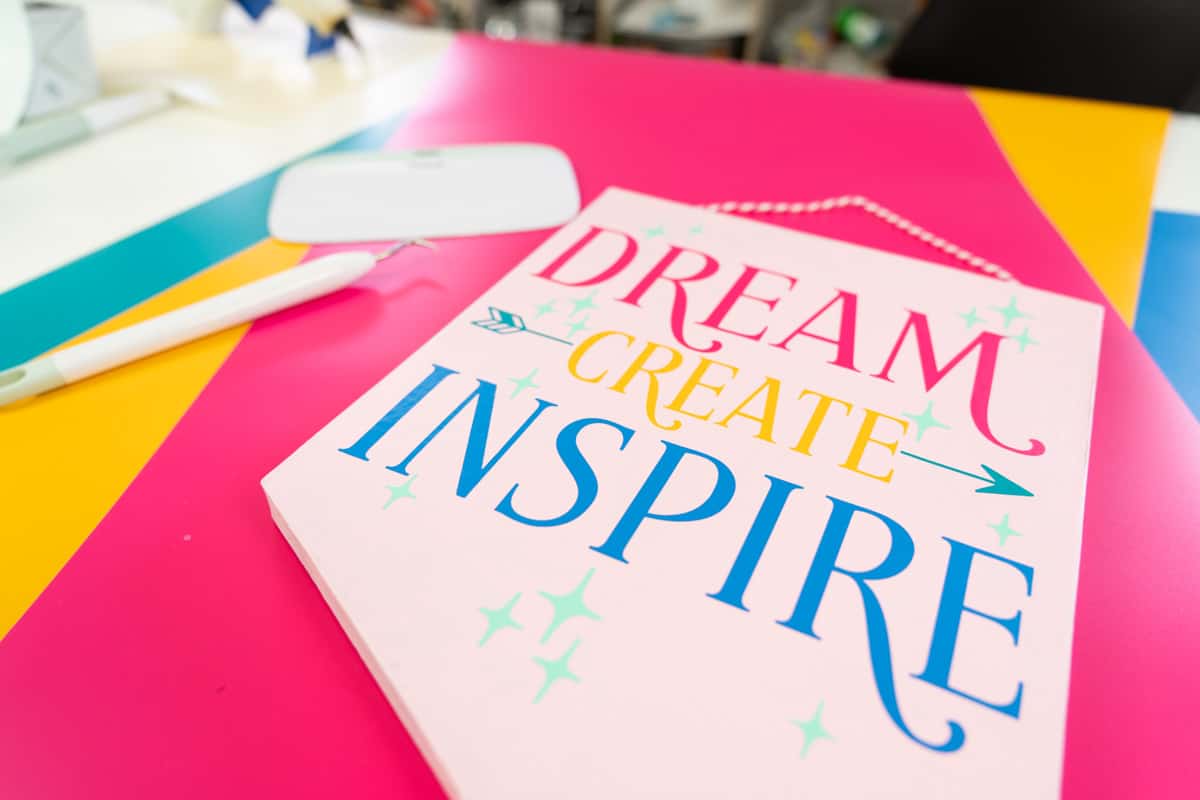
From here on out, it’s easier for me to just create a project in Design Space for you to understand what each of the Design Space features does. So, let’s create an inspirational pennant flag with Cricut Design Space!
How To Use Features
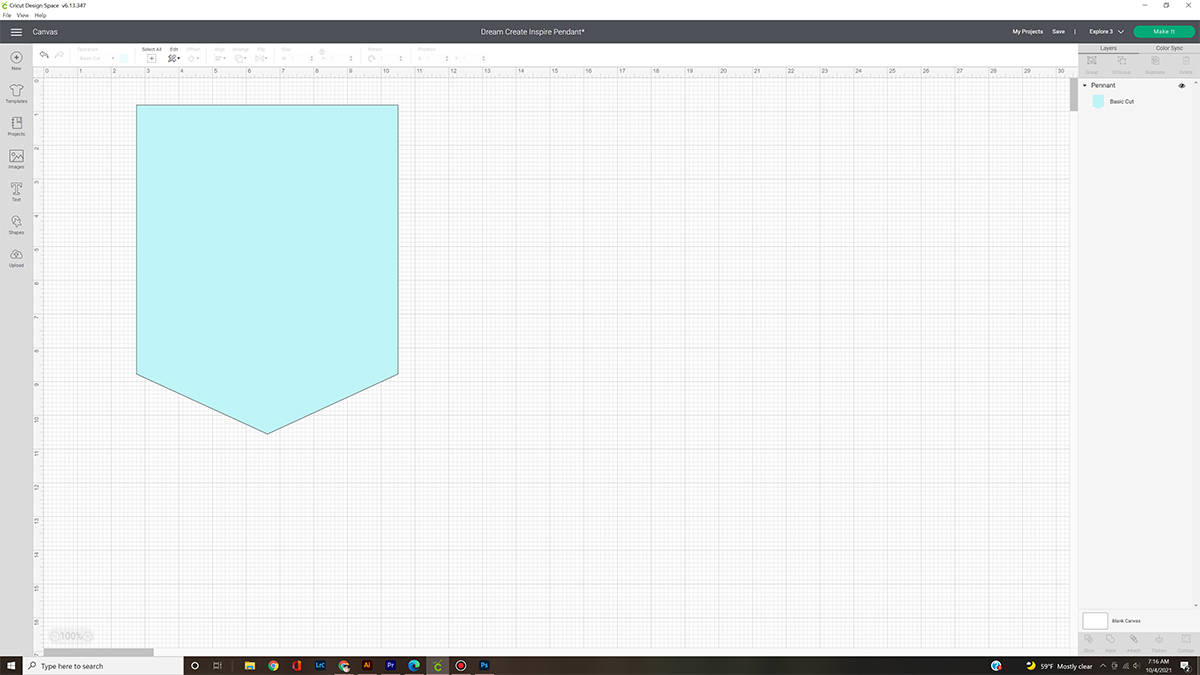
Let’s start with an almost blank canvas in Design Space. You’ll see in the image below that I have already added a pennant flag shape. This is the exact size of the pennant flag I’ll be adding the vinyl to. Having it in Design Space will help with the layout and sizing of the vinyl cutouts.
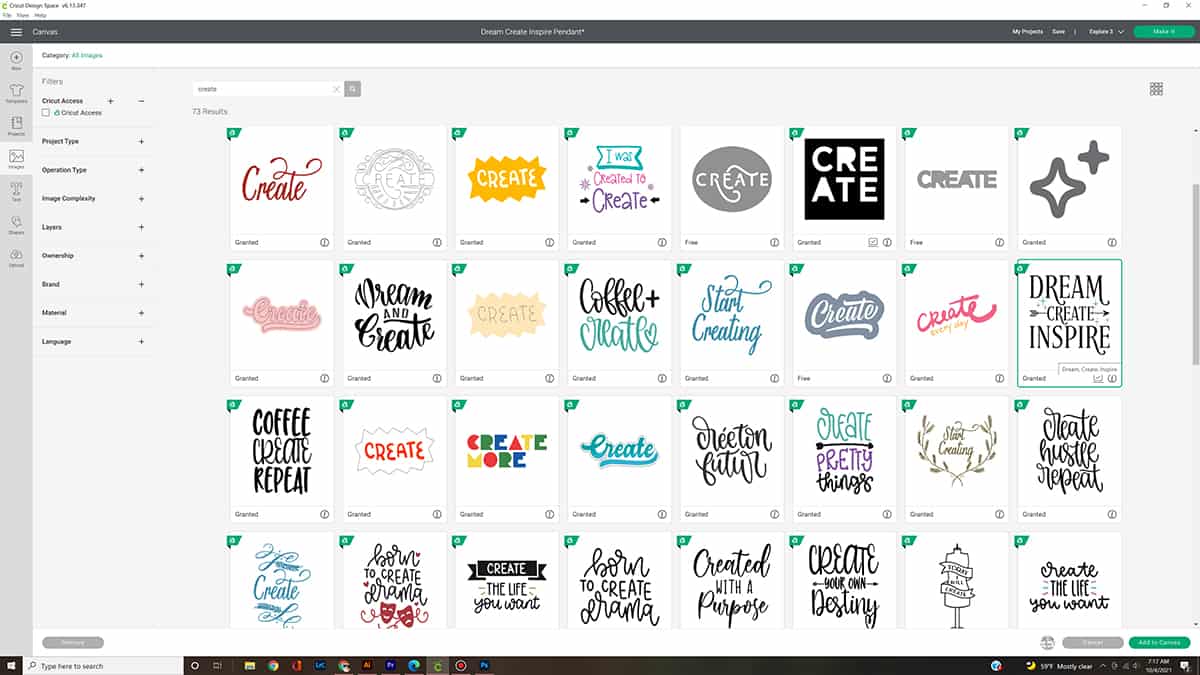
Next, I’m going to select “Images” in the bar on the left-hand side and search for “create” to find the perfect inspirational file. This “Dream, Create, Inspire” one is exactly what I was looking for! You can find the link to this exact project here.
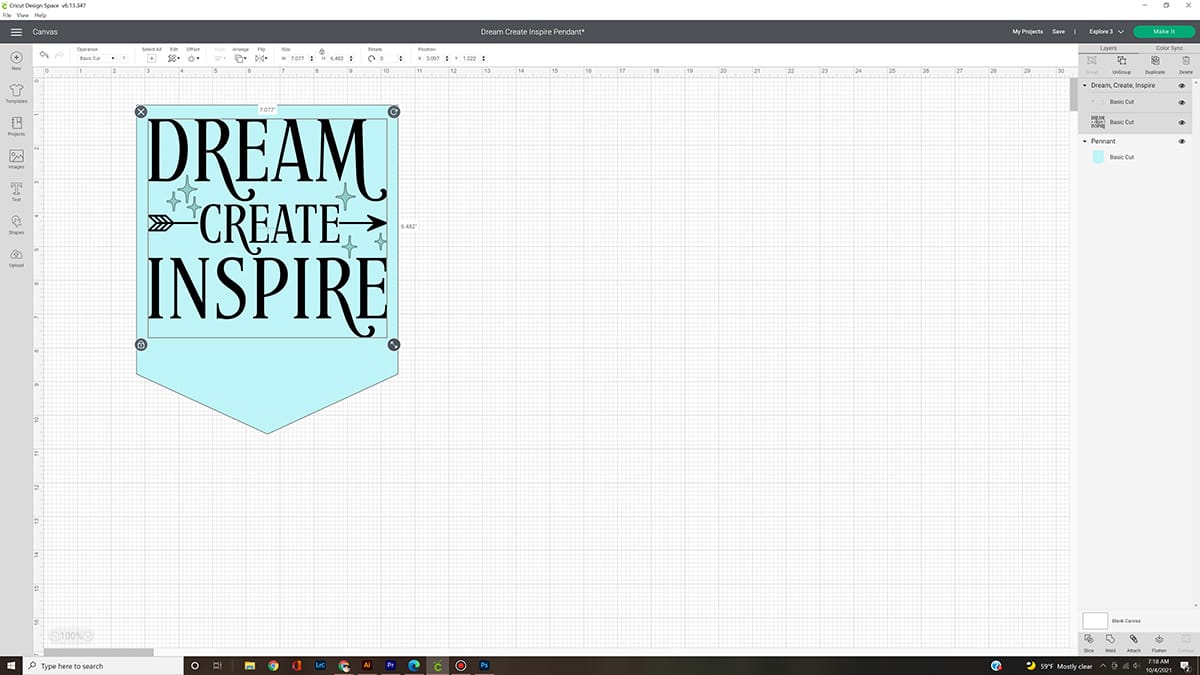
Once you’ve clicked on the green “Add to Canvas” button on the lower right-hand side, you’ll see the image show up on your canvas. Notice how on the right-hand side of the screen, there are now two items in the “Layers” section. Each layer represents a different element on your screen and can be toggled off and on by clicking on the little eye button next to it.
If you click on the “Dream, Create, Inspire” image, you’ll see it surrounded by a box with symbols in each corner. When clicked on, each of these buttons will either delete, rotate, lock, and resize.
Most of those are self-explanatory with the exception of the lock tool maybe. Locking an image will maintain the original dimensions when resizing. Play around with it a bit and you’ll see what I mean.
Continuing with our tutorial, I’m going to click on the resize corner and pull to fit the size of my pennant flag.
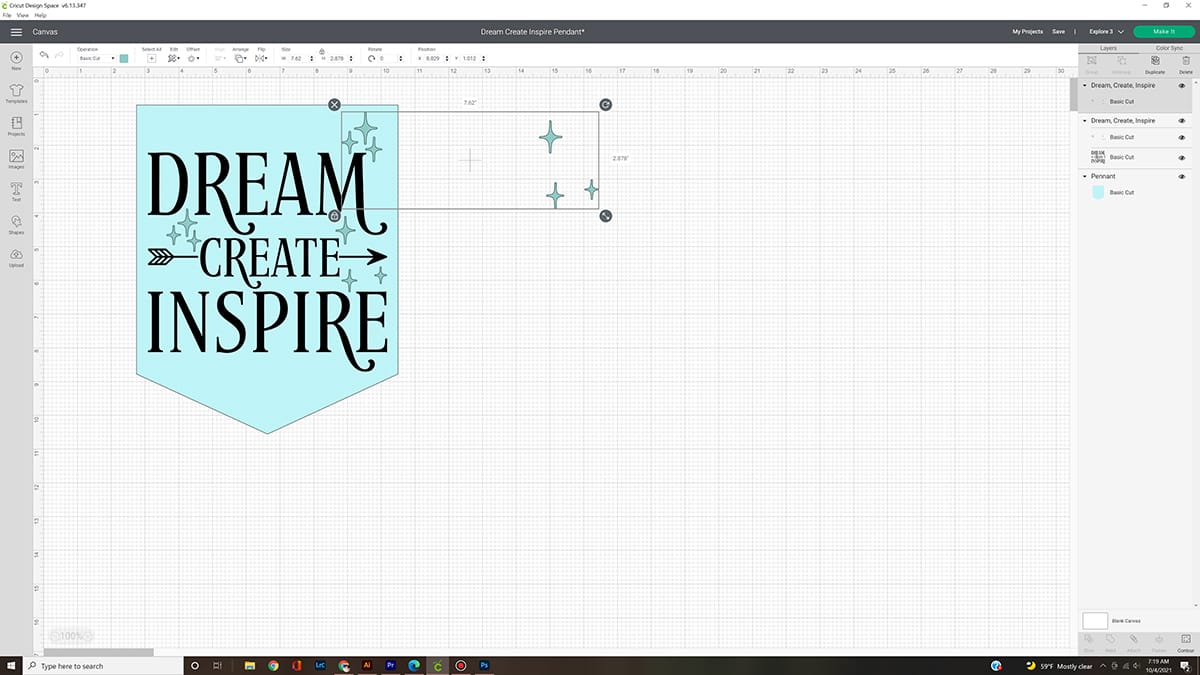
I love how the design is looking but I want to add a few of the stars in some of the blank spaces of the flag. Just click on the stars layer (found under the c layer) and hit the “Duplicate” button in the menu above (right next to the Delete button.)
Now that I’ve got a second star layer, I’m going to click on that layer and move it to the empty space at the top of the pennant flag. I like how that group of three stars looks around the last E in “Create” but don’t need the rest of the stars in that layer. That’s where “Contour” comes in handy!
Make sure the correct star layer is selected and then tap on the “Contour” button in the bottom right-hand section of Design Space. From there, you’ll be able to tap on individual elements of a design to delete them from view.
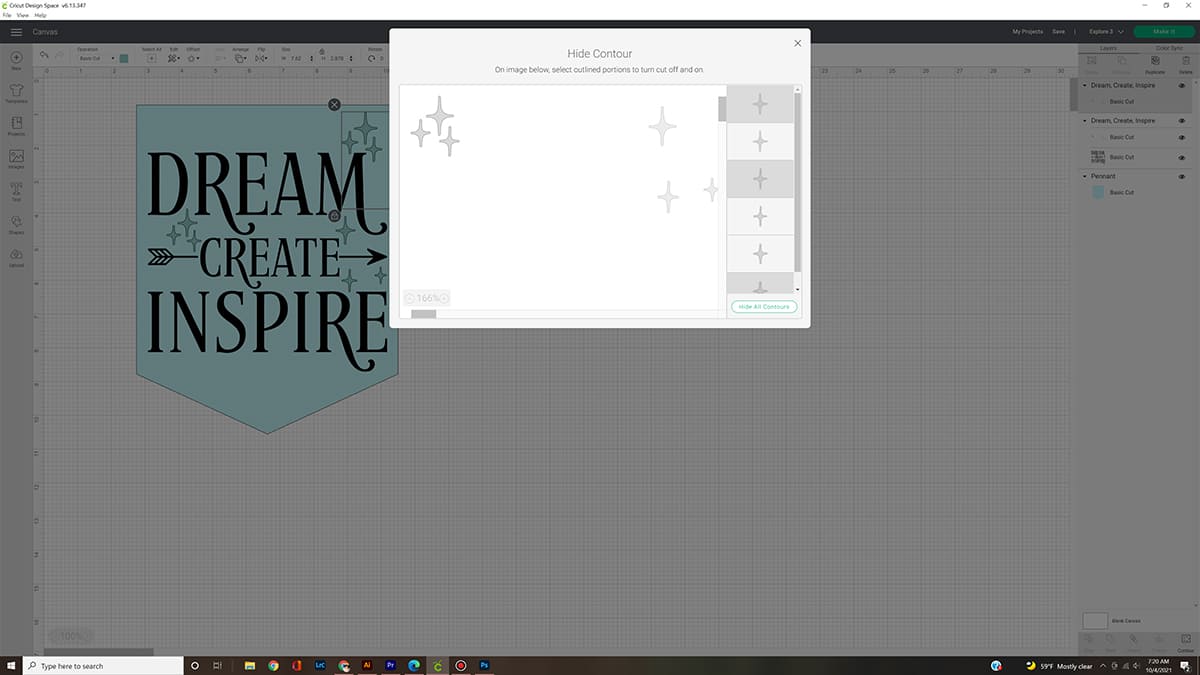
Don’t worry, you can always go back and add those designs back in if you want!
I’m going to continue duplicating and contouring different stars to place in all the empty space of my inspirational pennant flag. That’s looking much better!
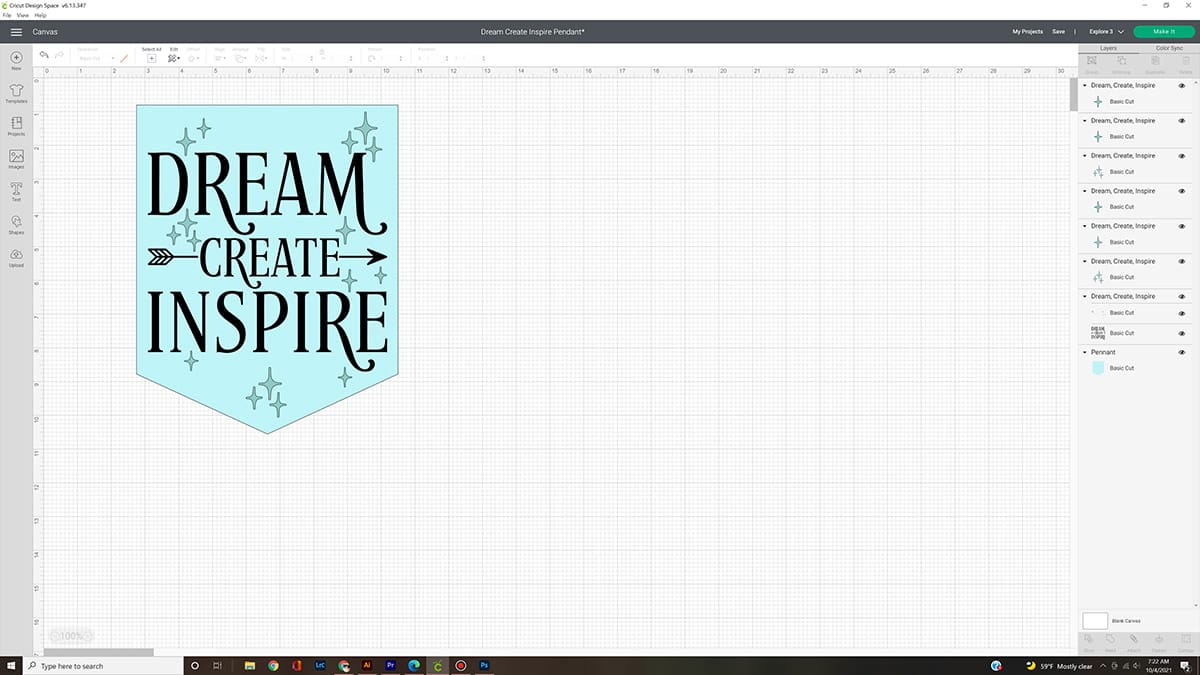
Now that the layout is exactly what I want, let’s work on the colors a bit. Since the original “Dream, Create, Inspire” file was only one layer, I’m going to have to isolate all the different elements with the Contour tool again.
With all of the elements isolated, I can change their colors by tapping on the color box in the “Operation” section on the left-hand side of the main menu running along the top of Design Space.
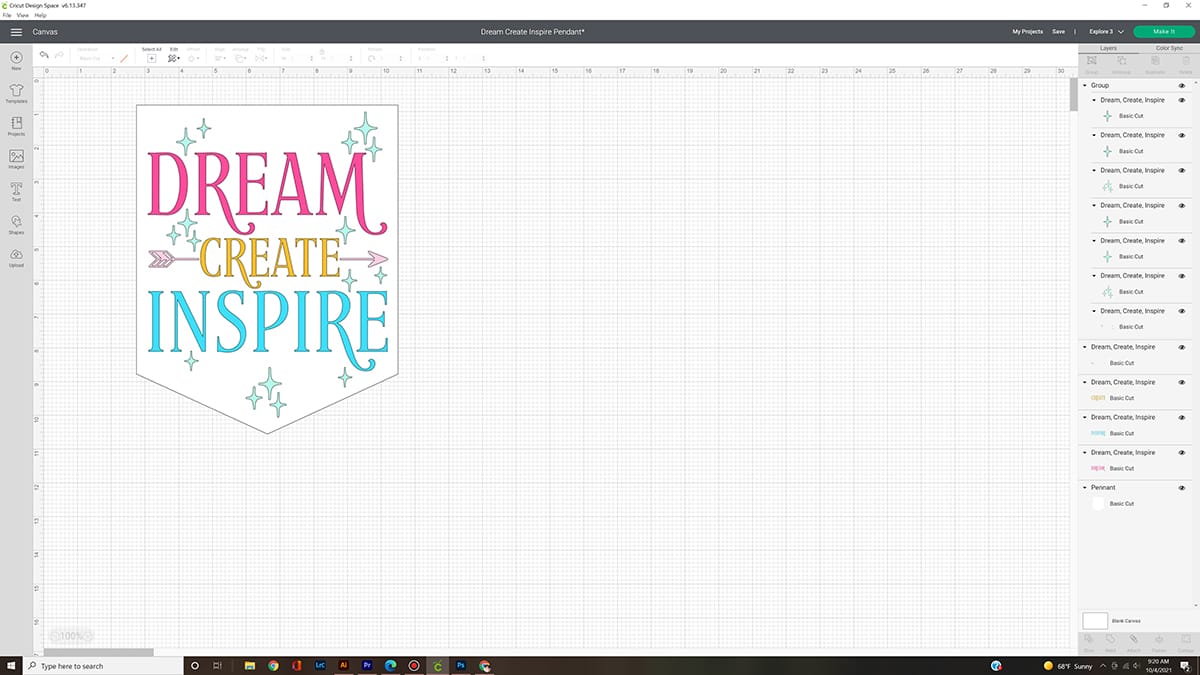
Don’t forget to periodically save your file. Design Space doesn’t have autosave and I’d hate for you to lose all your hard work!
When I’m happy with the final layout and color choice, I’ll toggle off the pennant flag layer (tap on the little eye) and click the green “Make It” button in the top right-hand corner.
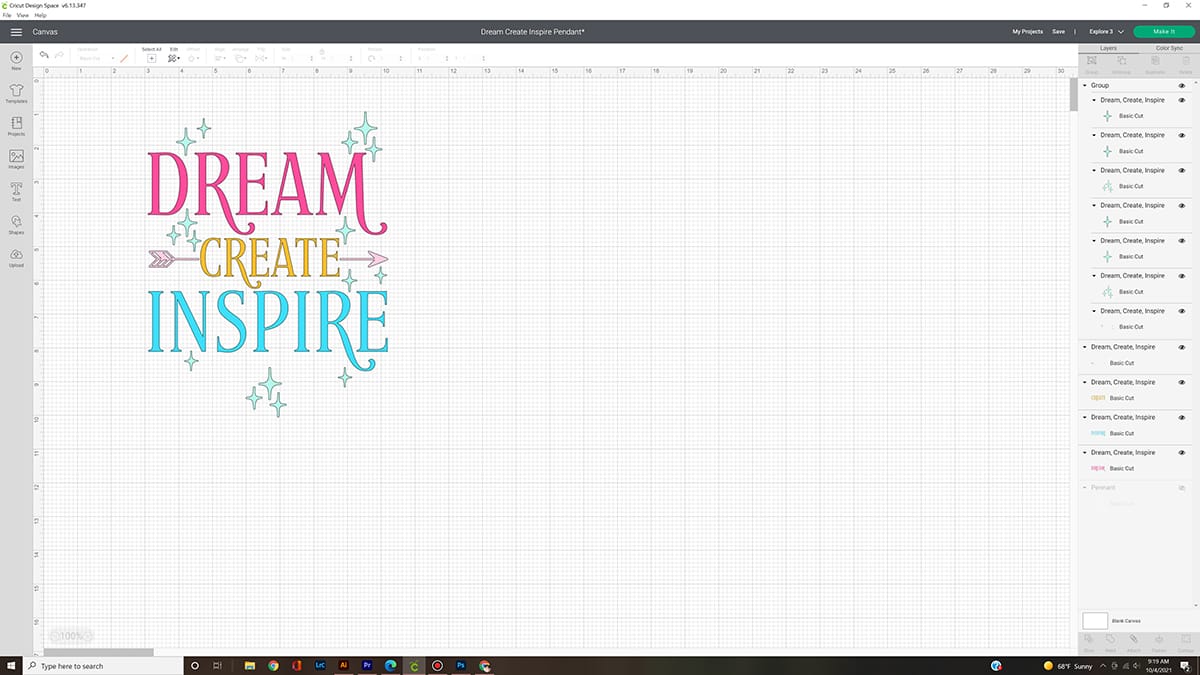
From there, Design Space will tell me exactly what color of vinyl needs to be inserted into the machine at what time. I’m using a Cricut Maker for this project so I’ll be able to skip the mats and just insert Cricut Smart Vinyl straight into the machine. I absolutely love this feature in the new Cricut Maker 3 and Cricut Explore 3.
The Joy even has a Smart Vinyl option for smaller projects!
Tips And Tricks
- Simplify things by using contour to hide individual elements instead of deleting them. They can always be brought back with the undo buttons in the top left-hand corner of Design Space.
- Do you like a shape but not its color? You can customize any shape, just change their colors in the color box!
- Layer above or below images by holding down on them and dragging them up or down in Design Space.
- Use the “Attach” function if you want the item to be cut exactly the same way it’s shown in Design Space.
- If you don’t “Attach” an image together, Design Space will layout the items in your project in the best way to conserve material but they’ll be all mixed up.

Cricut Design Space is a simple and efficient way to create vinyl projects. You can use this tool to design your own Cricut project or download one from the Cricut Access library of graphics.
If you liked this post and are ready to get started crafting, then you’ll definitely want to check out these project tutorials of mine: Make Your Own DIY Classroom Decor with Cricut, Easy Custom Graduation Tumbler with Cricut Joy, Cricut Maker Vs. Cricut Explore: Everything You Need To Know!
If you liked our tutorial on how to make an inspirational pennant flag with Cricut design space, let us know! We would love to hear about how it went for you in the comments below. Have any tips or tricks that we missed? Let us know those as well so we can help more people get started making their first Cricut project with Design Space!


Leave A Reply!