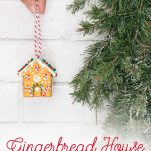

You won’t believe how easy it is to make this adorable Gingerbread House Homemade Clay Ornament! Made with just a few craft supplies and a couple tricks, this DIY ornament is so much fun to make for yourself or as a gift.
This post is sponsored by Sculpey and contains affiliate links. I receive a small percentage of your purchase (at no cost to you!) through these links which helps me continue to offer original tutorials and free printables!
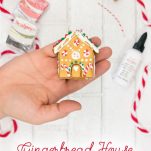
Have you seen anything more adorable than this Gingerbread House Homemade Clay Ornament? Ok, maybe Baby Yoda but this little clay house is definitely a close second!
This fun new take on the classic gingerbread house is easy to make with a few of the right supplies from Sculpey . They have so many different colors to choose from that customization options are almost endless!
To help you get in the holiday mood, Sculpey is offering T&T readers 20% off their entire site with the code TT2019!

Gingerbread House Homemade Clay Ornament
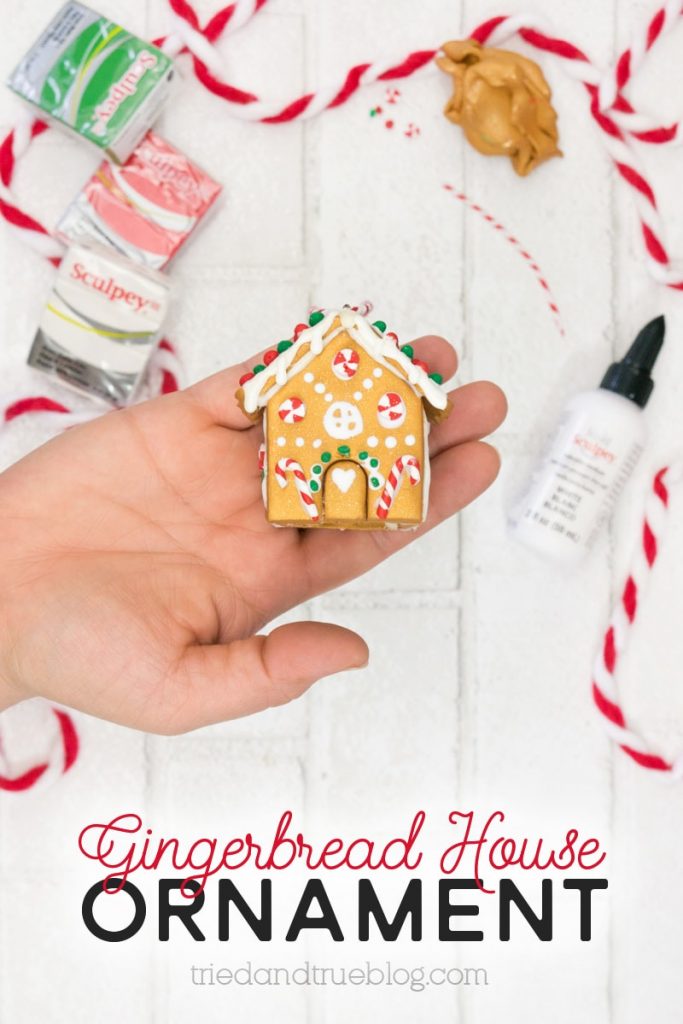
Supplies:
Equipment
Instructions
- Let's talk a bit about the supplies. I added the tools I used for this project to the supply list but you can always just use what you have around the house. The only absolute essentials are the clay products, hot glue, and the cookie cutter.

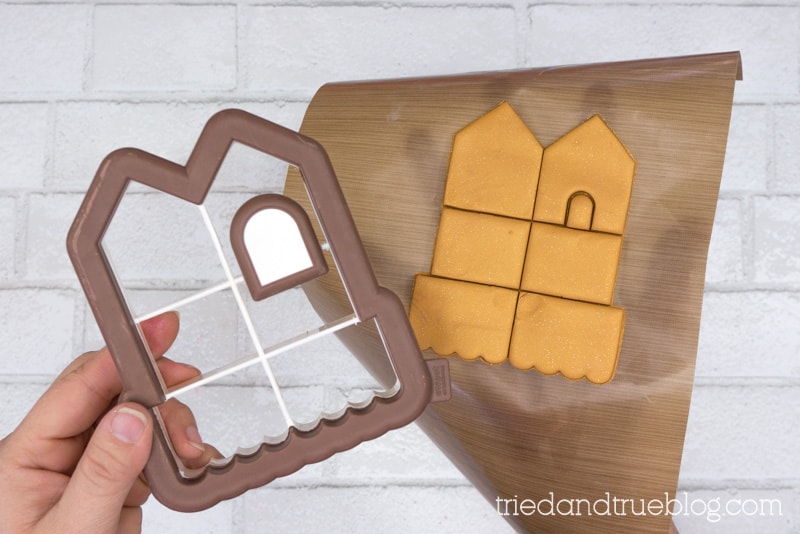
- Roll out the gold Sculpey until about ¼" thick. Use the cookie cutter to cut out the house shapes.
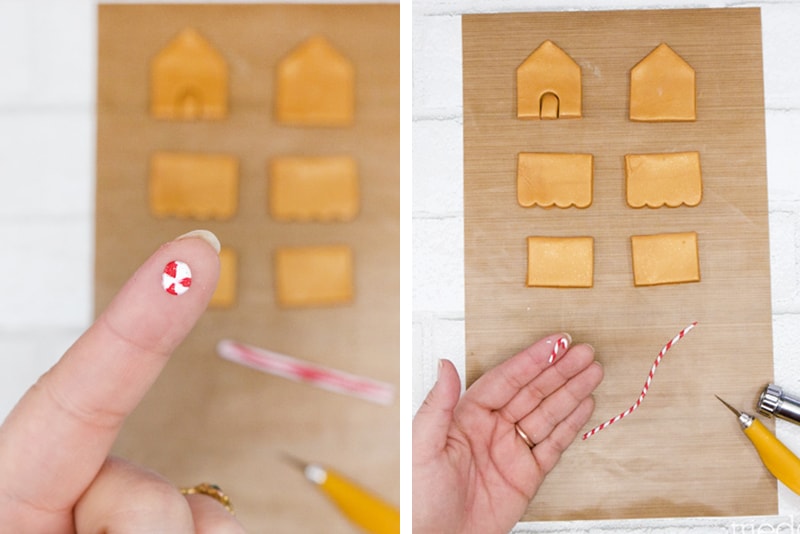
- Using various techniques, create the embellishments for the gingerbread house. This is where you really can have tons of fun! I made a red and white cane and then sliced off small discs for peppermint candies. The candy canes were made with the clay extruder and then rolled together in the correct shape.
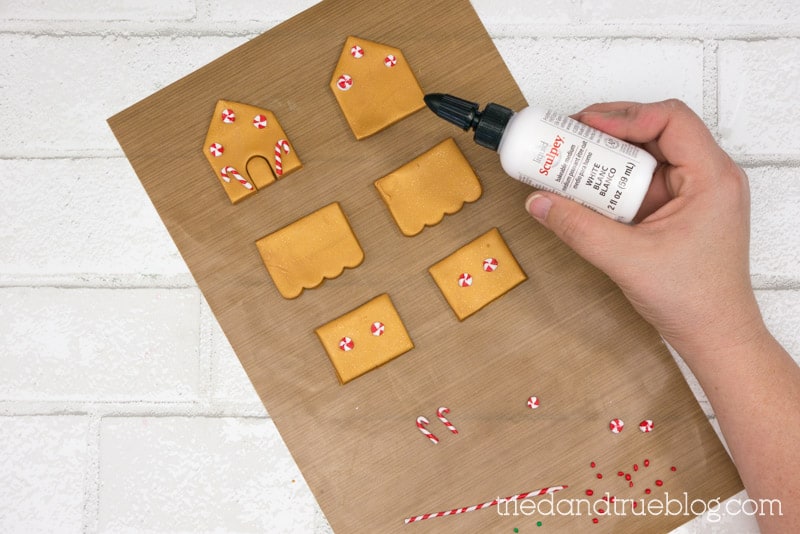
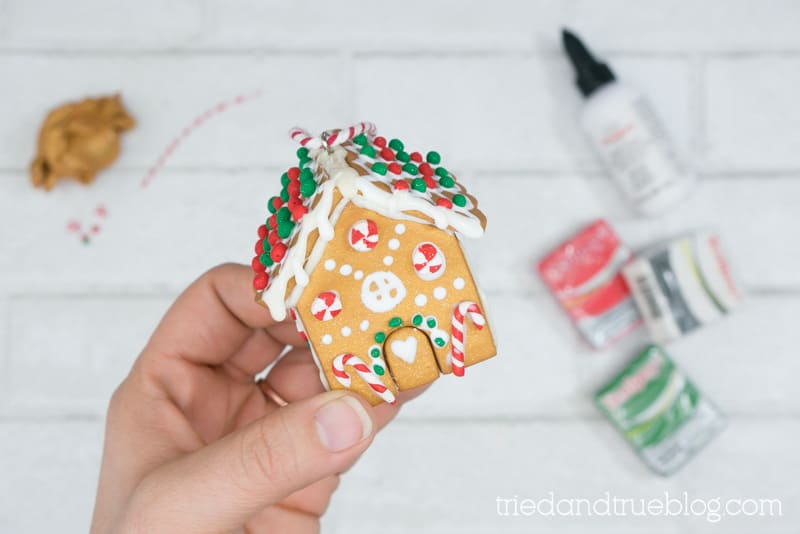
- Use the Liquid Sculpey to adhere all the embellishments to the gingerbread house sides.
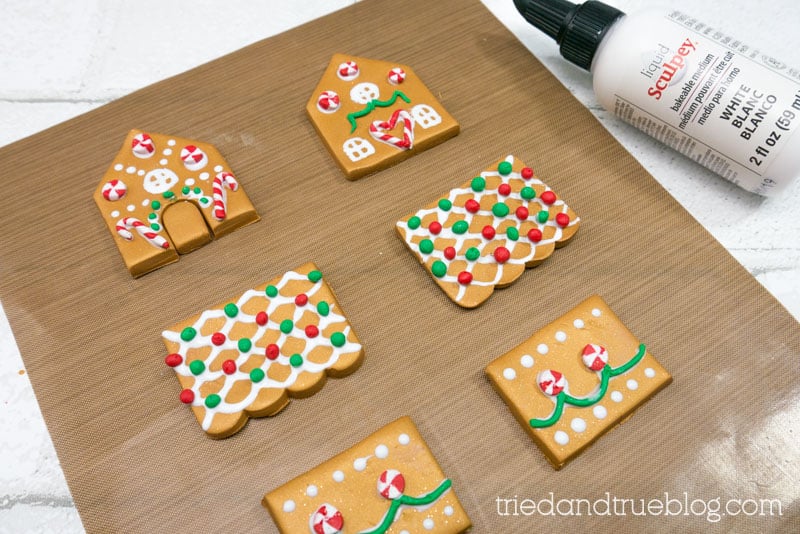
- If you want to add shingles like I did, use a toothpick or a sharp tool dipped in Liquid Sculpey. The bottle comes with an applicator tip but it was a bit too thick for me. Don't worry about the small embellishments not adhering well. The Liquid Sculpey is the perfect glue!
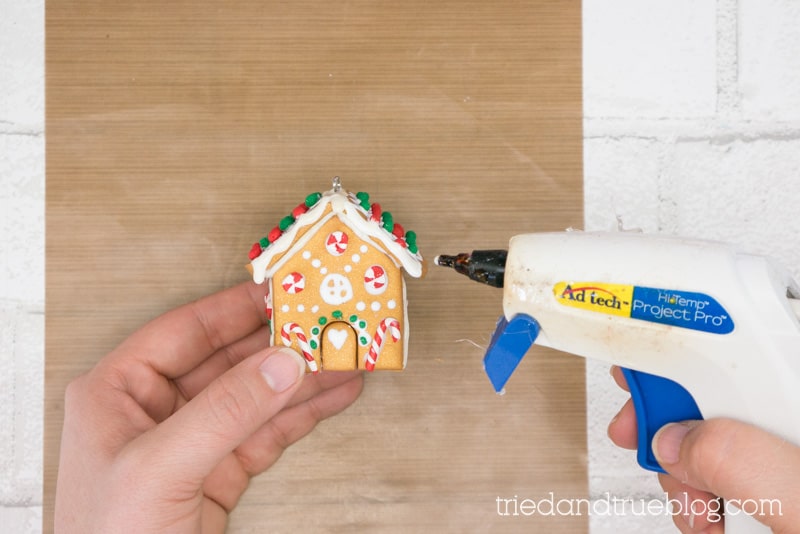
- Follow the package instructions to bake all the pieces. Allow to cool completely and then assemble with the white hot glue.
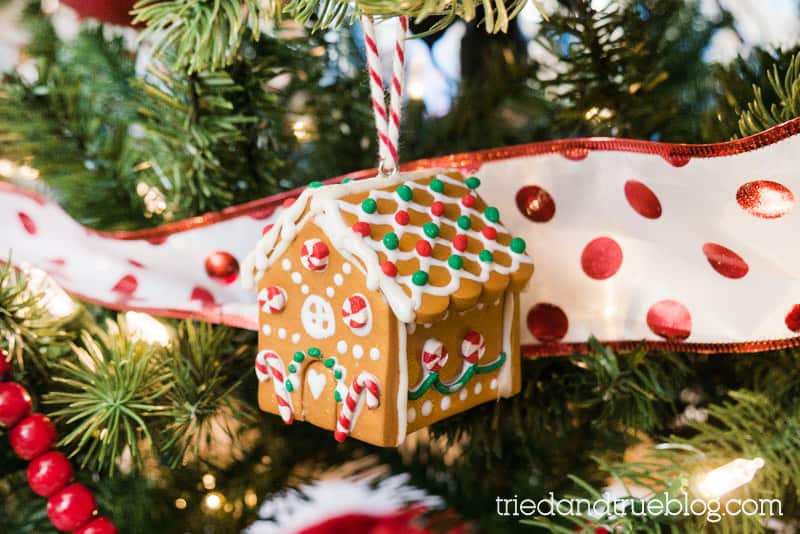
- Add a bit of additional white hot glue to the edges to mimic the look of dripping frosting.
- Make sure to remember to insert a small screw hook on the top of the ornament while the hot glue is still warm. Add a ribbon to the hook, hang on your tree, and enjoy the season!


The Cutest Homemade Clay Ornament
I absolutely loved making this gingerbread house ornament! Starting with a cookie cutter really simplifies the process. That way you can move on to the fun part…the customizing!
If you’re looking for a fun project to make with older kids, friends, or craft groups, this is it! You could even pre-cut all the house shapes to make this more time efficient. Plus, once they’re done adding the embellishments, just a quick heat up in a toaster oven and you’re done!

The Perfect Season for Homemade
I remember enjoying homemade ornaments when I was a kid. There was something so special about pulling them out of the ornament box and reminiscing about when we made them as a family. All these years later, I can still remember some of my favorite clay ornaments my mom made.
Hope you enjoy this Gingerbread House Homemade Clay Ornament for many years to come! Let me know if you have any questions!
Don’t forget: Sculpey is offering T&T readers 20% off their entire site with the code TT2019!


Leave A Reply!