These cheesecloth ghosts DIY Halloween earrings are easy to make and the perfect fashion statement for a big night of trick-or-treating!

We’re big fans of Halloween, so I usually enjoy making themed family costumes for my kids, husband, and myself. I usually go all out with costumes and accessories, but since life is a bit hectic with homeschooling and such, I’ll be lucky if the kids’ store-bought costumes are ordered on time. I definitely need my crafts Halloween easy this year!
Since full-on costumes aren’t in the stars for me this year, I thought it would be fun to make some crazy DIY Halloween jewelry that I can throw on with a black t-shirt and some jeans. These super glam DIY Halloween earrings are the perfect solution!
What you’ll need Halloween Cheesecloth Ghost DIY Earrings
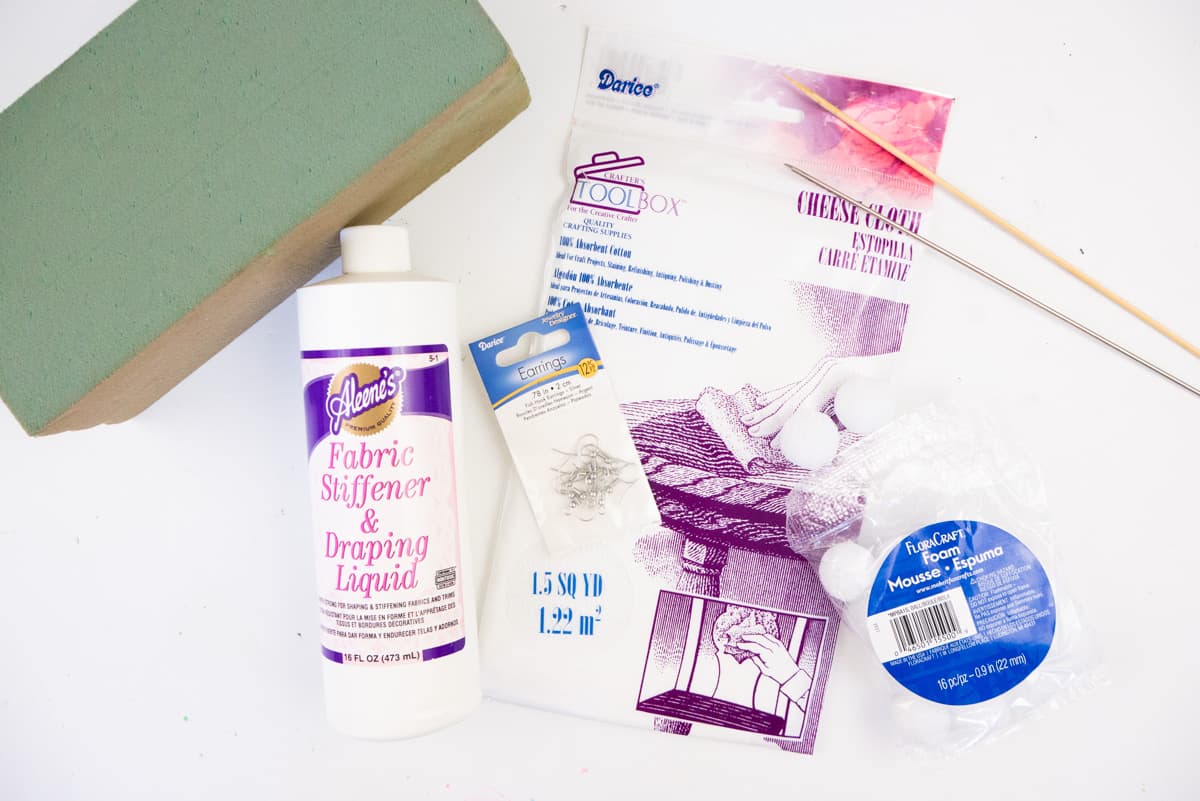
Supplies needed to make your own DIY Halloween earrings:
- Cheesecloth
- Fabric Stiffener
- 1? Foam Balls
- Bamboo Skewers
- Liquid Pearls – Onyx Pearl
- Fish Hook Earrings
- Foam Block
All of these supplies are easily found at Michaels or Amazon. Remember that you can totally trade out some of these supplies for things you might have on hand. I’m sure tulle would work great as a substitute for the cheesecloth, or you can even use tulle and cheesecloth to make different color ghosts.
Here’s a great tutorial on how to substitute Elmer’s Glue for fabric stiffener. Don’t have foam balls? No worries, a small ball of aluminum foil will work great too! I used a foam block that I just had on hand to hold the “ghosts” as they were drying but a bowl of rice or beans would be a good substitute.
How to make the cheesecloth ghost earrings
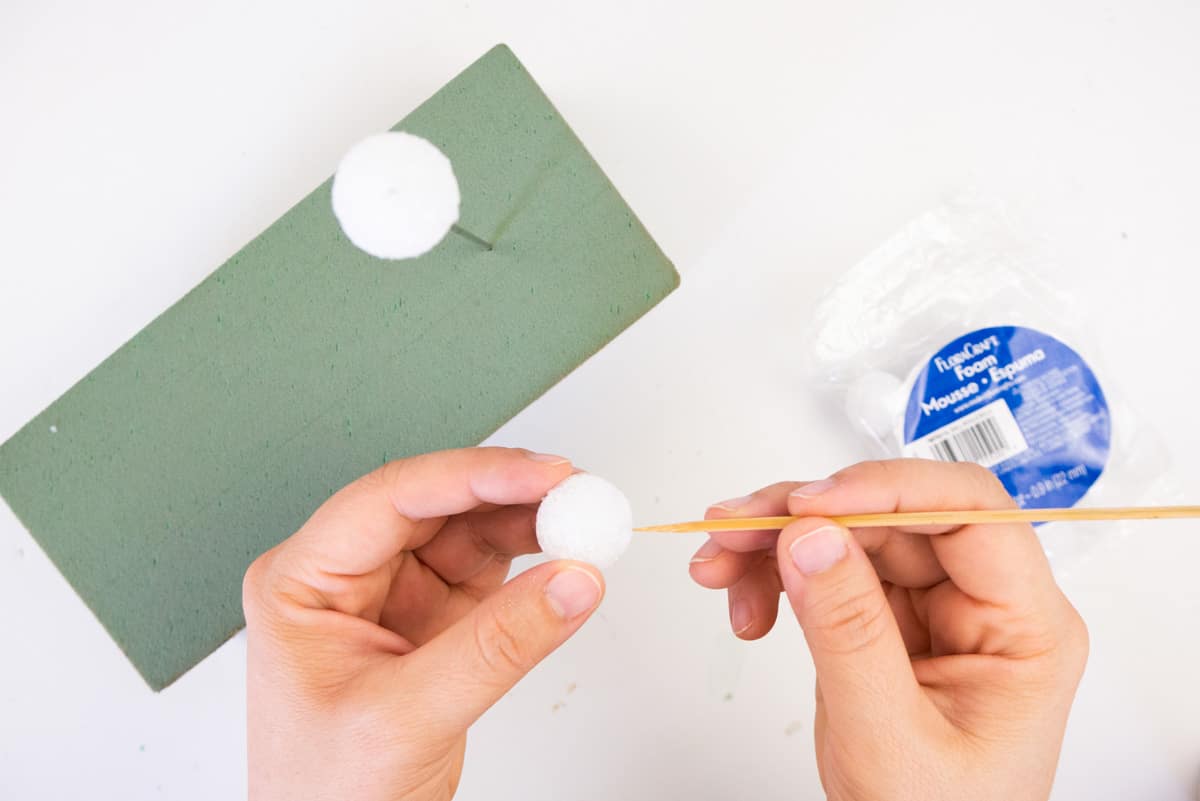
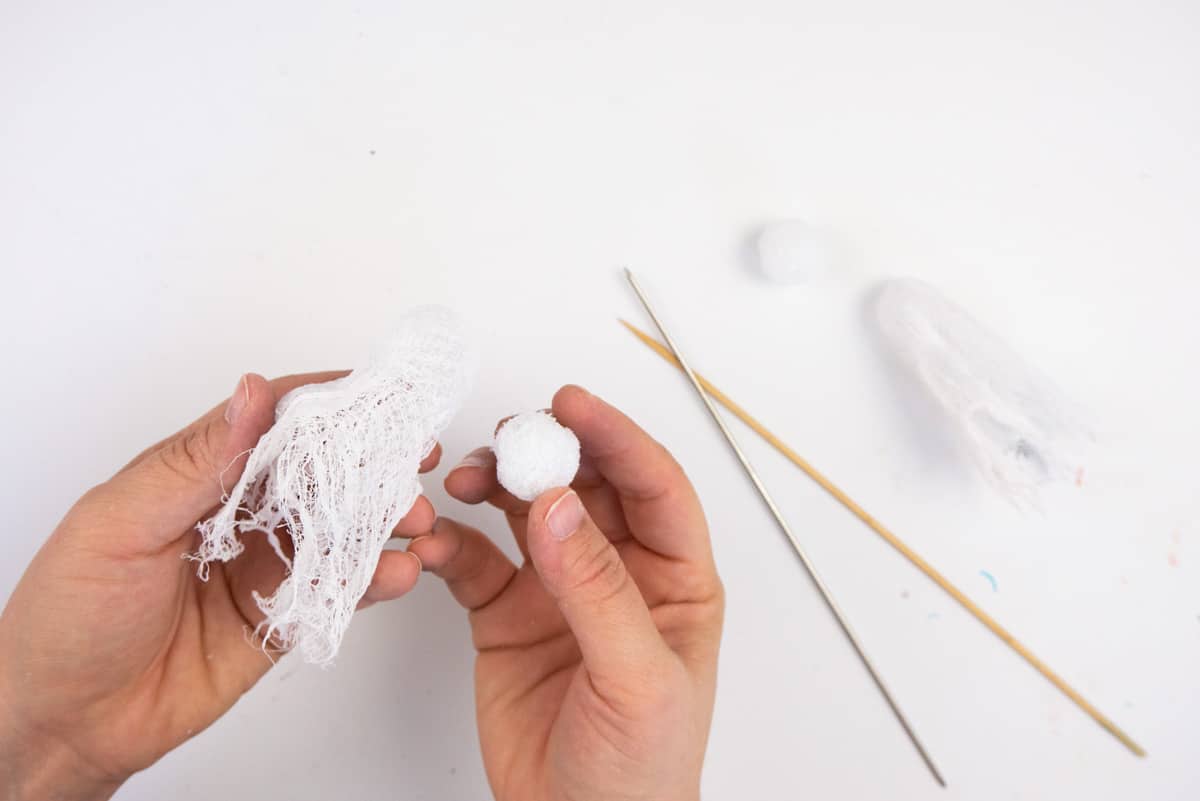
Step One. If you’ve ever made the larger version of these cheesecloth ghosts, creating these earrings will be a breeze! To begin, place two foam balls on the sharp end of the skewer and insert them into the foam block. Set aside.
Step Two. Cut four 5″ squares from the cheesecloth. If they’re not perfectly straight or symmetrical, don’t worry! Ghosts never are, anyways!
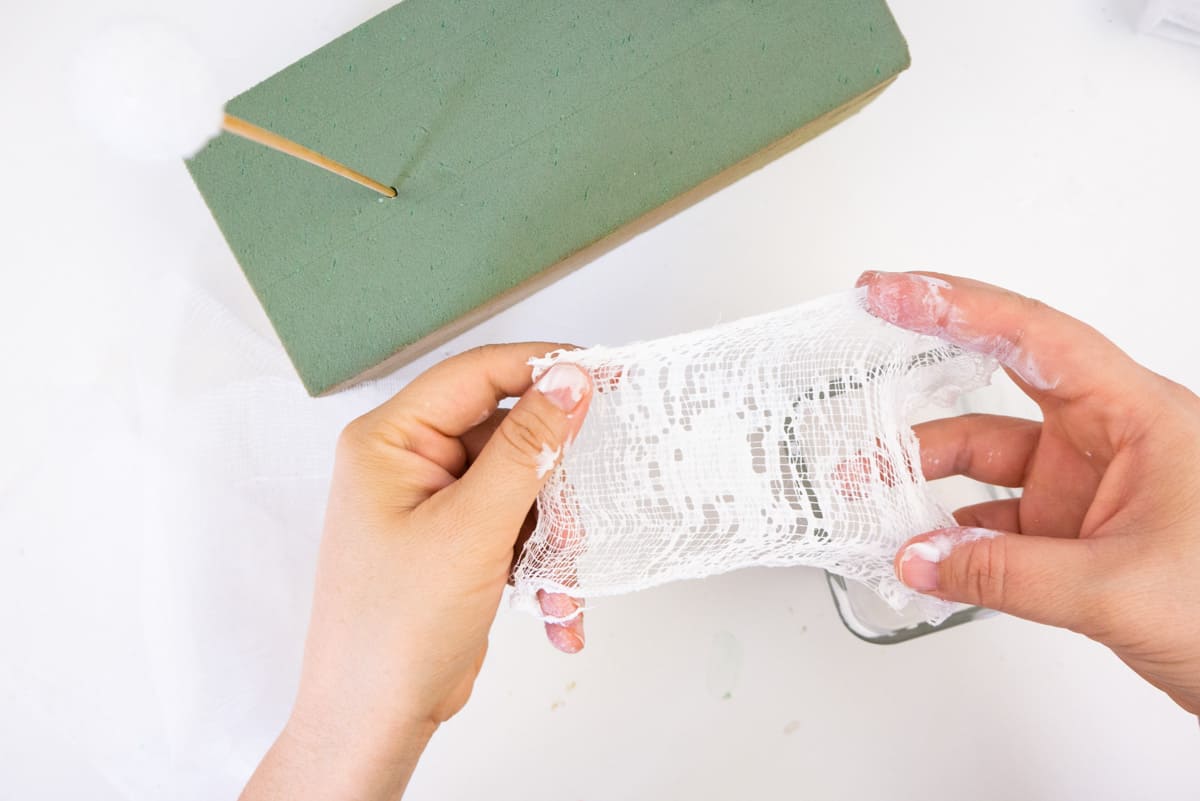
Step Three. In a container, add the fabric stiffener. You’ll only need a few spoonfuls because you’ll be squeezing the majority of it out of the cloth.
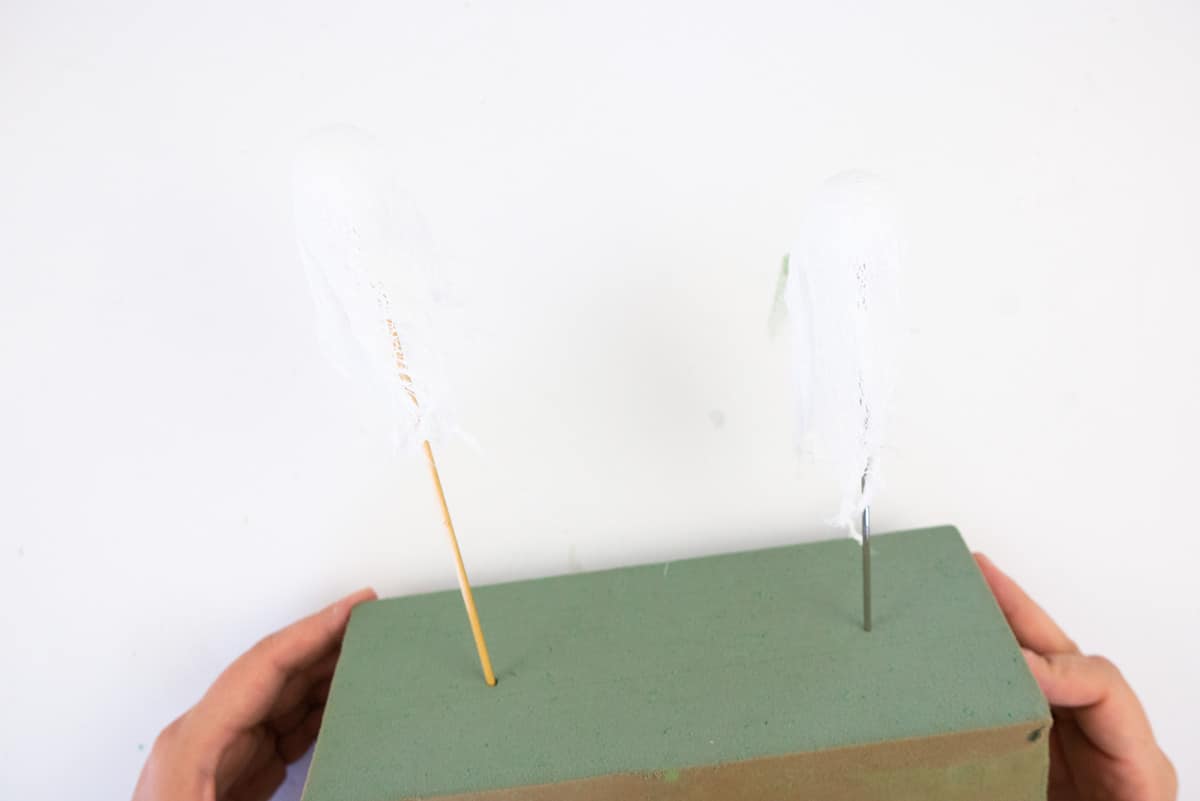
Step Four. Working one square at a time, dip the cheesecloth into the stiffener and squeeze any excess liquid back into the container. Open the cloth carefully and place it on a foam ball. Note: if you don’t wear gloves, your hands will get dirty!
Step Five. Repeat with the other square of cheesecloth.
Step Six. Remove the ghosts from the skewers when they are completely dry, carefully pushing out the foam balls. Don’t be concerned if they become bent out of shape somewhat; they can be bent back. You can modify the ghosts’ length by cutting away some of the bottom of them with a pair of scissors. Try to maintain a few uneven strands to create that classic ghost form.
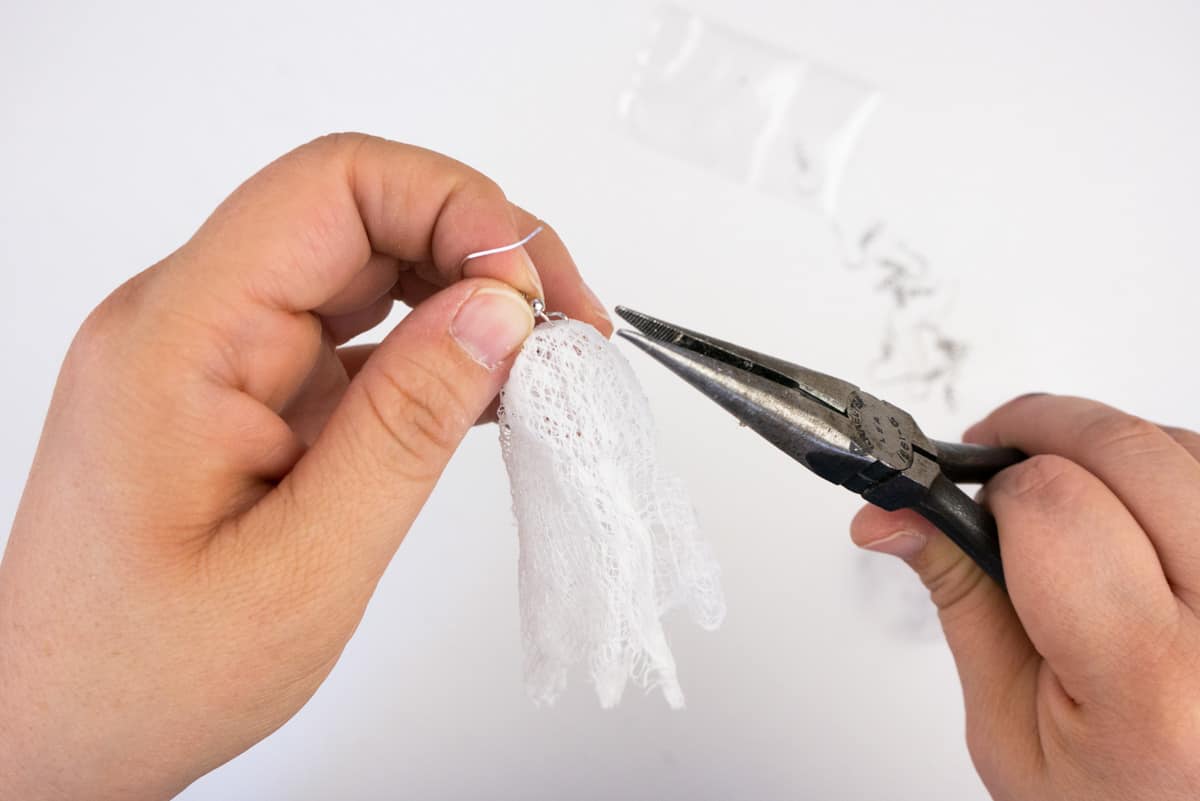
Step Seven. Use a pair of pliers to open the fish hook earrings. Interweave the hook into the top of the cheesecloth and close the hook with pliers to finish.
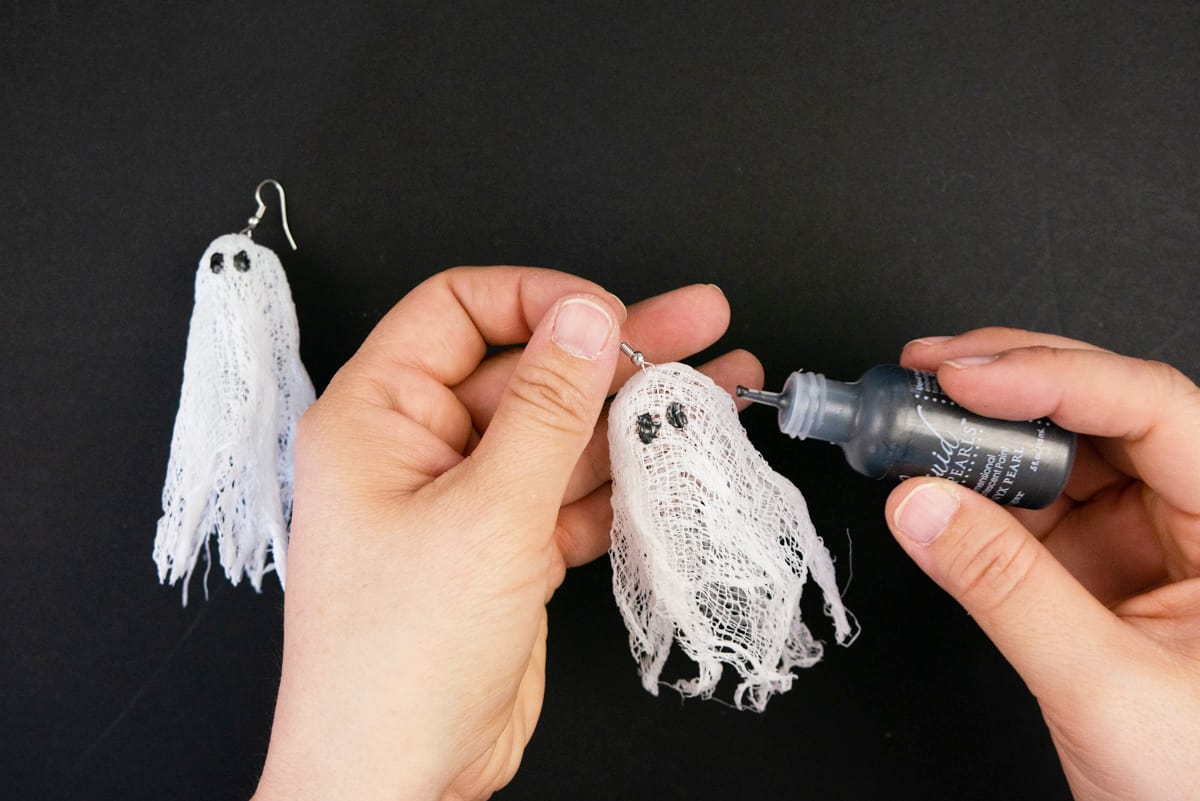
Step Eight. You can either keep the cheesecloth ghost earrings basic or paint them with some dimension paint to make them appear more lifelike. Allow drying before wearing.
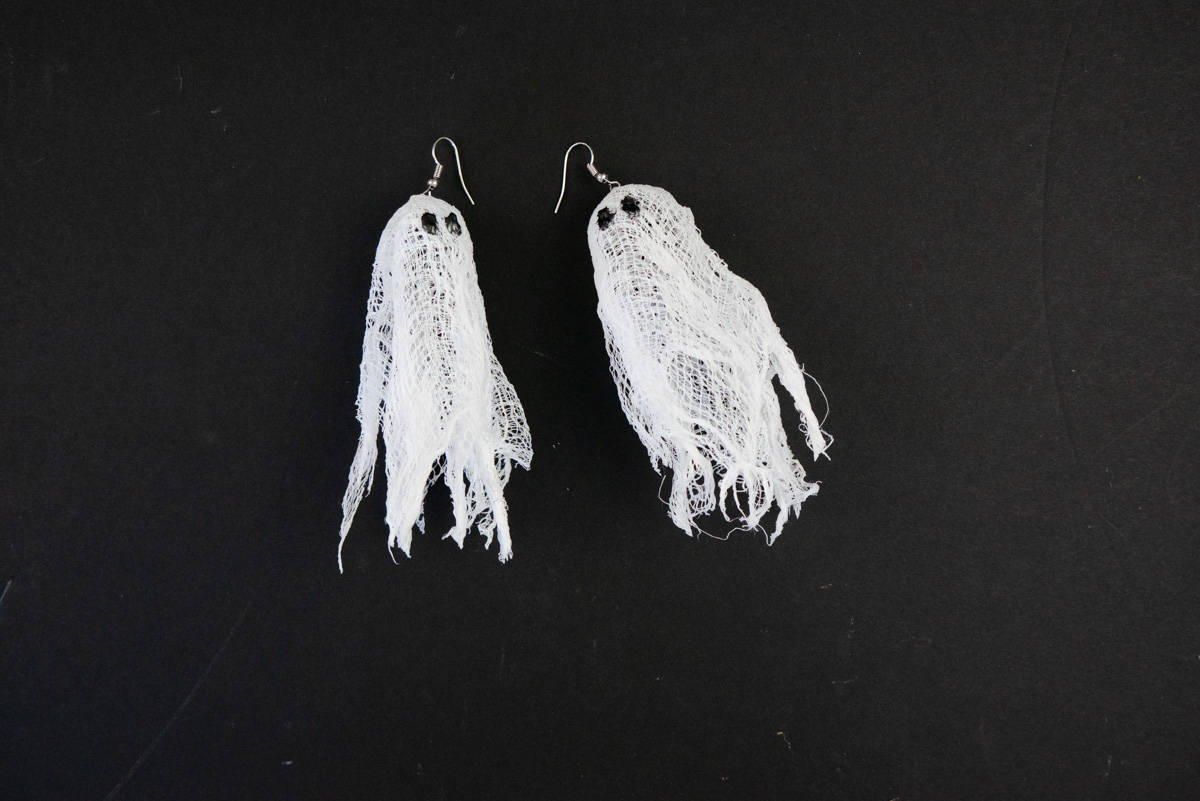
Who knew making DIY Halloween jewelry could be so easy and fun?! I adore how these huge cheesecloth ghost earrings look dangling from my ears. They’re the ideal statement piece if you don’t have a lot of time to put into a costume.
Halloween is a time for celebration and family fun. Kids of all ages can enjoy Halloween activities, but adults shouldn’t feel left out! It’s easy to get in the Halloween spirit with some DIY craft projects that are sure to impress your friends and loved ones this Halloween season.
In this Cute & Easy Halloween Cheesecloth Ghost DIY Earrings blog post, we’ve provided step-by-step instructions on how you too can create these adorable earrings from cheesecloth spritzed with fabric stiffener.
If you’re looking for something a little more elaborate than a black t-shirt and jeans ensemble, these ghostly accessories may be what you need! They make an excellent statement piece when paired with other Halloween decorations or if you want to get in the Halloween spirit.
If you liked this project and want more Halloween craft ideas, check out these other Halloween themed posts:


Leave A Reply!