 This post contains affiliate links for your convenience and to assist in the maintenance of this site.
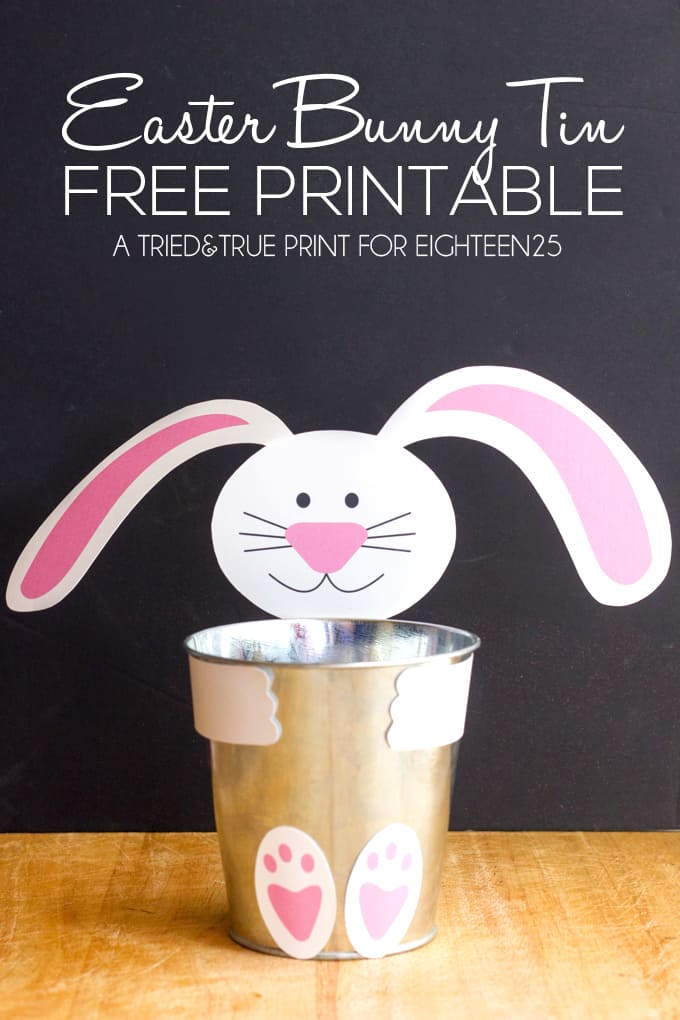
I don’t know about you guys but I’m a total sucker for those inexpensive tins you can always find in Bullseye’s Playground at Target (aka. The More Expensive Dollar Spot). I especially love it when I can find the ones with just ribbons for handles because they’re super easy to remove and customize to look like this fun Easter Bunny Tin!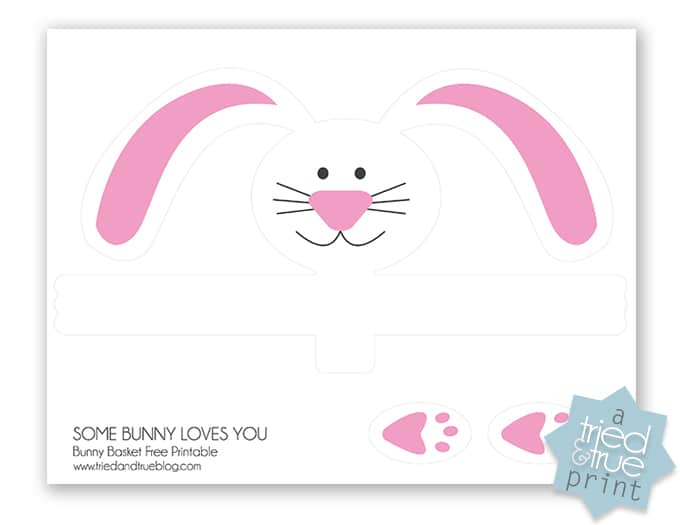
Easter Bunny Tin
Materials:
- Easter Bunny Tin Free Printable
- Hercules Strong Double-Sided Tape (One of my favorite craft supplies!!!)
- Small Metal Bucket (mine was a little more than 4″ tall)
Step One. Cut out all the shapes found on the Easter Bunny Tin Free Printable. You can either cut it by hand or have a cutting machine trace and cut. If you’re only making a few of these tins, your trusty pair of scissors will be quicker. Anything more than five and you might want to enlist the help of the awesome Silhouette!
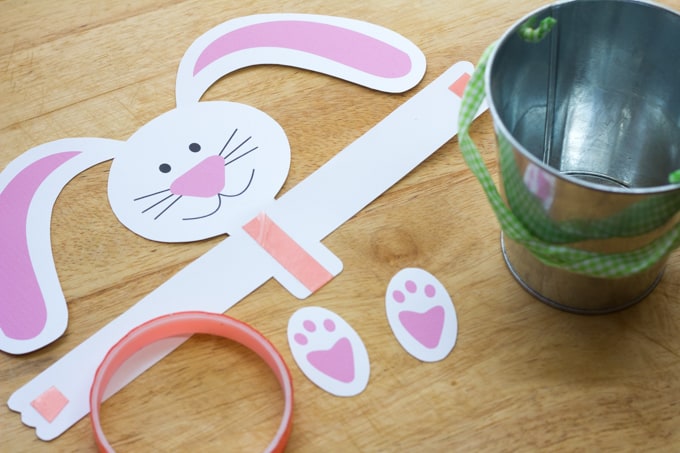 Step Two. Apply double-sided tape to the center of the bunny cut-out, hands, and feet. Remove the protective cover from the center section first and stick in place on back of tin. Wrap and adhere each arm to the front of the tin. Stick the feet on, fill with treats, and you’re good to go!
 Some Bunny Loves You
 Some Bunny Loves You
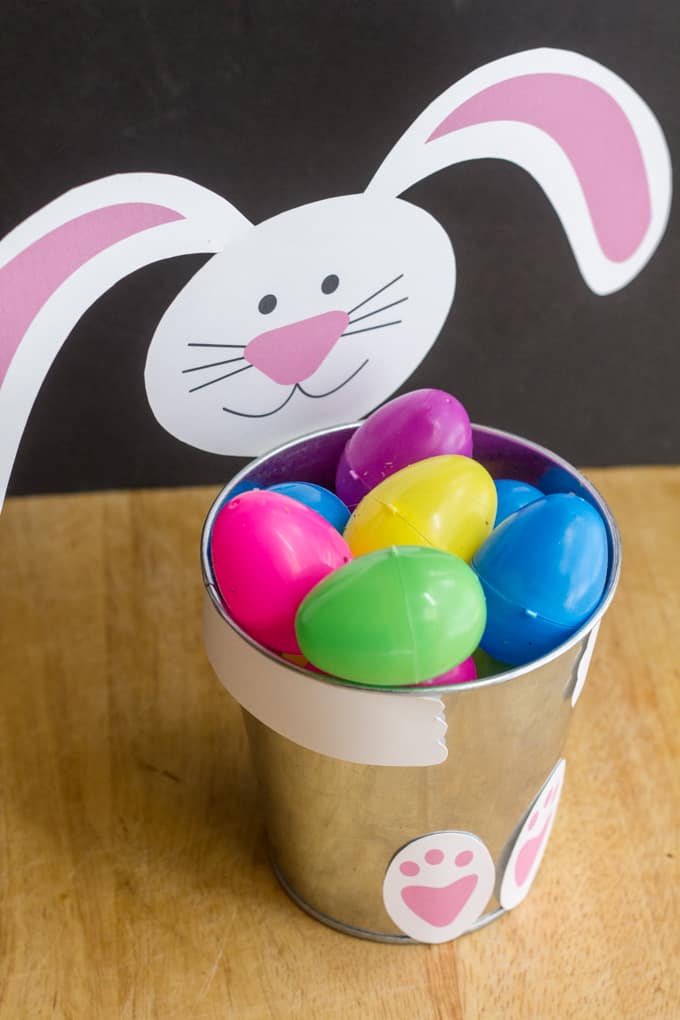
As you can see in the pictures above, I decided to remove the ribbon handle since I wanted to use these as place settings. Of course, this Easter Bunny Tin tutorial and printable would also work if you wanted to keep it. I love the way the miniature eggs look here but how sweet would fake grass also look?! That’s what I love about open-ended projects like this, there are so many ways to customize it!
Visit these other tutorials for more fun projects!


Leave A Reply!