We are smack in the middle of Spring Break so this week’s Super Easy Cardboard Basket Weaving tutorial could not be more perfectly planned! The idea is to make a project that will keep kids occupied for 15 minutes or less so that parents can jump in the shower or finish that much-needed morning cup of coffee. This Cardboard Basket Weaving tutorial is perfect because you can scale the template down to make a small bowl that can come together quickly or keep it large to take up even more time!
UPDATE 5/11/2022: I’ve gotten such an amazing response to this tutorial through the years! It brings me such joy to know that you all are enjoying making these baskets with your students, kids, and family. I’ve updated this tutorial to include multiple templates and versions. When you open the download file in the Creative Library, you’ll be able to choose which one you’d like to download and use. Jump immediately to the new updated tutorial!
Want to watch a video tutorial?
If you’d rather watch a quick video on how to make the updated finished basket, just check out the video below!
Super Easy Cardboard Basket Weaving
Materials:
- Cricut Cutting Machine
- Kraft paper
- Cardboard Basket Weaving Template (find below!)
- Assorted Yarn
- Craft Felt
- Glue
- Clothespins
- Kid-safe Sewing Needle
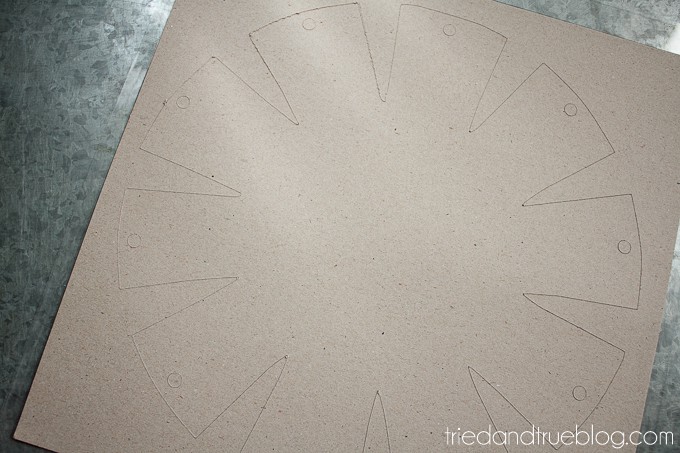
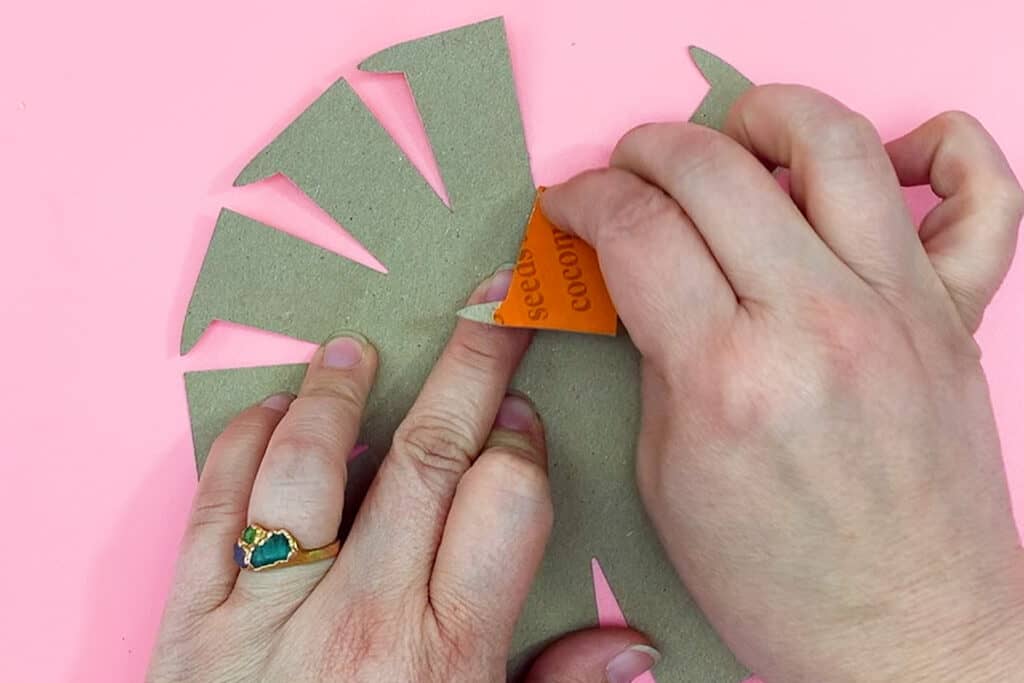
Step One. Use either a cutting machine (I love my Cricut Maker!) or a sharp pair of scissors to cut the Cardboard Basket Weaving template from thin cardboard. I suggest using Cricut Kraft board but a cereal box would work well too. Remember to scale the template down if you want a project that takes less than 15 minutes. Also, I’m not counting this step toward the 15-minute stopwatch since I usually just have a bunch of these stored away until needed.
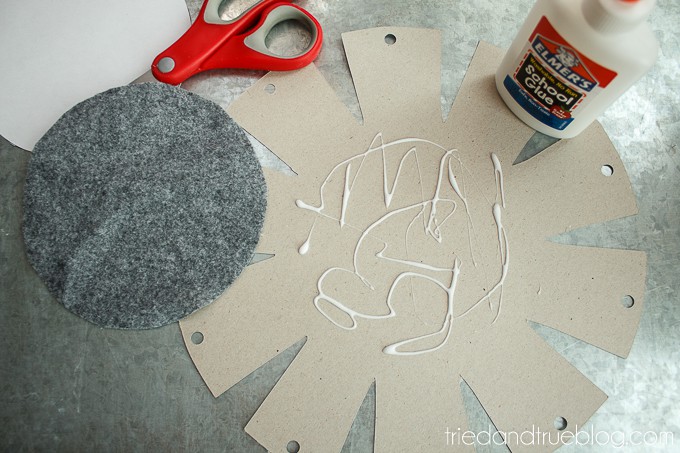
Step Two. Use the Cardboard Basking Weaving file to cut a felt circle that will be glued to the inside of your basket. You can also glue one to the bottom if you’d like.
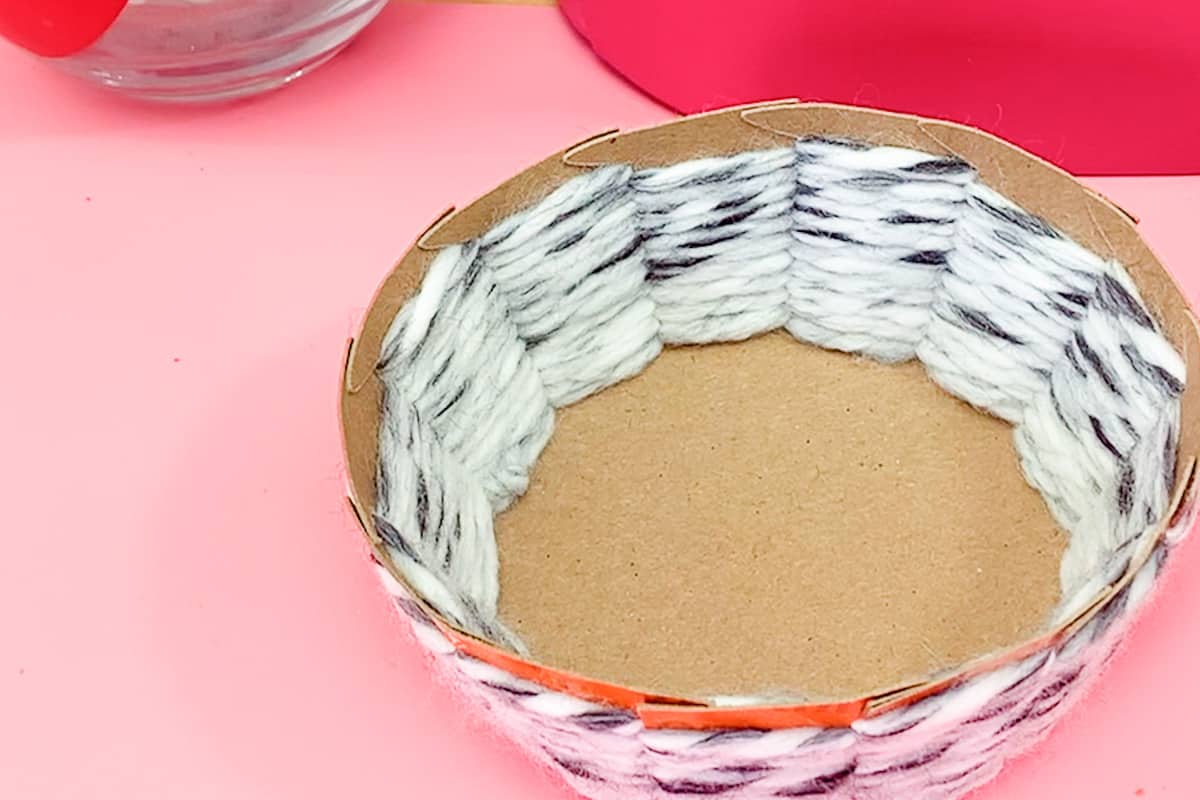
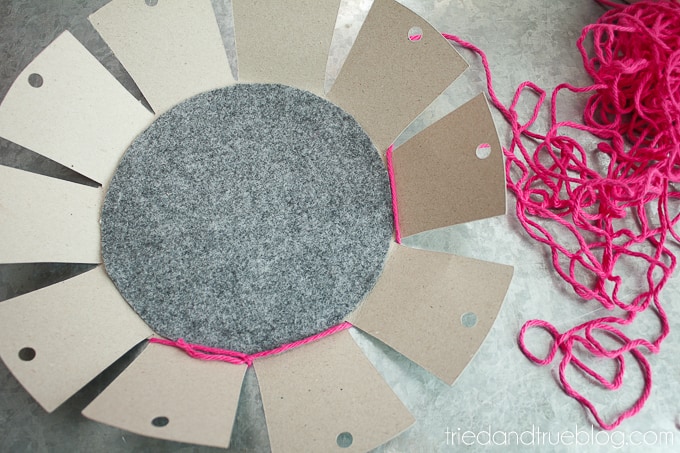
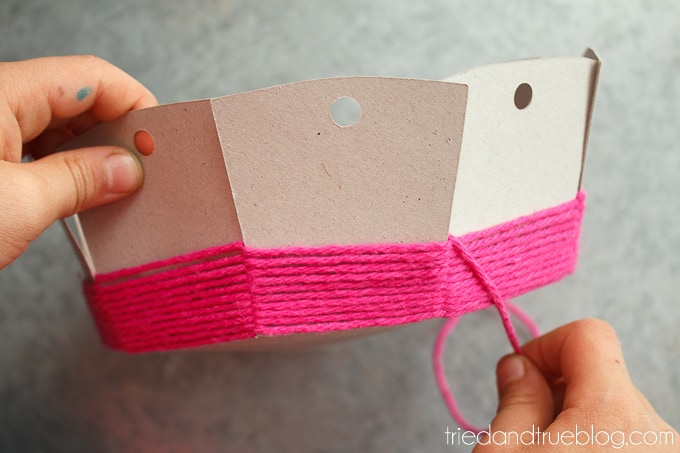
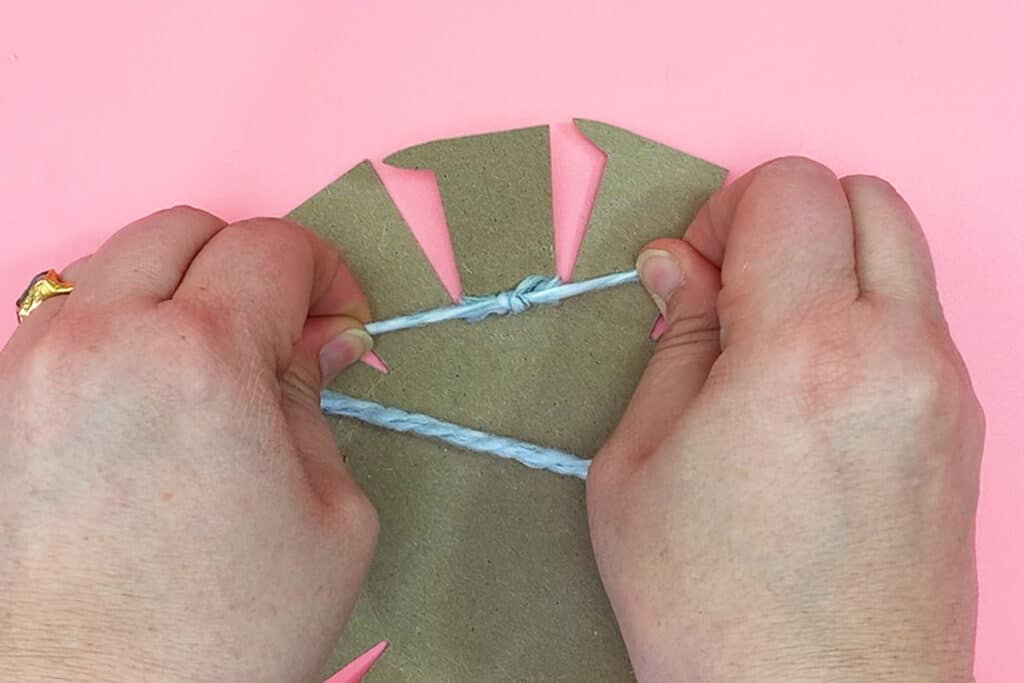
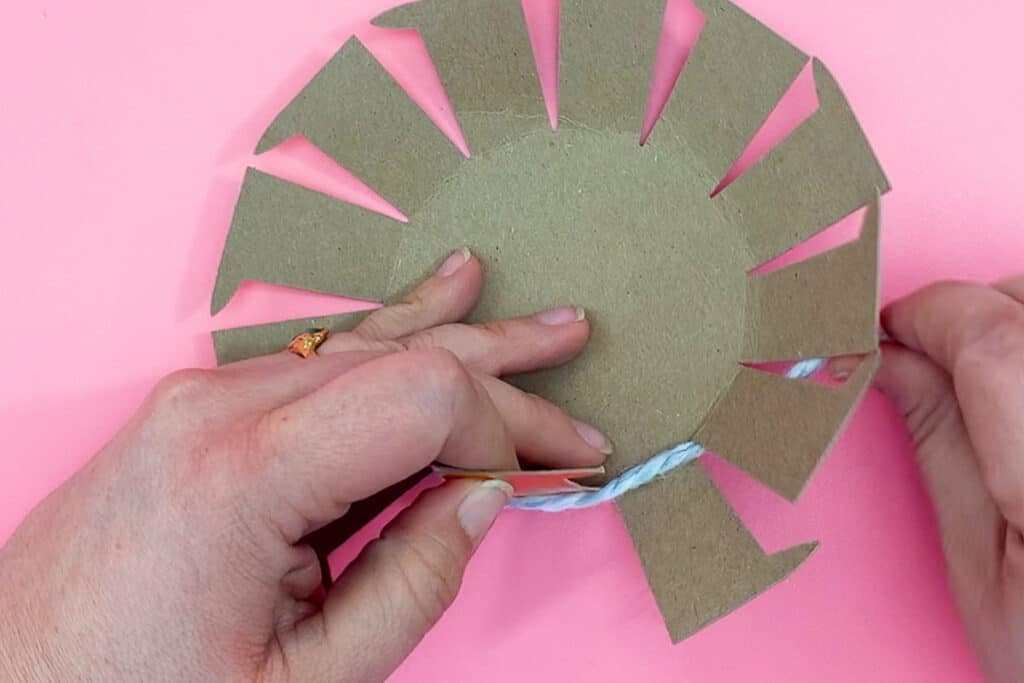
Step Three. Tie the yarn end to one of the cardboard spokes and begin to weave in and out each panel.
Step Four. Continue weaving until you’re ready to add another color. You can switch out the yarns by just tying one to the other and continuing weaving around bowl.
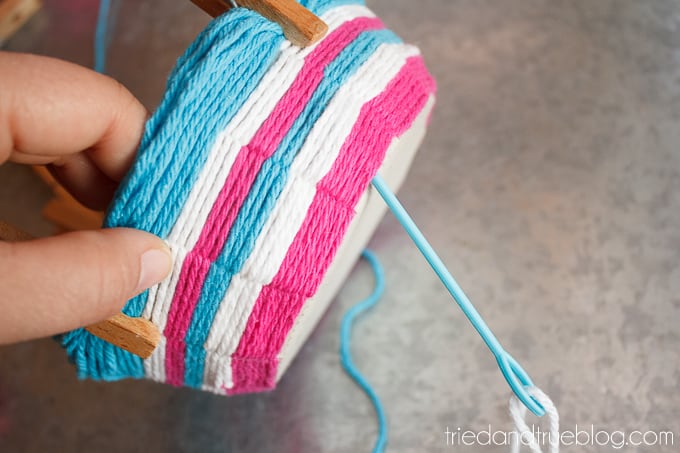
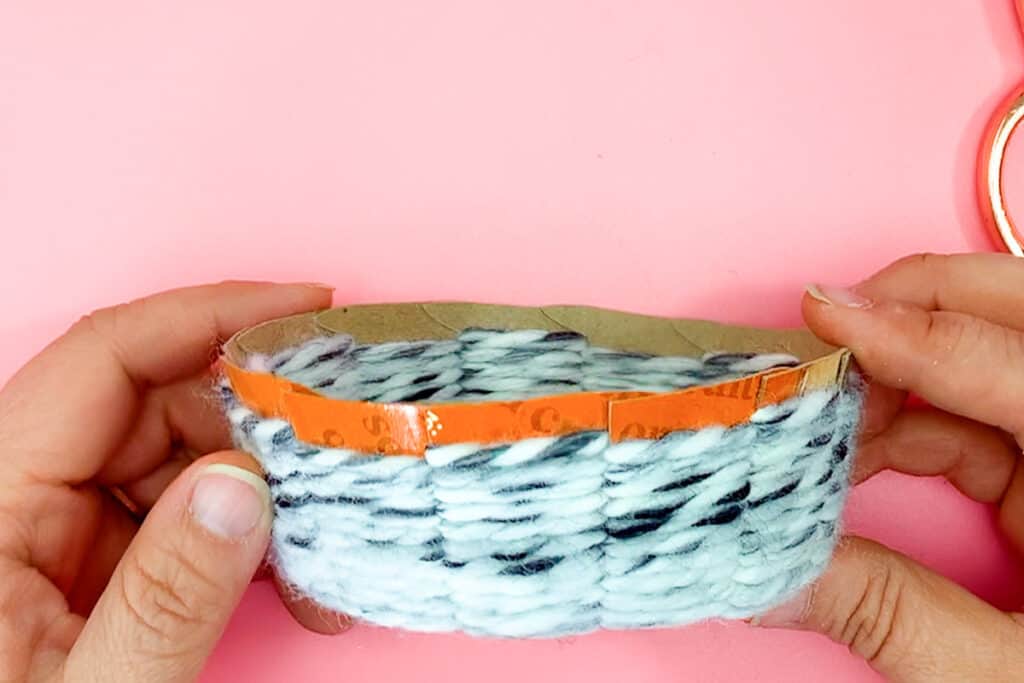
Step Five. Once you’ve made it to the top, wrap a good amount of yarn around the top of the basket and secure with a few clothespins. Depending on the age of your child, you might have to help him with this step.

Step Six. Begin working on the top by inserting a needle through the bottom until the loose yarn end is secure. Work the needle to the top and begin weaving around the edge, in and out of the circles at the top.
Updated Basket Template
Here’s another version of this cardboard woven basket. It requires even fewer supplies (no tapestry needle needed!):
- Woven Basket Template 2 free printables
- Sturdy Cardboard Bases
- Weaving material (Skeins of yarn, fabric, raffia, ribbon, twine, or even paper strips)
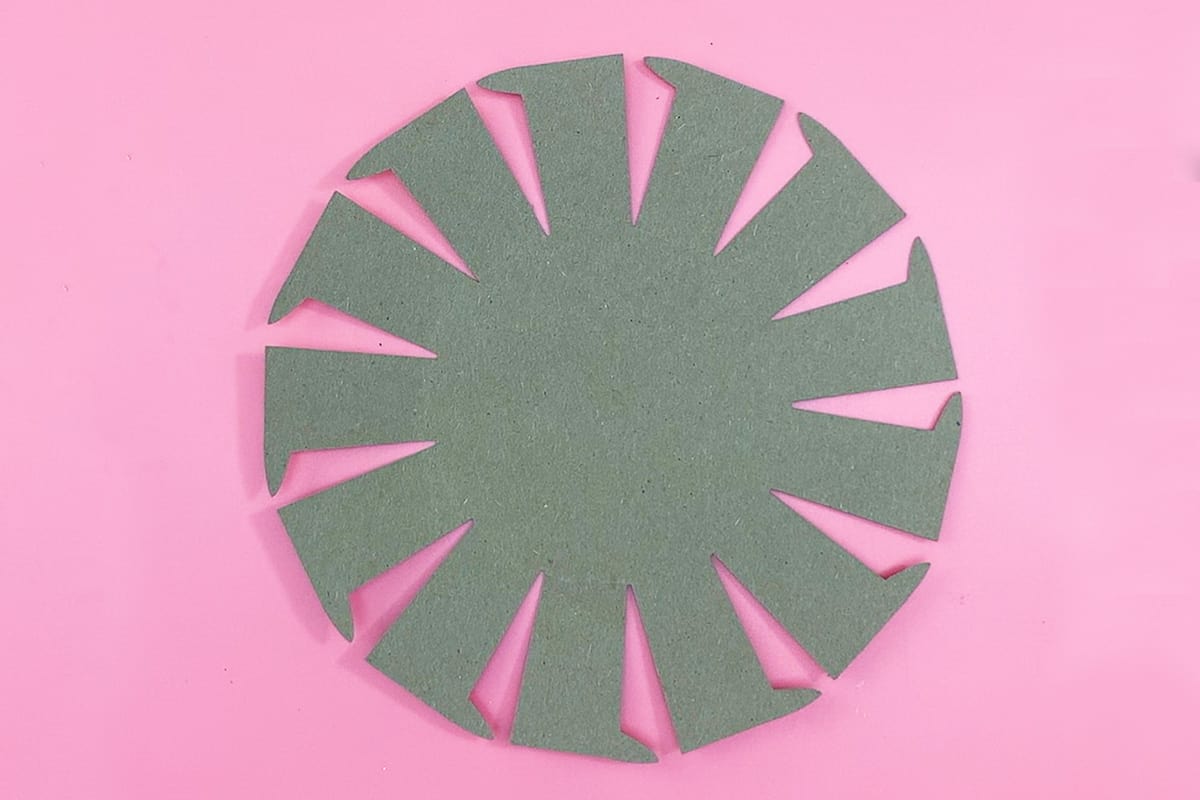
- Use a Cricut machine or cut woven basket template 2 out by hand from cardboard.
- Fold all the extensions inward.
- Tie weaving material to one of the extensions and begin weaving in and out.
- Continue until the basket is completely covered.
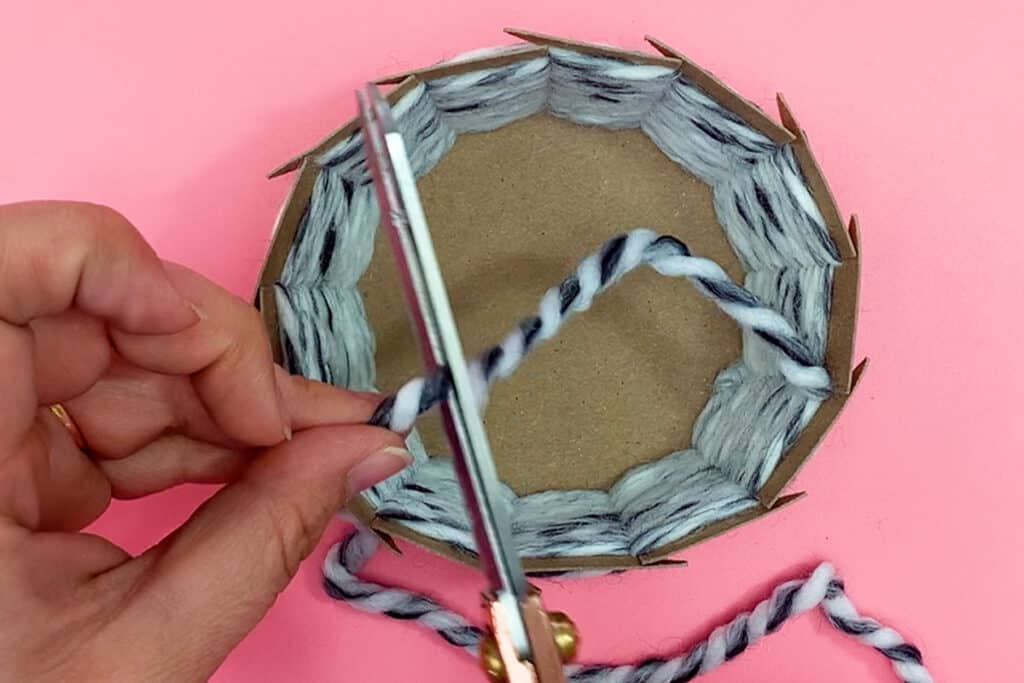
- Cut excess yarn, leaving about 3 inches at the end. Wrap back through a few of the extensions to secure.
- Finish the basket by folding the top tabs in place.
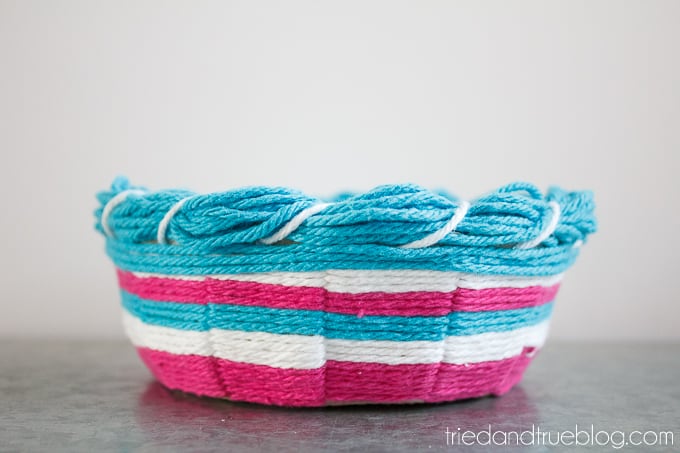
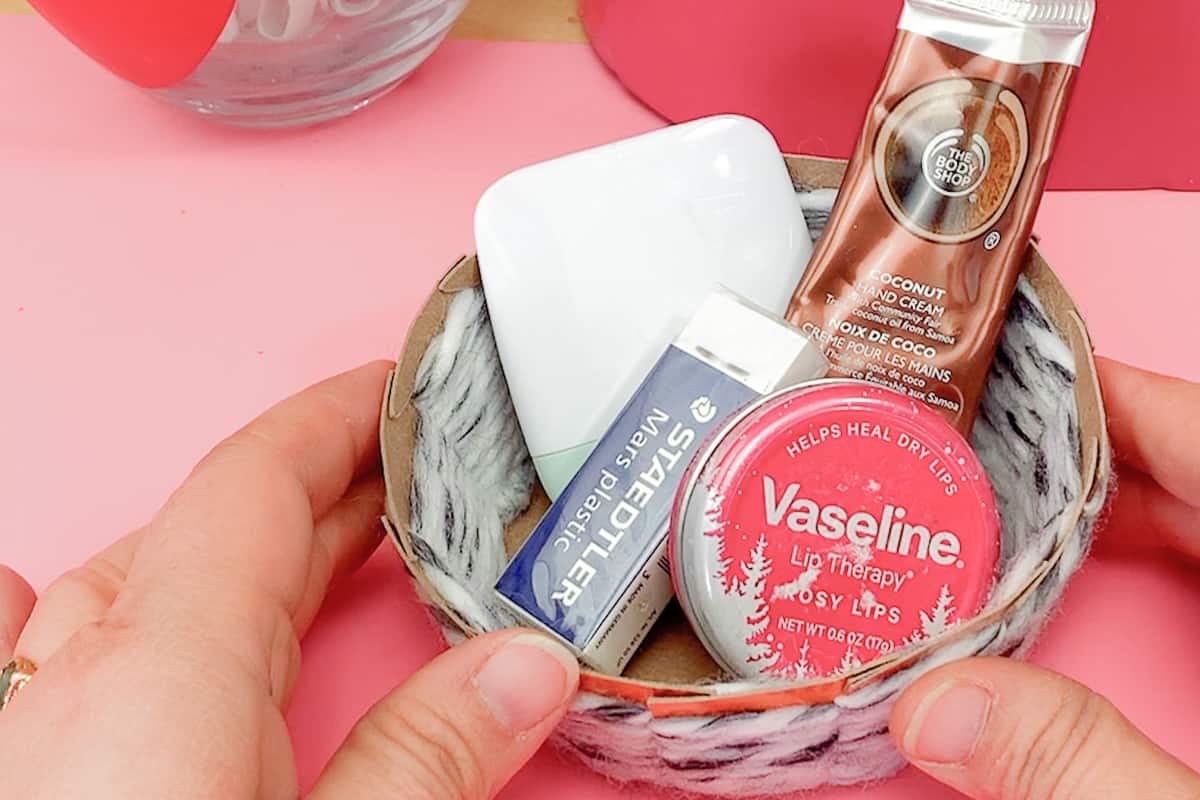
Beautiful Baskets
And there you have it, an awesome little basket that your whole family can enjoy making! Depending on the size, these can either be made in a quick 15-minute session or longer if the basket is bigger. Either way, they’ll be super proud of their creation!
Tried & True Library members can use their password and download the free file immediately. Not a member yet? Just enter your info below, and we’ll email you the password!
Once you add your information, there’ll be two different files you can choose from. Use the PDF if you plan on cutting the template out by hand and the SVG if you’re using a digital cutting machine.
I’d love to see how you customize this project so make sure you tag me on my social media accounts!
Instagram | Facebook | Pinterest
If you liked this project, you’ll love these too:


Comments & Reviews
Angie @ CCC says
Love it! Thanks for joining!
Carolina says
This is fun! Even big (adult) kids would have fun with this!
Sandi says
Vanessa,
I seem to be having difficulty getting the template. Can you send me the link? I tried the ones that were above :
[wpdm_package id=11556 template=”link-template-default.php”]
[wpdm_package id=11554 template=”link-template-default.php”]
[wpdm_package id=11552 template=”link-template-default.php”]
as well as the circle template:
[wpdm_package id=11558 template=”link-template-default.php”]
but was not successful.
Thank you for the assistance.
Sandi
Vanessa Brady says
Sorry about that, the post has been updated with the correct links. Let me know if you have any other issues!
Robin says
I’m thinking of doing this as a 3-5 grade school wide art rotation. About how much yard is needed for each small bowl?
Diane Michele May says
Thank-you so much for this beautifully photographed and easy-to-understand tutorial. I did this with my kids and the results are awesome!
Vanessa Brady says
I’m so glad to hear that!
Toni says
I’m having trouble downloading the template.
Vanessa Brady says
I updated the post with both SVG and PDF files. Once you enter in your info, you’ll be able to choose which one to download. Let me know if you’re still having issues!
Rena says
I am having difficulty downloading the template and circle. Can you please e-mail to me?
Thanks
Rena
Vanessa Brady says
I updated the post with both PDF and SVG files. After you enter your info in the box above, you’ll be sent to a page where you can download either file.
Debbie says
It won’t let me view it and I am unable to get the download.
Vanessa Brady says
I updated the post with both PDF and SVG files. Let me know if you’re still having a problem!
Mar says
This craft looks super cute !!!! I cannot wait to try this with my nieces! Thanks for sharing !!
Vanessa Brady says
Hope you have fun making it!
Ashley Ceasor says
I’m super excited to try this activity with the families at the Centre September 30th!
Vanessa Brady says
I’m glad to hear that!